35
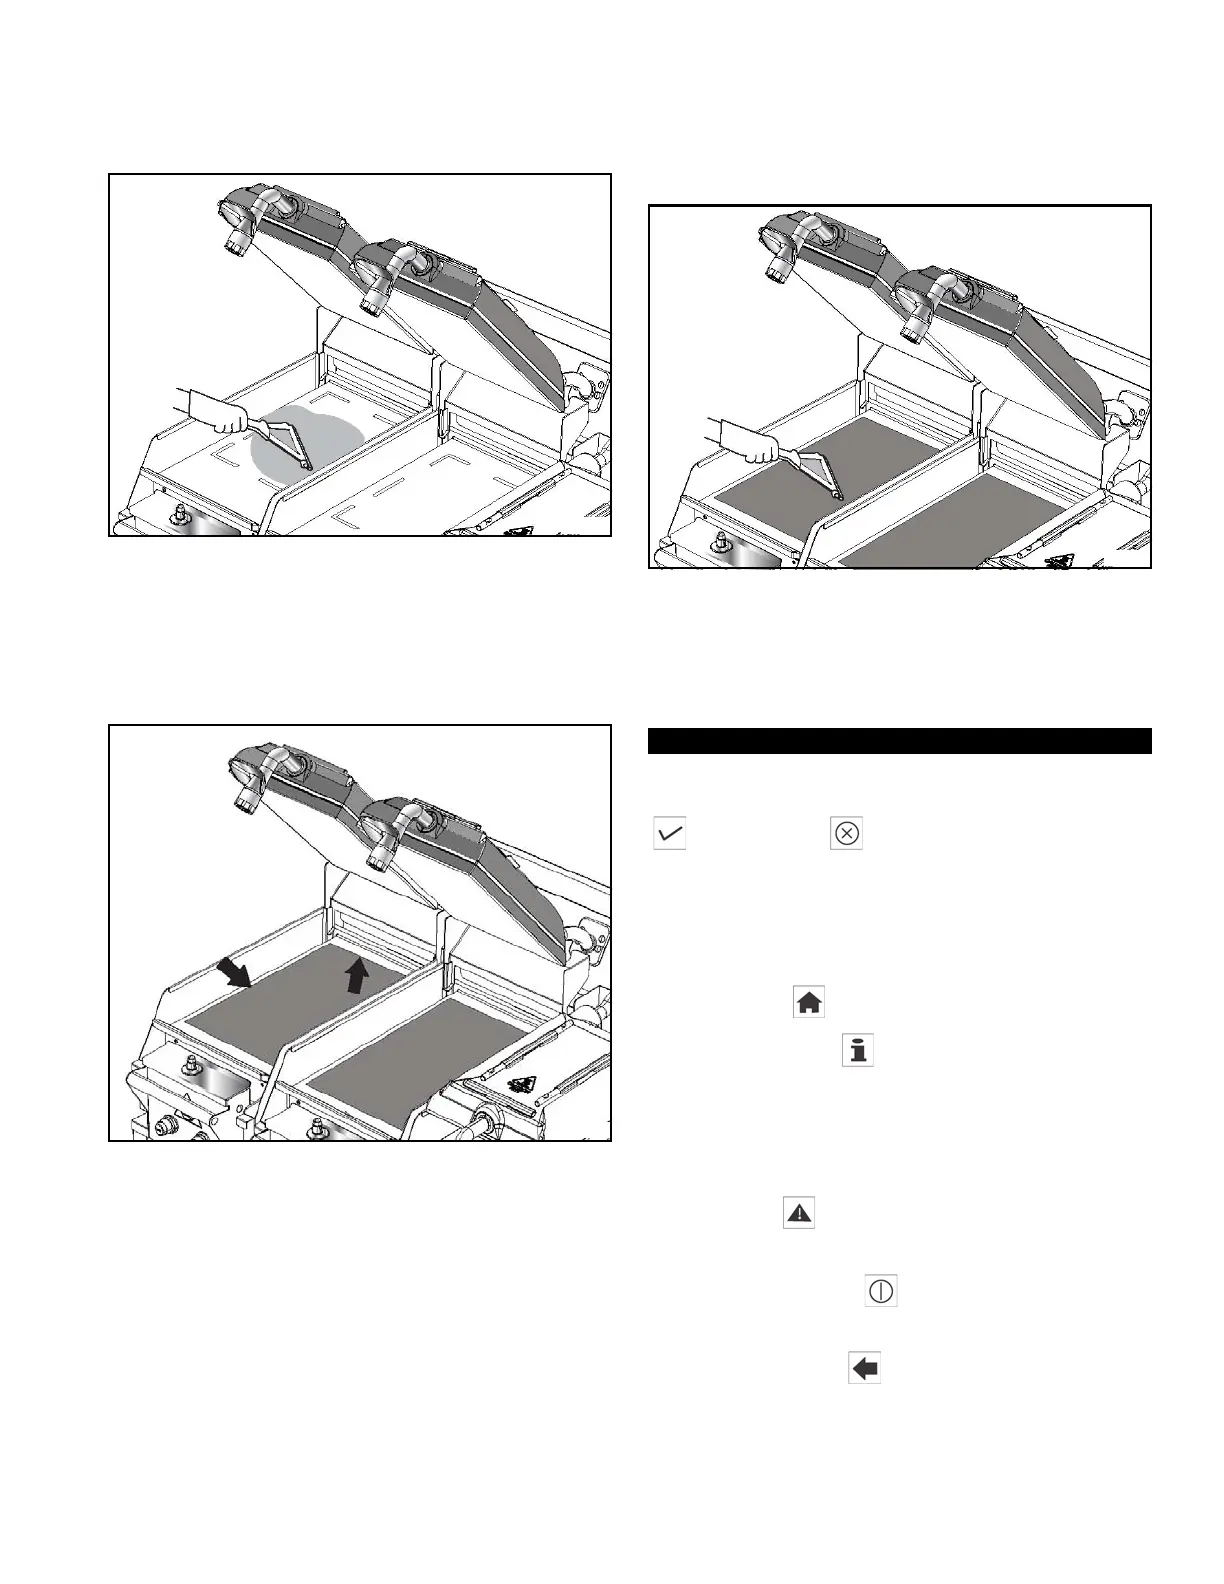
4. Using a clean squeegee, spread the flakes on the
cooking zone.
See Figure-36.
Figure-36
5. With the 12 in. (305 mm) side of the lower release
sheet facing the back of the grill, hold the release
sheet about 1 in. from the end of each side. Align the
back edge of the release sheet with the back splash
and the side edge of the grill.
See Figure-37.
Figure-37
6. Using the grill squeegee, gently squeegee out the air
bubbles, making sure not to crease or fold the
release sheet.
See Figure-38.
Figure-38
7. Repeat step 5 and step 6 for the other cook zone if
applicable.
Note: When properly applied, the release sheet will
lie flat, with only a few small air bubbles.
MENU SCREENS
Note: For all screens that display the Checkmark key
and the X key ; pressing the Checkmark key
saves the selection and exits the screen. Pressing the X
key exits the screen without saving the selection.
At the bottom of the Main Menu screen the following keys
are displayed:
•Home Key : Enters the Cooking Settings Menu.
• Information Key : Displays the Current Status
screen and the following information.
• Displays the current grill temperatures for the
upper and lower platens, in addition to the
ambient temperature of the control board.
• Alert Key : Displays the recent faults and
events.
• Power On/Off Key : Activates/deactivates the
grill control.
• Back Arrow Key : Returns the user to the
previous screen.