Connecting CROSSFIRE Nano receiver
The CROSSFIRE Nano RX has much of the same feature set as the TBS CROSSFIRE Micro RX but on a
smaller form factor and without connectors. The small size allows you to save space and weight, while still
retaining the key features that make the CROSSFIRE system flexible and reliable.
Note: Firmware 2.24 or newer required! Make sure to update the CROSSFIRE TX before trying to bind the
receiver.
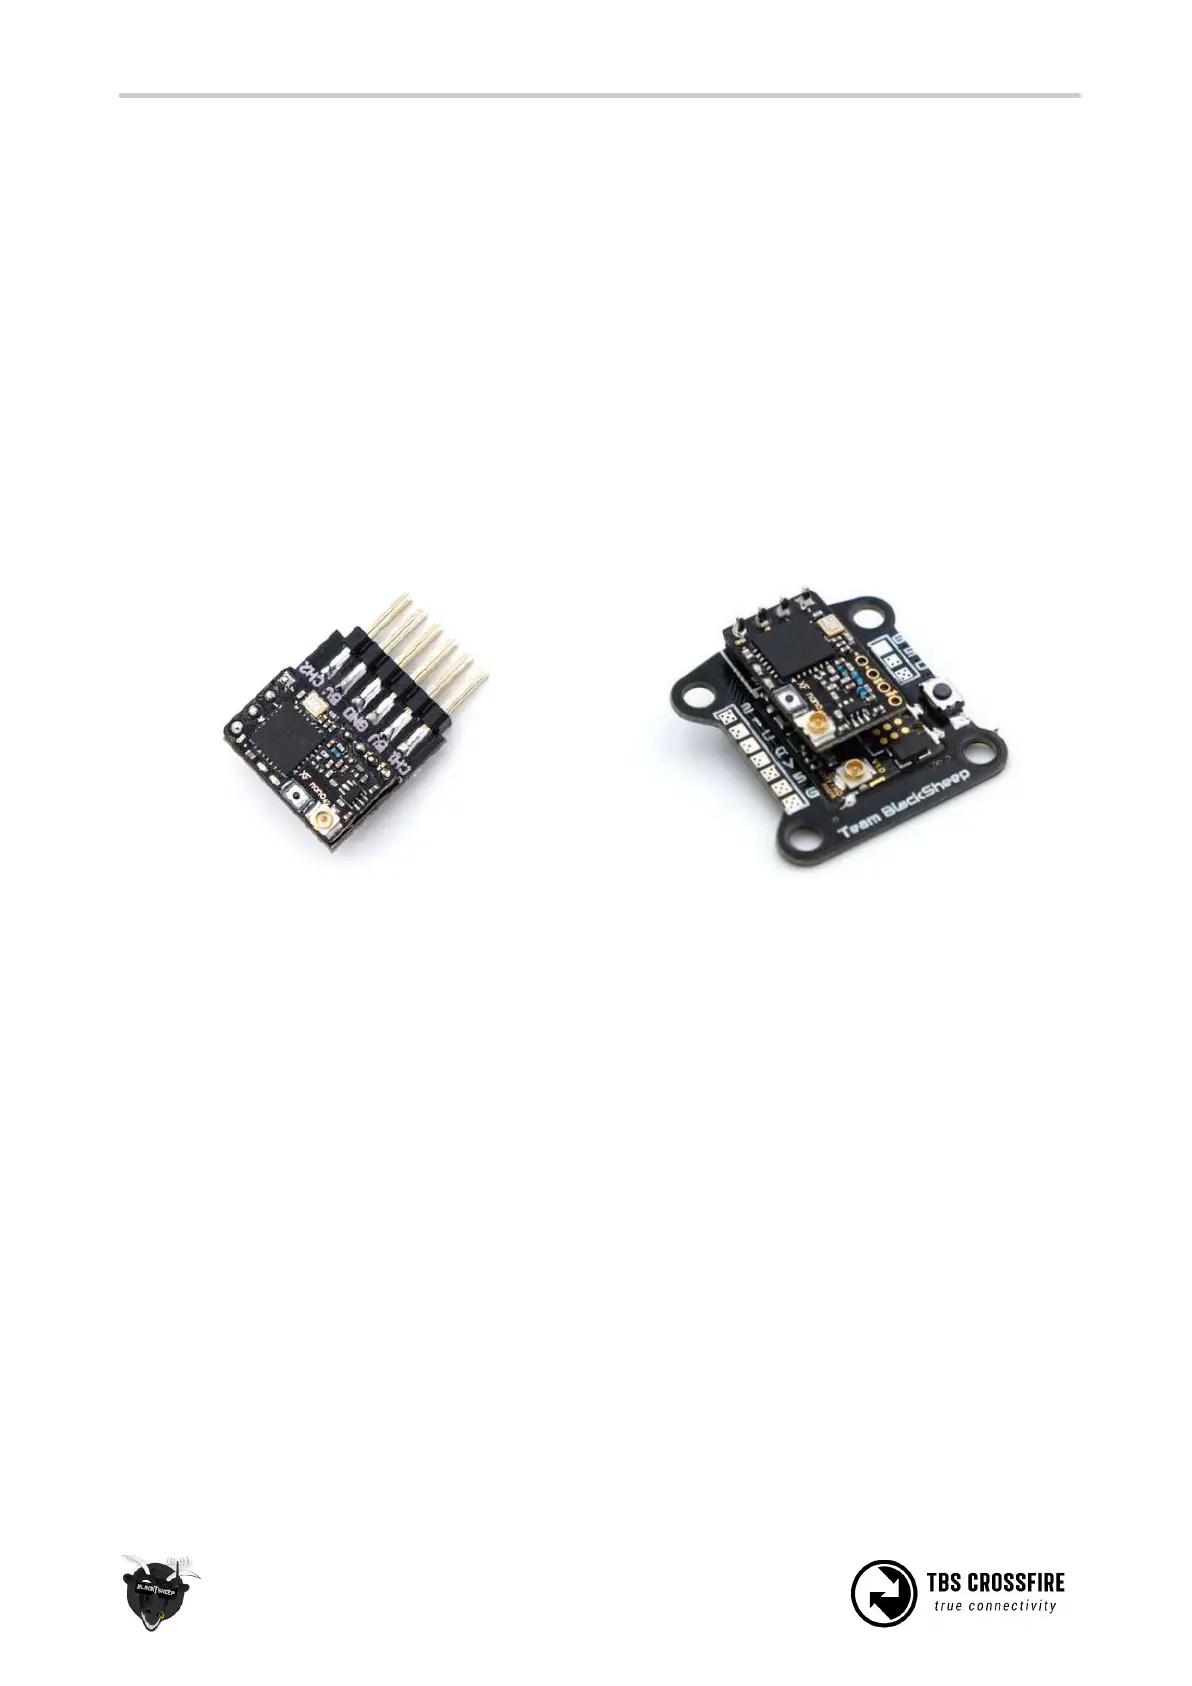
There are four channel outputs that can be used to connect a flight controller, servos or other R/C
equipment. Wiring the receiver requires soldering as it does not come with any headers (to reduce overall
size and setup flexibility). Break-out boards are available, both a simple servo board, and a duo CROSSFIRE
Nano and UNIFY PRO Nano on the same board.
The pads along the right side for 5V, GND, CH1 and CH2 (in the following picture) are spaced 2.54mm
apart, for normal headers. While the bottom row for CH3, CH4 and BST SCL and BST SDA are 2.00mm
apart.
To connect a R/C flight controller or servos, you only need to supply 5V from another source (Nano does
not provide voltage), GND and CH1 to CH4. For TBS gear that support BST, you need to connect GND, BST
SCL and BST SDA, in addition to 5V power for the receiver. The dipole antenna is connected to the U.FL
connector. Binding the receiver is done the same way as other CROSSFIRE RX modules.