you need to do the same just in the LUA script.
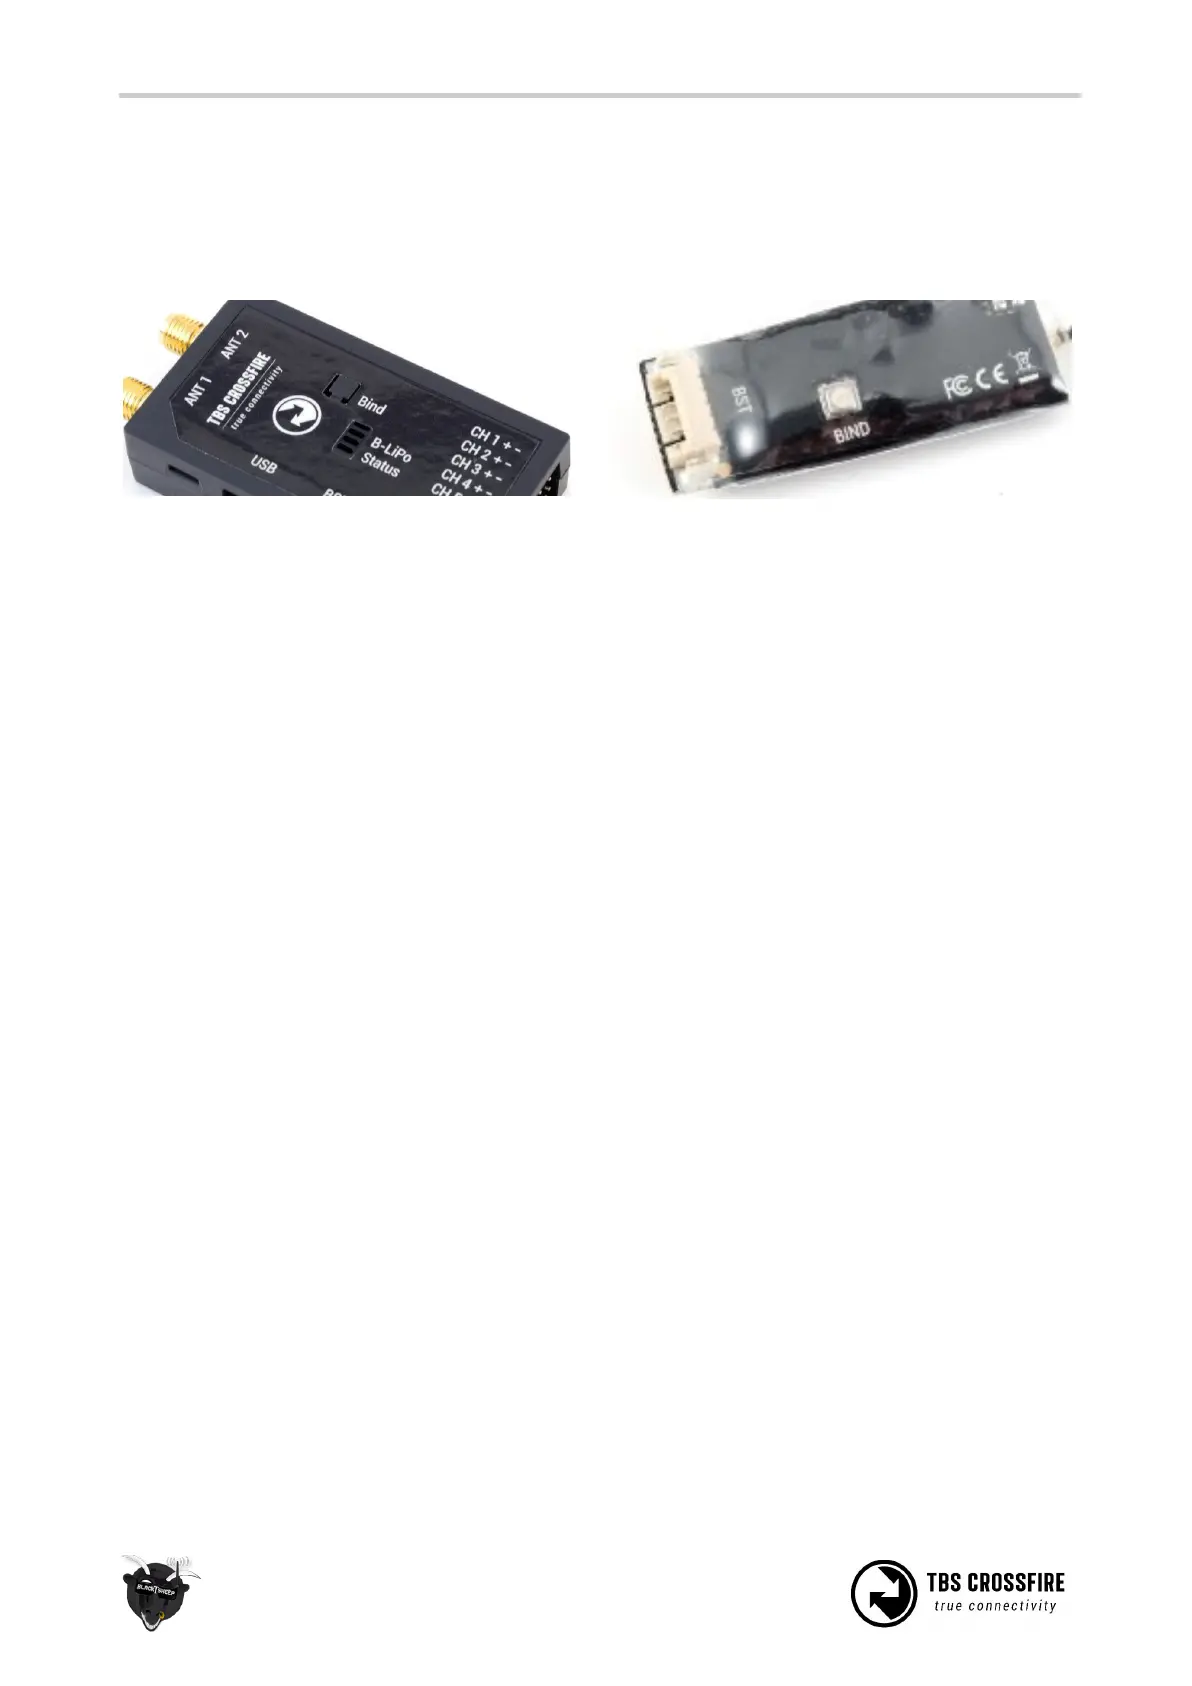
3. Now, power up the receiver, press and release the “BIND” button on the receiver to initiate
binding. On the receiver is a timeout of one minute for after power up to enter bind mode. If the
status LED will start blinking slowly you the receiver has switched successfully to bind mode.
Within a few seconds the process will finish with a “Binding complete” message. The receiver has now
stored the unique serial number of that particular transmitter. If the transmitter starts to flash blue this
means that you need to update your receiver. On the standard TX, radio you need to follow the
instructions shown on the screen. For the Micro TX, a short press on the button will initiate the update.
Auto bind
Since FW 2.31, the CROSSFIRE can bind to a previously bound receiver without the need of pushing the
“Bind” button on the receiver. Just the transmitter needs to initiate the binding process. This also applies if
you need to update your RX.
What you need to use auto bind:
- The receiver have been bound to the transmitter before
- Both the transmitter and the receiver, need to be on FW 2.31 or newer
Head-tracking
The standard TBS CROSSFIRE transmitter supports standard head-tracking input via the right 3-pin HT port.
Solder the included pigtail cable to suit your particular head-tracking setup. Only a two wire connection
between TBS CROSSFIRE and the head-tracker is required. The PPM feed from the head-tracker needs to
be connected to the PPM pin of the PPM pin and ground need to be connected to ground of the 3-pin PPM
cable.
The status display will indicate if the signal has been recognized properly. Inside the menu under
“Headtracker”, three functions for pan, tilt, and roll are freely mappable. Each function has a source and
destination selection. The selected channel under source will replace the channel selected under
destination. This gives you the ability to map your headtracker channels from any channel of the
headtracker input to the RC link frame.