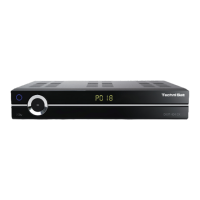
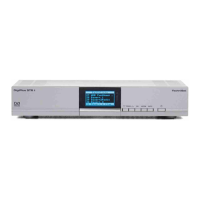
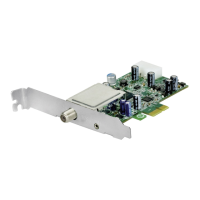
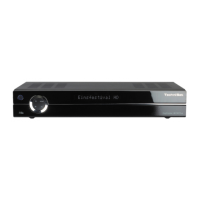
The following references (a b c etc.) relate to the illustration on the previous page.
4.1 Mains power connection
The digital receiver should only be connected to the power supply once you have finished
making all the connections to the various other components. This will prevent damage to the
digital receiver or other components.
a Once you have made all the other connections in accordance with the following
sections, use the power supply to connect the receiver to a 230 V/50-60 Hz mains
power outlet.
4.2 External unit
b Use a suitable co-axial cable to connect the LNB input on the digital receiver to your
external unit.
4.3 Connecting to a television set
c Connect the receiver (HDMI output) and TV (HDMI input) using an HDMI cable.
If your TV is appropriately equipped it will automatically switch to the HDMI input when
the digital receiver is switched on.
Alternatively:
d Connect the receiver (TV SCART socket) and the TV (SCART socket) via a
SCART cable.
If your TV is equipped appropriately, it will automatically switch to AV - and hence
satellite mode - when the digital receiver is switched on. It may be necessary to adjust
the signal type on your TV.
4.4 Hi-fi / surround amplifier
To achieve the best possible sound quality, you can connect your digital receiver to a hi-fi/
surround amplifier.
4.4.1 Digital
e If your amplifier has an appropriate electrical or optical input, connect the AUDIO
OUT DIGITAL electrical socket to the electrical or optical input on your amplifier.
Depending on the signal provided by each broadcaster, sampling rates of 32, 44.1 and 48
kHz are available.
In addition, where broadcast, the Dolby Digital signal is also available on this output.
4.4.2 Analogue
e Use a suitable cable to connect the cinch sockets (Audio R and Audio L) on the
digital receiver to an input on your hi-fi amplifier
(e.g. CD or AUX; note that the phono input is not suitable!).
9
 Loading...
