Operating Information
2-- 6
TDS1000 and TDS2000 Series Digital Storage Oscilloscopes Service Manual
Functional Check
Perform this quick functional check to verify that your oscilloscope is operating
correctly.
PASSED
ON/OFF
button
1. Turn on the oscilloscope.
Wait until the display shows that all power-on tests passed. Push the DEFAULT
SETUP button. The default Probe menu attenuation setting is 10X.
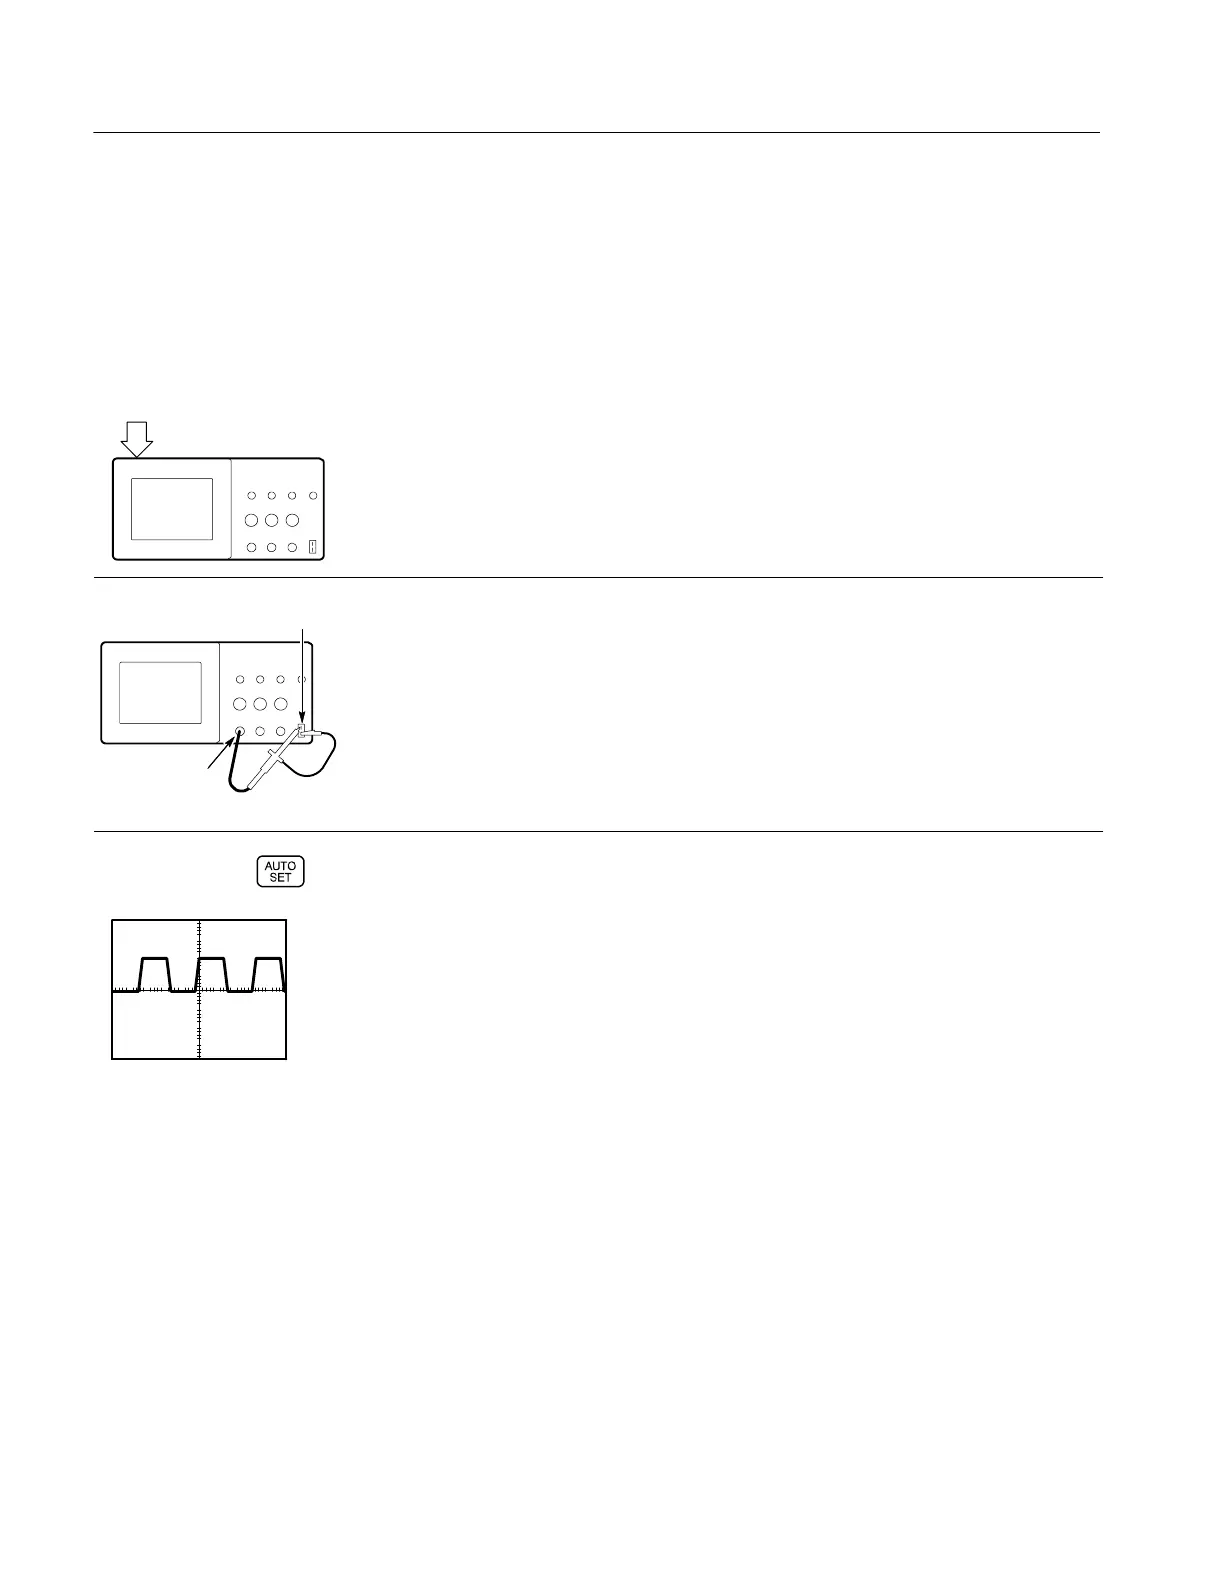
CH1
PROBE COMP
2. Set the switch to 10X on the P2200 probe and connect the oscilloscope probe to
channel 1. To do this, align the slot in the probe connector with the key on the
CH1 BNC, push to connect, and twist to the right to lock the probe in place.
Attach the probe tip and reference lead to the PROBE COMP connectors.
3. Push the AUTOSET button. Within a few seconds, you should see a square
wave in the display (approximately 5 V at 1 kHz peak-to-peak).
Move the probe to the CH2 BNC. Repeat step 3. For four-channel models,
repeat step 3 for CH3 and CH4. A similar test, described below, can be
performed on the EXT TRIG connector, although the amplitude scale factor is
undefined.
Connect the probe to the EXT TRIG BNC. Attach the probe tip and reference
lead to the PROBE COMP connectors. Push TRIG MENU and push the top
option button to select Edge triggering. Then, push the second option button to
select Ext as the source. Finally, push and hold the front-panel TRIG VIEW
button. Once again, you should see a square wave in the display.
 Loading...