Step 2: Prepare Mounting Surface
1. If applicable, use a stud finder to locate a wooden support stud. Plywood, or other flat wall surfaces
capable of supporting the weight of the Wall Connector, may also be used.
2. Based on the chosen wire entry path, position the included cardboard mounting template onto the
installation surface and use a 5/32 in (4 mm) bit to drill two pilot holes (one from the top row and one
from the bottom row).
NOTE: When installing for rear left or rear right wire entry, select the two mounting holes that
are on the opposite side of the wire entry point.
NOTE: Use a level tool with the cardboard mounting template to ensure a level installation as
desired.
Drill bit, 5/32 in (4 mm)
Top Entry Bottom Entry Rear Left Entry Rear Right Entry
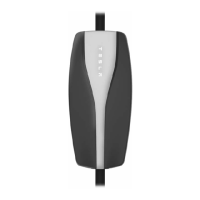
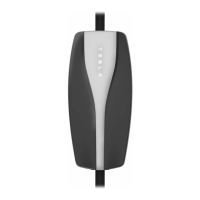
INSTALLATION
22Gen 3 Wall Connector Manual