24 LMP90100 EVB User’s Guide August 2012
2. Connect SPIO-4 board to a PC via USB.
3. Use a multimeter to measure LMP90100EB’s JP6, JP7, and JP14.P2; they should all be
approximately 5V. If they are not, check your power supplies and jumpers.
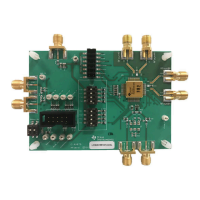
F. Connect a K type thermocouple to J4. Note that the thermocouple’s positive input
(TCP) = VIN4 and negative input (TCN) = VIN3.
G. Configuring the LMP90100 for the LM94022 Using the Sensor AFE Software
Follow the step-by-step instructions under the “HelpBar” mini-tab (left hand side of the GUI) to
configure the LMP90100 for the LM94022 IC sensor. These step-by-step instructions are
discussed in details below, and the recommended configuration should look similar to Figure 22.
Figure 22 - Recommended LMP90100 Configuration for the LM94022
1. Step 1: Select a Sensor – click on the “+” button to enter the “Sensor Database” tab. Select
“Analog” “LM94022”.
2. Step 2: Configure Inputs – click on the “INPUT MUX” block to set “VINP = 101: VIN5”
and “VINN = 111: VIN7”. Click on the “Eval. Board Settings button located next to
the block diagram. This should open up a PDF of the schematic of the thermocouple and
LM94022 application.
3. Step 3: Source IB1/IB2? – this step can be ignored because neither IB1 nor IB2 is connected
to the inputs.