INS303-5 16/22
Installation
Remove all power from power supply before making any connections.
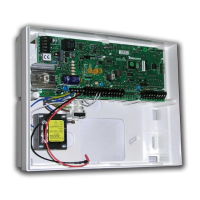
Install the module in the required location making sure that it mounted away1.
from metal objects and other cables as these can affect the performance of
the unit.
Connect the +12V and 0V from the power supply to the + and - network2.
connections of the module.
Connect the optional devices such the, RTE button and speaker.3.
Set the Internal/External coil jumper links $ to Internal (Int).4.
Ensure that Options switch 1 is set to ON (Internal Prox. Enabled) and switch5.
2 is set as required, (see chapter 6.2)
Ensure that Options switch 3 and 4 are initially set to OFF, (see chapter6.
6.2)
Re-apply power to the power supply.7.
Learn or program tags.8.
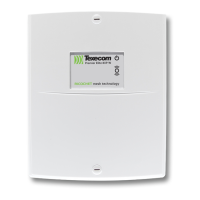
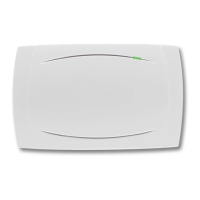
Check that the Premier iProx and proximity tags operate correctly.9.
Learning Existing Premier Elite Proximity Tags
If the system is already using Premier proximity tags for the operation of the alarm
system, then the existing tags can be learnt into the iProx module. This will allow
users with the Premier Elite proximity tags to operate both the door access control
and the alarm system with same tag.
 Loading...


