EN
REVERSE STITCHING
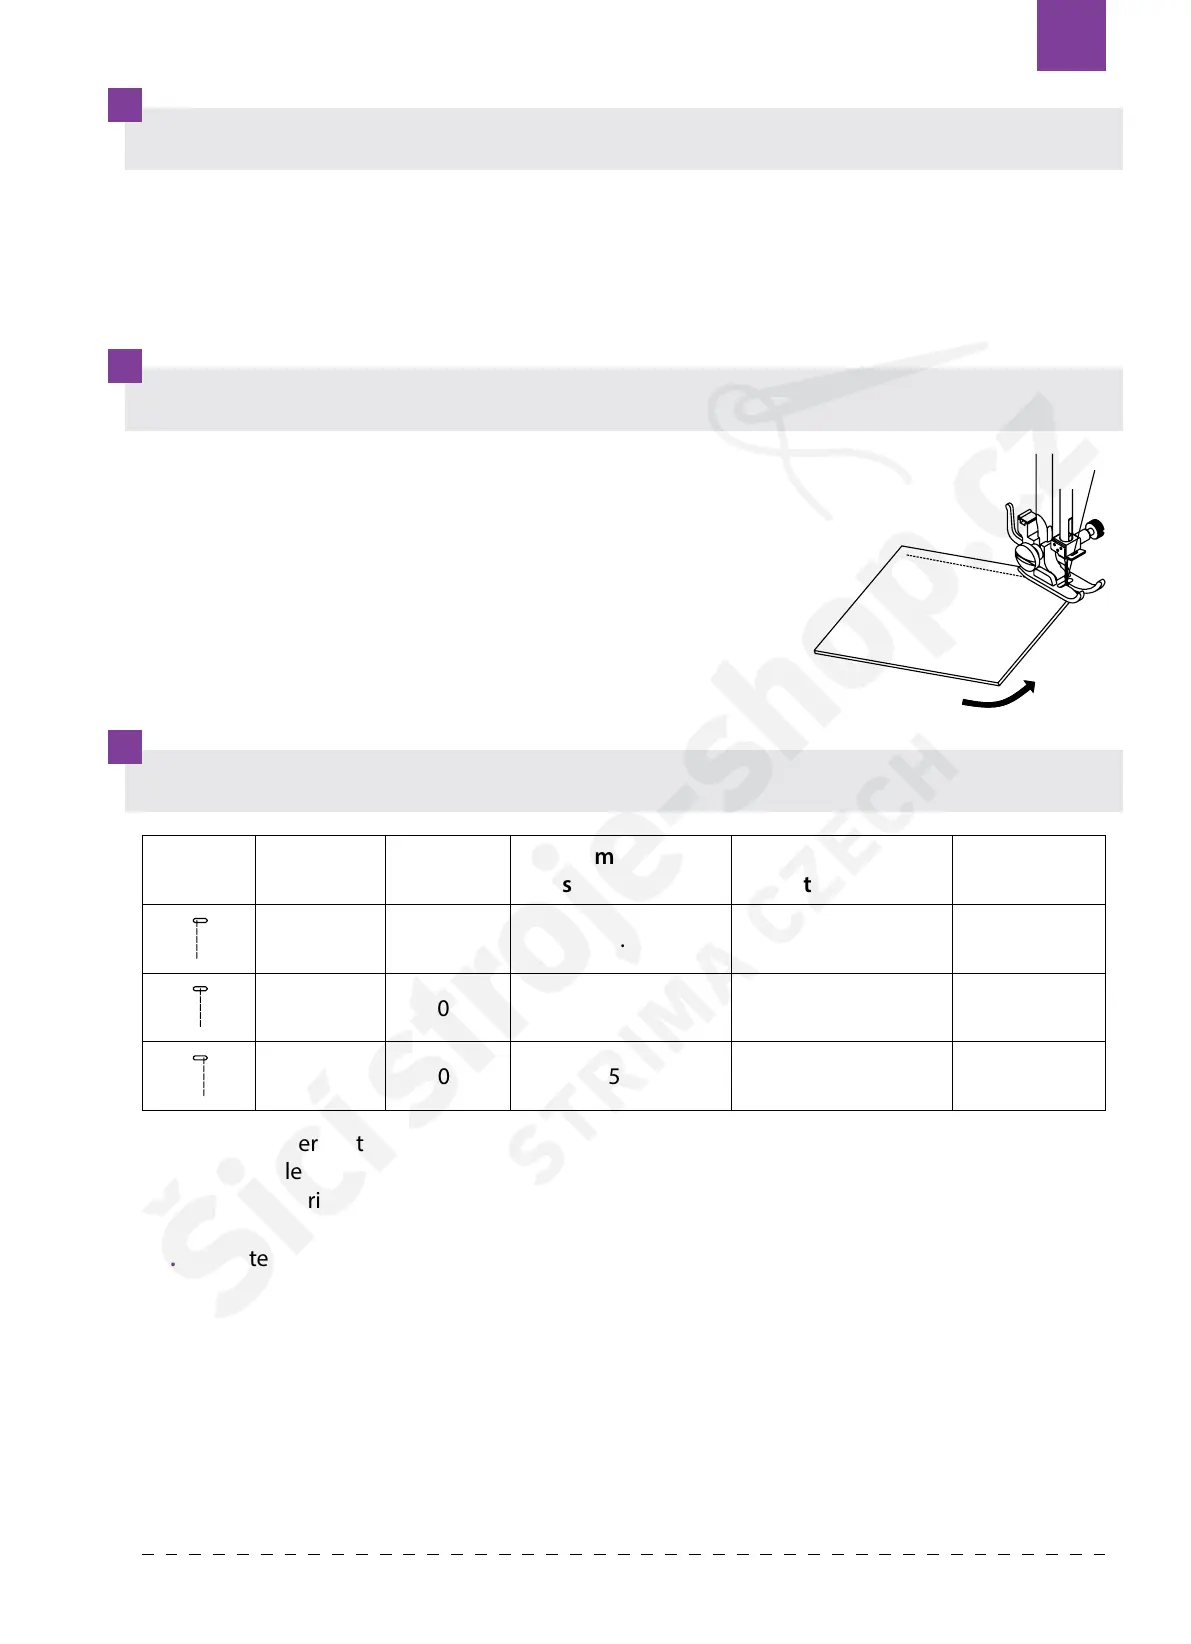
TURNING CORNERS
STRAIGHT STITCH
Reverse stitching is used for reinforcing the ends of the seams.
1. Place the fabric in position where back stitching is to be made and lower the presser foot.
2. Press reverse stitch lever and sew 4-5 stitches.
3. Release reverse stitch lever and press foot control to sew forward.
4. When you reach the end of a seam, press reverse stitch lever and sew 4-5 reverse stitches.
1. Stop the machine when you reach a corner
2. Lower needle into the fabric
3. Raise the presser foot.
4. Use the needle as a pivot and turn fabric.
5. Lower the presser foot and resume sewing.
1. Check presser foot (universal purpose presser foot).
2. Push needle position button to move needle to its highest position.
3. Place the fabric under the presser foot. Hold upper and bobbin thread loosely
4. Lower the presser foot lever and start sewing.
5. Regulate the speed while sewing.
6. When you reach the end of seam, press the reverse lever to sew 3-4 stitches.
7. Raise the presser foot lifter.
8. Turn the handwheel toward you to bring the needle to it’s highest position. Pull the fabric out
from under the foot to the back of the machine. Cut the threads on the thread cutter.
Stitch Name
Number
of stitch
Recommended
stitch width
Recommended
stitch lenght
Type of the
presser foot
STRAIGHT
STITCH
01 0.0 2.5 Universal
STRAIGHT
S
TITCH
00 2.5 2.5 Universal
STRAIGHT
STITCH
02 5.0 2.5 Universal
Texi Joy 48 75