January 8, 2009 4 Manual 0-2880 Rev AB
Cutting or Gouging
The torch can be held comfortably in one hand or steadied
with two hands. Choose the holding technique that feels
most comfortable and allows good control and movement.
Sequence of Operation
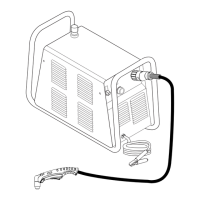
1. Turn on power and adjust gas pressure on the Power Sup-
ply pressure gauge. Refer to the charts for optimum pres-
sure settings for the combination of torch tip and total
leads lengths (including extensions) in use.
2. Adjust current output on the Power Supply to match the
selected tip and attach the work clamp firmly to the
work.
WARNING
Maximum current for is 60 Amps for SL60 Torches,
or 100 Amps for SL100 Torches. Operation of this
torch at higher outputs may damage the torch, the
leads, or the Power Supply. DO NOT operate the
SL60 Torch at more than 60 Amps, or the SL100
at more than 100 Amps.
CAUTION
Do not operate the torch with the torch tip in contact
with the work at outputs greater than 40 amps. Drag
cutting at higher output currents can cause irrepa-
rable damage to the torch parts. Use only shielded
parts at output currents higher than 40 amps.
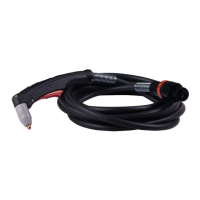
3. Hold the torch away from your body.
4. Slide the trigger release toward the back of the torch
while simultaneously squeezing the trigger. The pi-
lot arc will start.
A-02986
Trigger
Trigger Release
5. Bring the torch within transfer distance to the work. The main
arc will transfer to the work, and the pilot arc will shut off.
NOTE
The gas preflow and postflow are a characteristic of
the power supply and not a function of the torch.
3
4
Art # A-03383
Trigger
2
1
Trigger Release
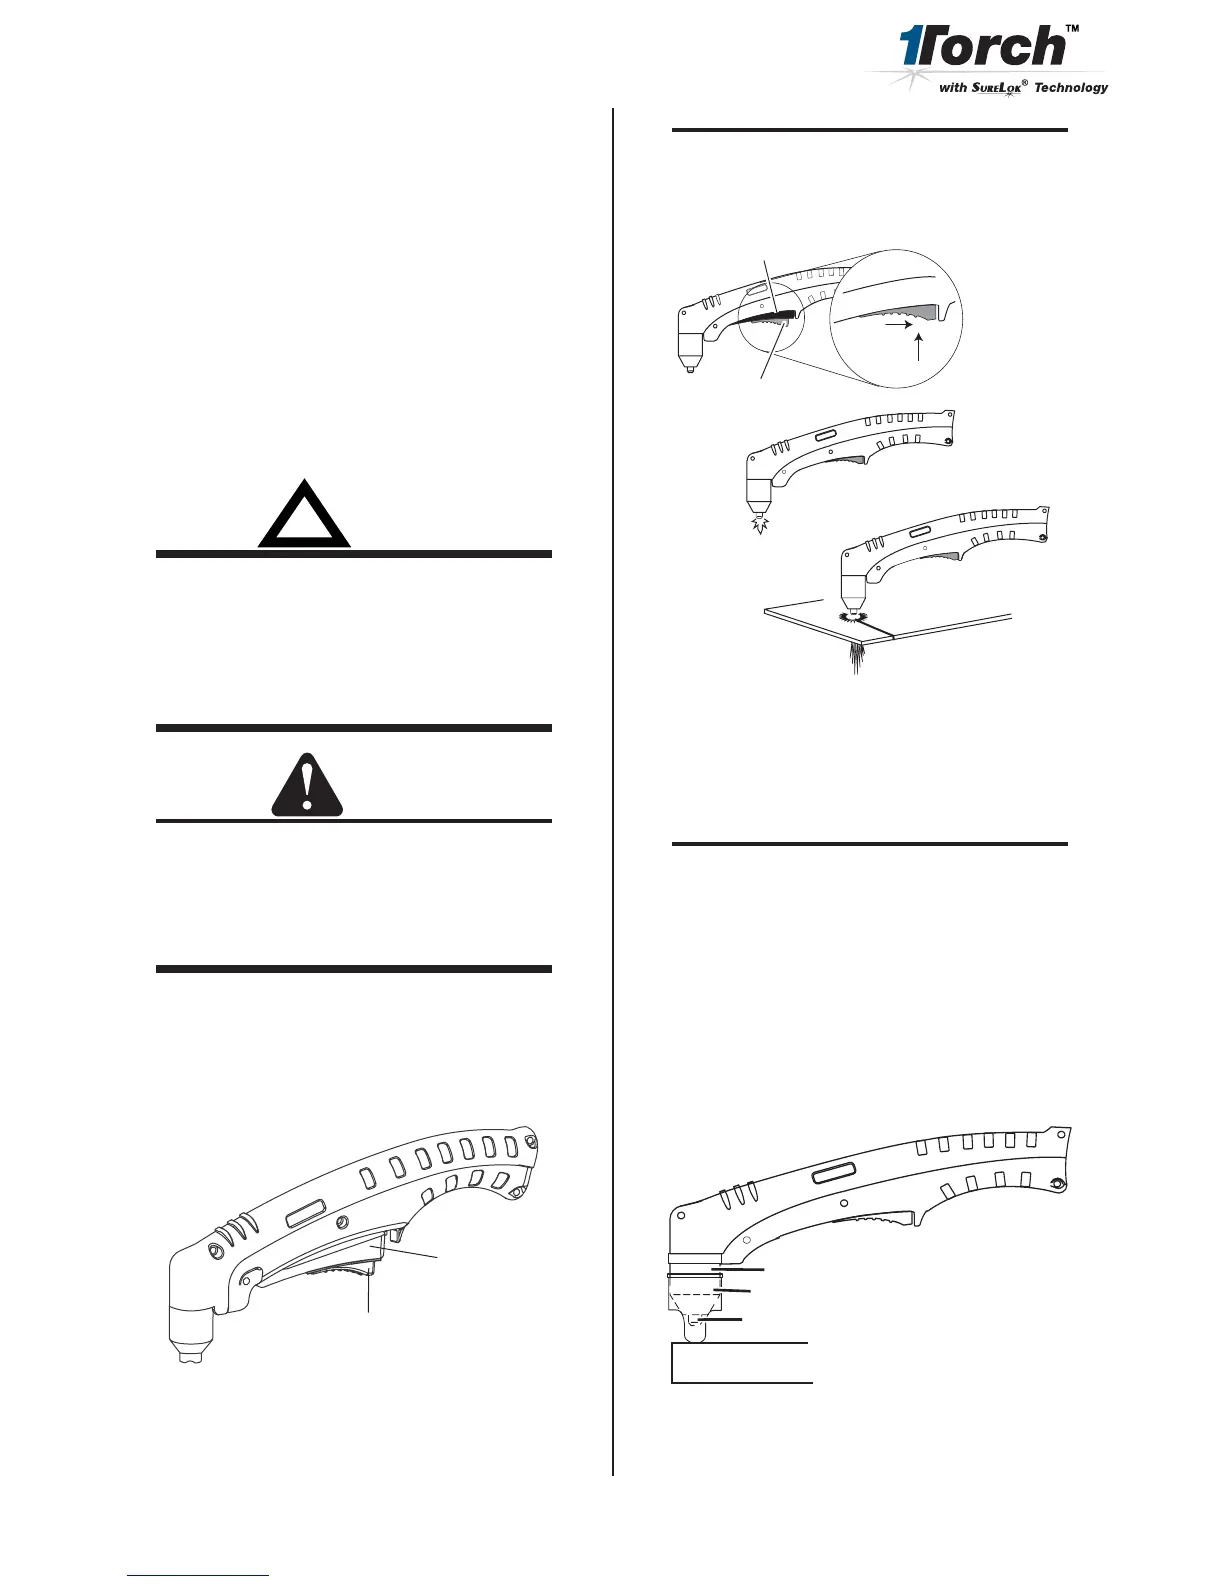
6. Cut as usual. Simply release the trigger assembly to
stop cutting.
7. Follow normal recommended cutting practices as pro-
vided in the power supply operator's manual.
NOTE
When the shield cup is properly installed, there is
a slight gap between the shield cup and the torch
handle. Gas vents through this gap as part of nor-
mal operation. Do not attempt to force the shield
cup to close this gap. Forcing the shield cup against
the torch head can damage components.
8. The optional Standoff Guide allows the user to easily ad-
just and maintain a consistent standoff height for most ap-
plications.
Art # A-04063
Shield Cup
Standoff Guide
Torch Tip
Workpiece