Installation
SORVALL
®
Centrifuges
2-4
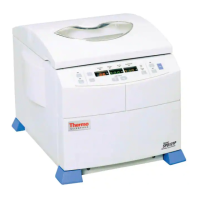
3. By hand, lower the two locking stabilizers in the front of the
centrifuge until they lightly contact the floor. Use the 9/16-inch
wrench (supplied with the centrifuge) to rotate each stabilizer an
additional two revolutions. This will raise the front caster about
3 mm (1/8 inch) off the floor. Check that the centrifuge does not
rock on its four support points, the two front stabilizers and the
two rear casters (see figure 2-3). Read the CAUTION.
4. Be sure the POWER switch is set to "O", then plug in the
centrifuge power cord.
5. Optional: To be certain the centrifuge is working properly, turn
to the Customer Control Inspection paragraph located in Chapter
5, Maintenance, and perform the procedures listed under Speed
Control, Timer, and Temperature Control.
NOTE If the centrifuge is to be connected with the optional
Network Computer Interface Package for automatic qual-
ity control and run logging capability, Thermo or a local
representative for SORVALL
®
products will install the
package components as described in the WatchLog
Network™ User's Manual (supplied in the package).
After the RC12BP™ satisfies the inspection/performance criteria, it
can be considered ready for use.
APPROX. 3 mm
(1/8 inch) OFF THE
FLOOR
LOCKING
STABILIZER
(9/16 inch HEX
[≈ 14 mm])
Figure 2-3. Front Locking Stabilizer Adjustment
C A U T I O N
The locking stabilizers must
be used as explained to lift the front
caster off the floor. The centrifuge
can be damaged if it is operated when
the stabilizers are not properly ad-
justed. After adjusting the stabilizers,
make sure that the centrifuge is rea-
sonably level, and that it does not
rock on three of the four support
points.
!