11
E
N
G
L
I
S
H
2. E-Trigger Battery Installation or Replacement
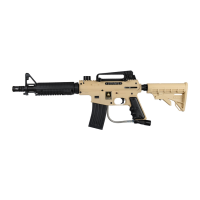
a. Remove two screws (49) and the left grip (50) shown in Figure 5.
b. Carefully remove the old battery out of receiver cutout bringing non-connected
end out rst. As you remove the battery from the receiver, do not pull on the wires.
You might pull the wires off of the internal Electronics
Assembly.
c. Carefully remove the old battery from the battery
connector.
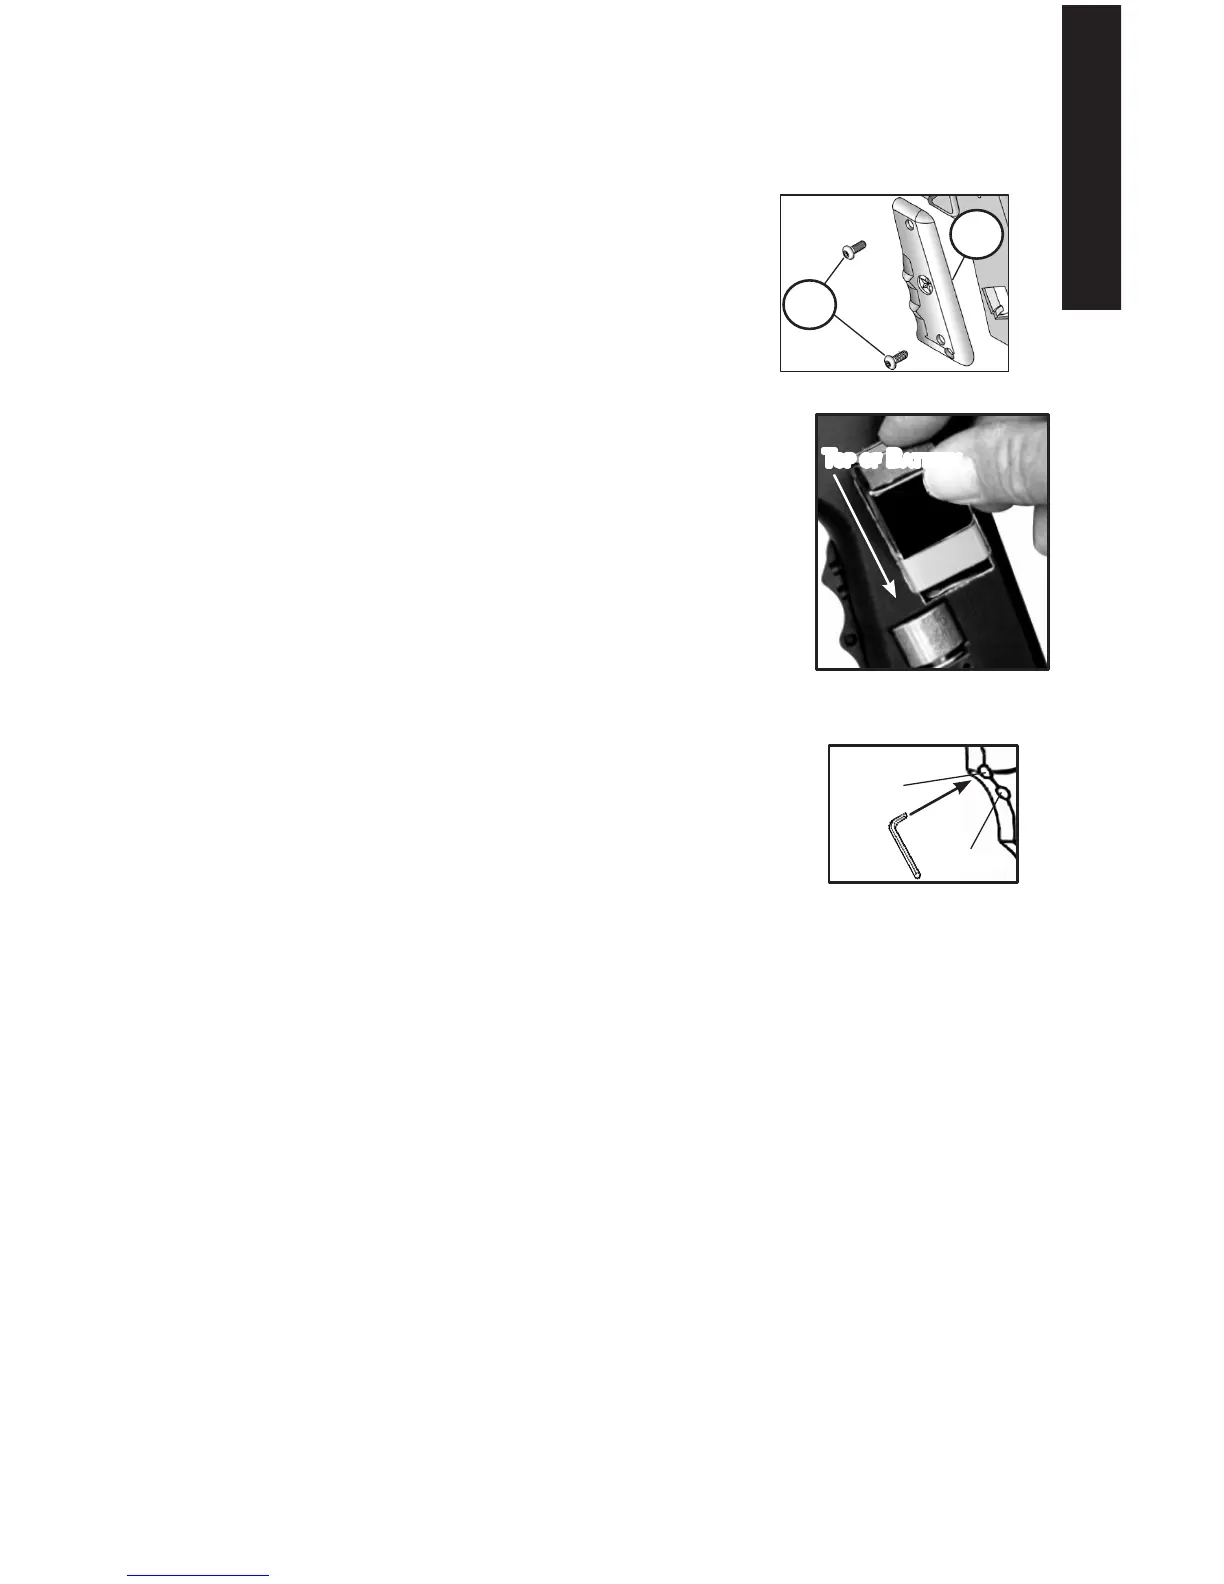
d. Attach a new 9 volt battery to the battery connector,
using the correct polarity of the battery. Be sure
wires lay at inside the cutout area of receiver
(as shown in Figure 16 on page 19). Carefully tilt
and insert the new battery, connector end rst, into the
receiver as shown in Figure 6.
e. Reinstall left receiver grip with twp grip screws. Battery
installation is complete.
NOTE: The E-Trigger has a low battery indicator. The “Ready
To Fire” solid green LED light turns to a red LED light when the
battery is low and needs to be replaced.
3. Operation
To Turn ON the E-Trigger for normal operation (Ready To Fire):
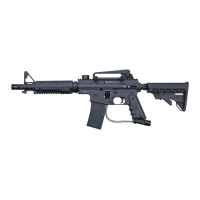
a. Without holding the trigger, use a small object like the
included allen wrench to press and hold the power button
for about 5 seconds until the LED light comes on green.
b. When you see the green light, release the power button.
c. Your marker is now ready for normal operation in the
Semi-Auto Firing Mode (1 pull of the trigger res 1 time).
This is the Factory Default Firing Mode Setting.
NOTE: If pressing the power button failed to turn on the LED light,
see E-Trigger Troubleshooting on page 12.
To turn OFF the E-Trigger, press and hold the power button until the LED turns off, then
release the power button.
NOTE: The E-Trigger will shut off automatically after a prolonged period of inactivity.
4. Changing the Firing Mode
Put the Trigger Safety in Safe mode (page 6) and install the barrel blocking device (page 4).
The ring mode that you choose determines how the marker reacts to trigger pulls.The default
ring mode is Semi-Auto. To select a new ring mode, turn on the E-Trigger. Each press and
release of the power button advances the ring mode to the next ring mode in the menu (the
LED ashes 1, 2, 3 or 4 times to identify the ring mode you have selected).
SEMI-AUTO (1 pull/release of the trigger res 1 time.) The LED ashes one time to indicate
the marker res in Semi-Auto mode.
Press and release the power button to choose the next ring mode
TRIPLE FIRE (once started, provides a 3 shot burst for each pull of the trigger). To re in
Triple Firing mode you must pull the trigger 2 single pulls within 1 second and the third trigger
pull res a 3 shot burst at a rate of 12 paintballs per second (bps). Subsequent trigger pulls
within 1 second re additional 3 shot bursts.
50
49
Figure 5: Remove Grip Screws
Power
Button
Led
Figure 7: Power Button
and LED Location on
Front of Grip
Figure 6: 9 Volt Battery
toP of Battery