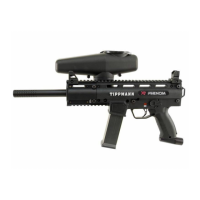
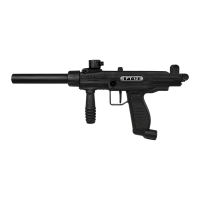
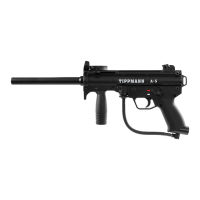
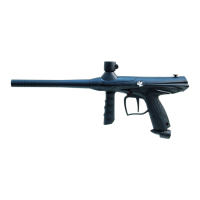
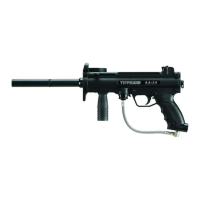
Getting Started
• Eyeprotectiondesignedforpaintballusemustbewornbytheuserandanyperson
withinrange.
• Donotdisassemblethismarkerwhileitispressurized.
• Donotpressurizeapartiallyassembledmarker.
• Readeachstepcompletelybeforeperformingthestep.Thefollowinginstructions
areforbothX7Phenommodels(Electro-pneumaticandMechanical)unless
speciedotherwiseinthestep’sheading.
NOTE:Carefullyhandstartallthreadedpartswhenassembling,anddonotovertighten,as
thismaypotentiallystripthethreadedparts.RefertothePartsDiagramonpages26and27
fortheseinstructions(itemnumbersareinparentheses).
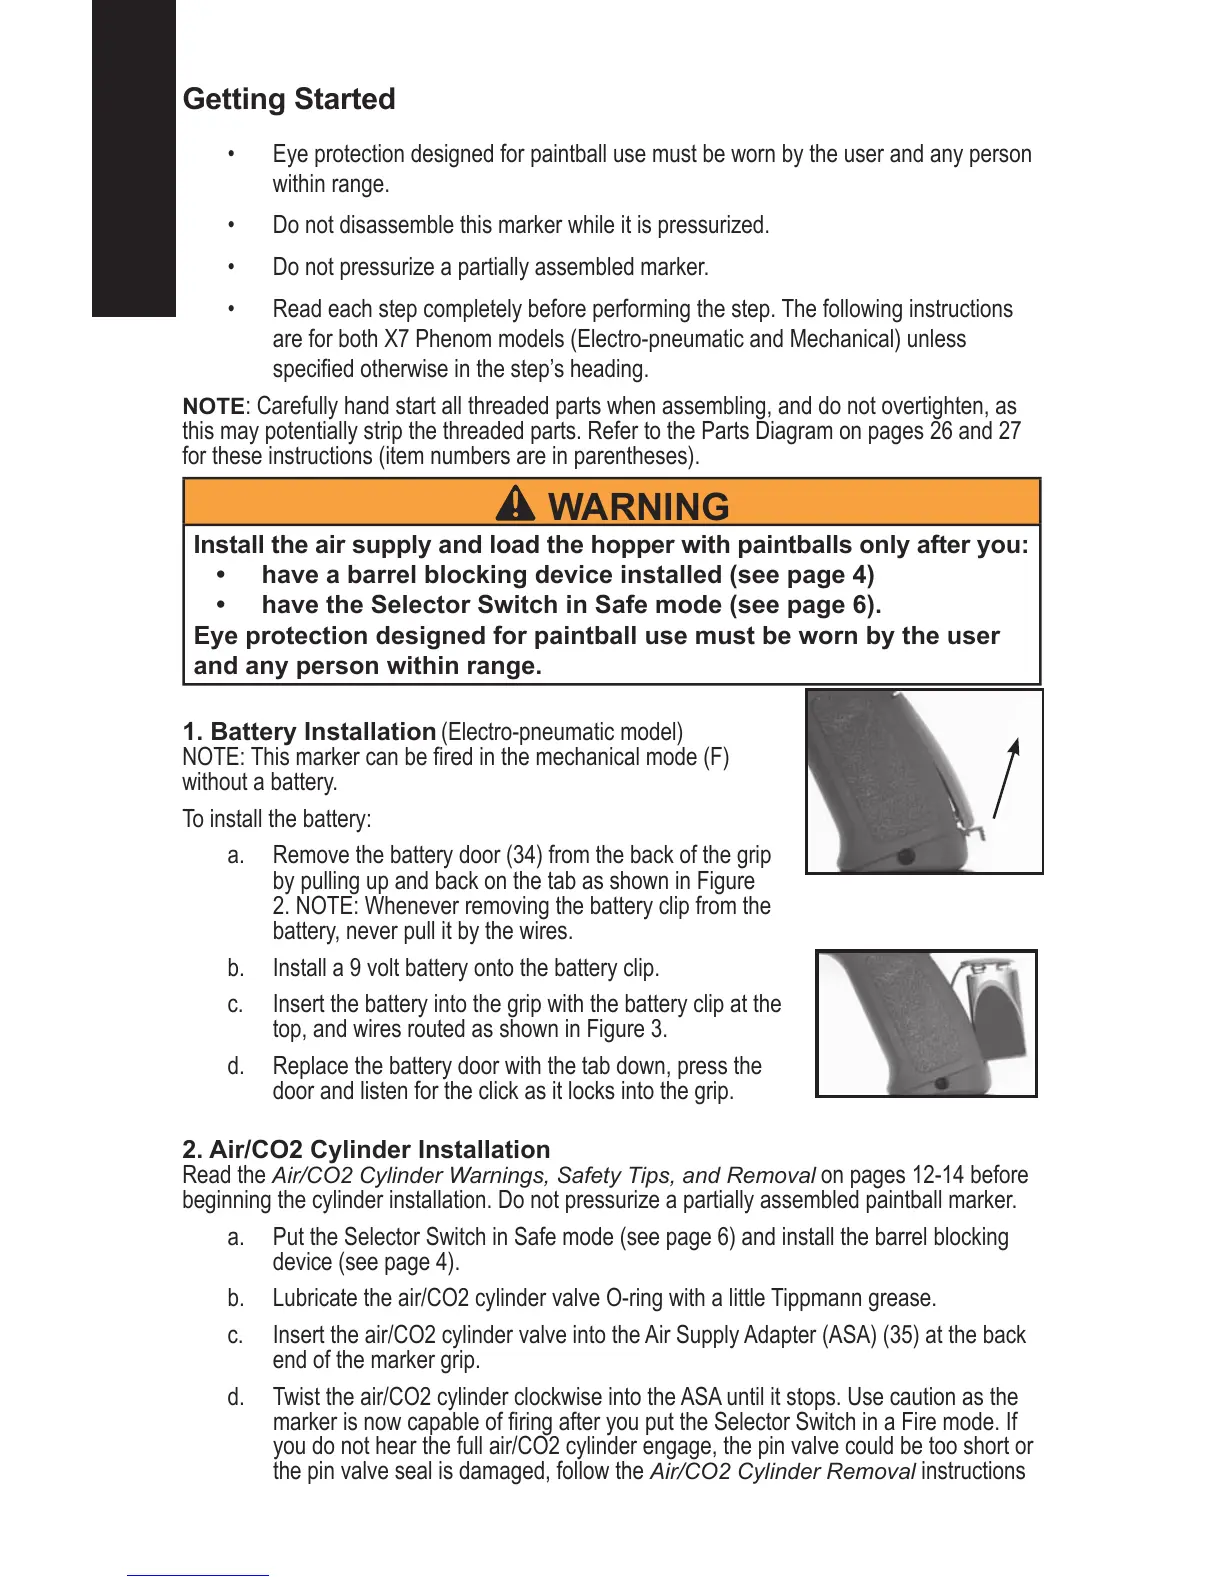
1. Battery Installation(Electro-pneumaticmodel)
NOTE:Thismarkercanberedinthemechanicalmode(F)
withoutabattery.
Toinstallthebattery:
a. Removethebatterydoor(34)fromthebackofthegrip
bypullingupandbackonthetabasshowninFigure
2.NOTE:Wheneverremovingthebatteryclipfromthe
battery,neverpullitbythewires.
b. Installa9voltbatteryontothebatteryclip.
c. Insertthebatteryintothegripwiththebatteryclipatthe
top,andwiresroutedasshowninFigure3.
d. Replacethebatterydoorwiththetabdown,pressthe
doorandlistenfortheclickasitlocksintothegrip.
2. Air/CO2 Cylinder Installation
ReadtheAir/CO2 Cylinder Warnings, Safety Tips, and Removal onpages12-14before
beginningthecylinderinstallation.Donotpressurizeapartiallyassembledpaintballmarker.
a. PuttheSelectorSwitchinSafemode(seepage6)andinstallthebarrelblocking
device(seepage4).
b. Lubricatetheair/CO2cylindervalveO-ringwithalittleTippmanngrease.
c. Inserttheair/CO2cylindervalveintotheAirSupplyAdapter(ASA)(35)attheback
endofthemarkergrip.
d. Twisttheair/CO2cylinderclockwiseintotheASAuntilitstops.Usecautionasthe
markerisnowcapableofringafteryouputtheSelectorSwitchinaFiremode.If
youdonothearthefullair/CO2cylinderengage,thepinvalvecouldbetooshortor
thepinvalvesealisdamaged,followthe
Air/CO2 Cylinder Removalinstructions