16
E
N
G
L
I
S
H
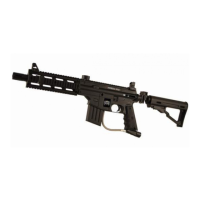
1. To remove the Barrel (16), simply unscrew the Barrel from the Upper Receiver, and to
reinstall it, just turn it clockwise to thread it into the Upper Receiver.
2. To remove the Front Grip/Shroud Assembly (15), pull each of the two push
pins (12 and 13), from the assembly. Notice that #12 is longer than #13; keep them
separated. The Front Grip/Shroud Assembly can now be removed. To remove the
Front Sight (18), remove the Bolt (19) and slide the Front Sight towards the muzzle
end of the barrel until it comes off.
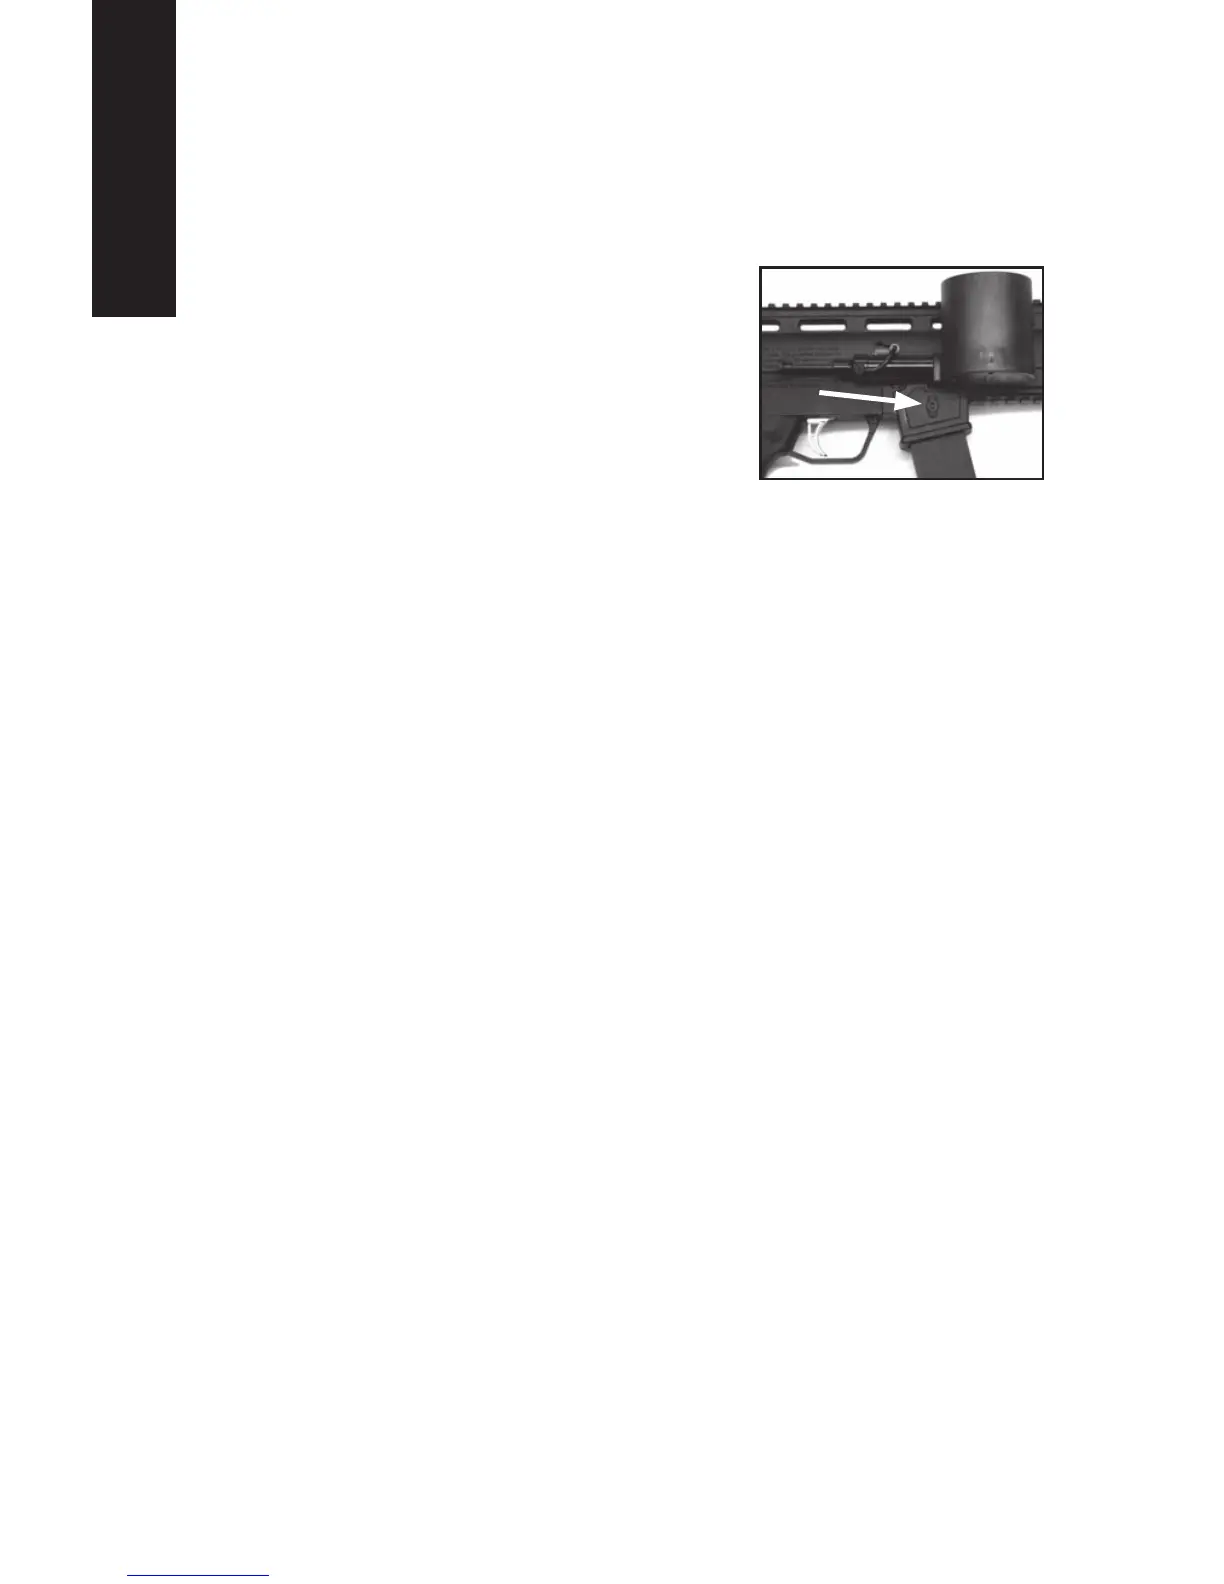
3. To remove the Magazine (17) from the receiver, press
the magazine release button (see arrow in Figure
11), then pull the magazine down to remove. Be sure
to keep the opposite side of the receiver clear while
pressing the button to allow the magazine to release.
The Magazine is designed to hinge open to allow for
storage of tools and grease.
4. To remove the Lower Receiver, pull two push pins
(12), from the Lower Receiver assembly. Pull the Lower
Receiver straight down to get it apart from the Upper
Receiver assembly.
5. Remove remaining parts from the Upper Receiver:
a. Remove the last remaining Push Pin (13) from the Upper Receiver.
b. Pull the End Cap (11) from the rear of the Upper Receiver.
c. Pull the Pressure Gauge Plug (9) from the Upper Receiver.
d. Slide the Cyclone Feed System Hose Fitting (3) back to the keyhole and pull the
Hose Fitting from the Valve assembly.
e. The Valve assembly (47), Front Bolt assembly (7), and the Compression
Spring
(6) all slide out from the open end of the Upper Receiver. Inspect, clean, and
lubricate the specied parts with Tippmann grease every 8-10,000 shots and prior to
re-assembly.
6. To remove the Cyclone Feed System (CFS), rst remove the Hopper (22) by
turning clockwise and lifting from the CFS. Remove the Bolt (14). The Hose (4) should
have been disconnected in the previous step. Set the CFS aside; see page 24 for
further disassembly of the CFS.
7. To remove the Rear Sight (20), remove the Bolt (19) and slide off from the Upper
Receiver rail.
Flex Valve Disassembly/Assembly
It is not necessary to disassemble the Upper Receiver to access and service the Flex Valve
assembly or its internal parts. The Valve can be slid out the back of the receiver as described
in Step 5.e. above.
Disassembly instructions (refer to Figures 13 and 14 on page 19):
1. Inspect and clean the exterior of the Valve assembly (47).
2. Remove the Bumper Disk (49) and the Spacer Washer (48). Clean and inspect.
Replace if damaged.
3. Using a 3/16” or 1/8” Allen wrench, remove the Velocity Adjuster (65) by rotating it
counterclockwise until it is loose. Set aside.
4. Pull the Spring (64) out the back. Lightly tap the rear of the Valve Body on the
workbench, and the Regulator Piston (63) comes out. Inspect, clean, and lubricate
the Regulator Piston with Tippmann grease every 8-10,000 shots and prior to re-
assembly. There is no need to further disassemble the marker for normal maintenance.
5. Hold the Valve Body with your hand while using an adjustable wrench to turn
(counterclockwise) the
Regulator Body (61) out from the Valve Body. Once removed,
Figure 11: Magazine Release
Button