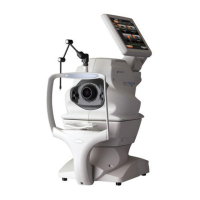
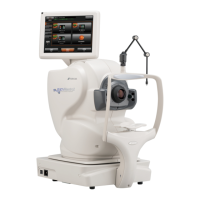
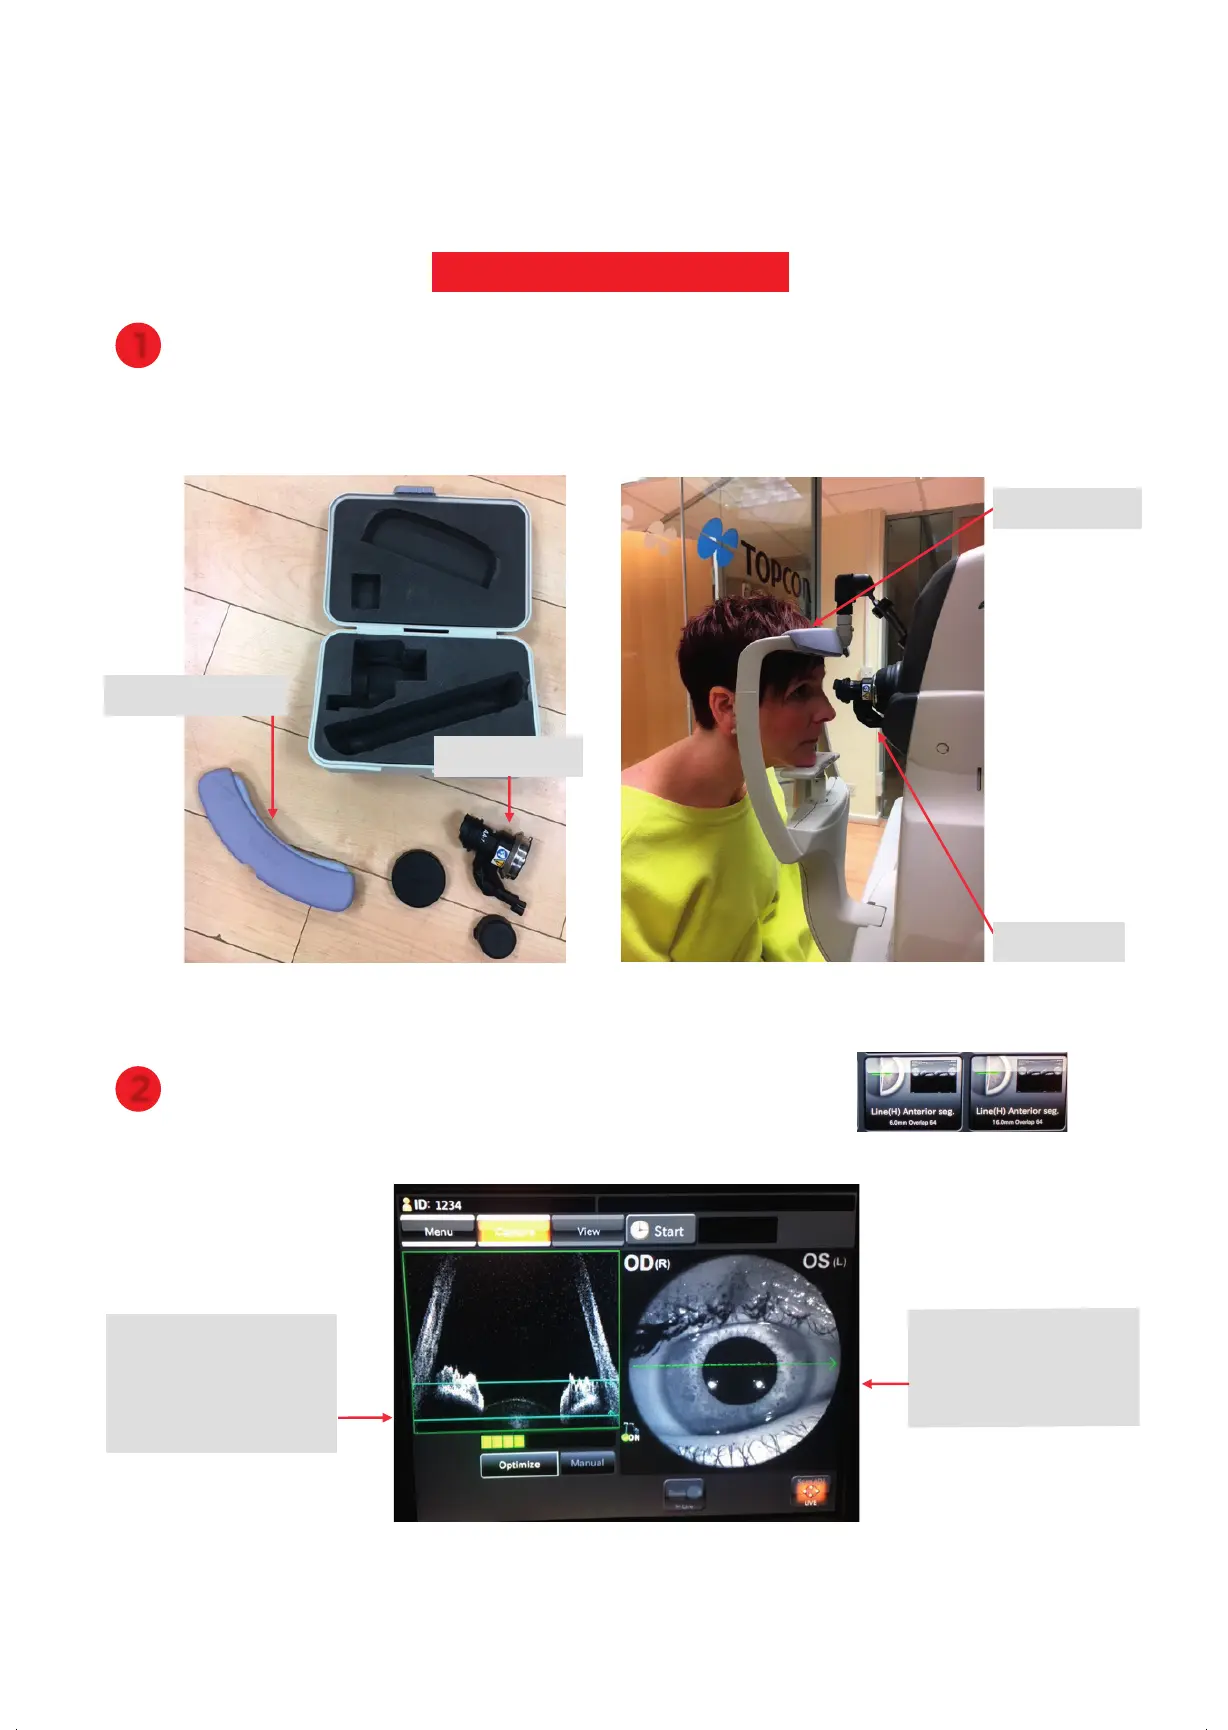
To capture an Anterior Scan, instruct the Patient to look straight ahead and
ensure they are aligned with the callipers on the side of the headrest. Attach the Anterior
Lens and the Anterior Headrest.
1
Select 16 mm or 6 mm Line Anterior to assess the Patient’s angles.
There is no internal fixation, however just instruct Patient to look
straight ahead or turn the External Fixator on.
2
Anterior Segment Scanning
Anterior Headrest
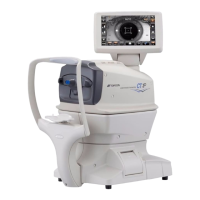
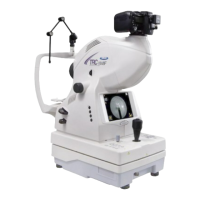
2. Once you see the cornea,
drive the machine further
forward until the iris is sat
in between the blue lines
and press the trigger on
the joystick to capture.
1. Align the line scan through
the centre of the pupil and
drive the machine slowly
forward until you see the
cornea in the left hand box.
Anterior Lens
9 Topcon (Great Britain) Medical Limited | DRI OCT Triton | Quick Reference Guide | Anterior Segment Scanning
Anterior Headrest
Anterior Lens
To capture an Anterior Scan, instruct the Patient to look straight ahead and
ensure they are aligned with the callipers on the side of the headrest. Attach the Anterior
Lens and the Anterior Headrest.
1
Select 16 mm or 6 mm Line Anterior to assess the Patient’s angles.
There is no internal fixation, however just instruct Patient to look
straight ahead or turn the External Fixator on.
2
Anterior Segment Scanning
Anterior Headrest
2. Once you see the cornea,
drive the machine further
forward until the iris is sat
in between the blue lines
and press the trigger on
the joystick to capture.
1. Align the line scan through
the centre of the pupil and
drive the machine slowly
forward until you see the
cornea in the left hand box.
Anterior Lens
9 Topcon (Great Britain) Medical Limited | DRI OCT Tr
iton | Quick Reference Guide | Anterior Segment Scanning
Anterior Headrest
Anterior Lens
9
61647 Topcon quick start guide Triton.indd 9 27/03/2019 09:56

 Loading...