5
RemovingtheBoom-Section
Valves
NoPartsRequired
RemovingtheBoom-SectionHoses
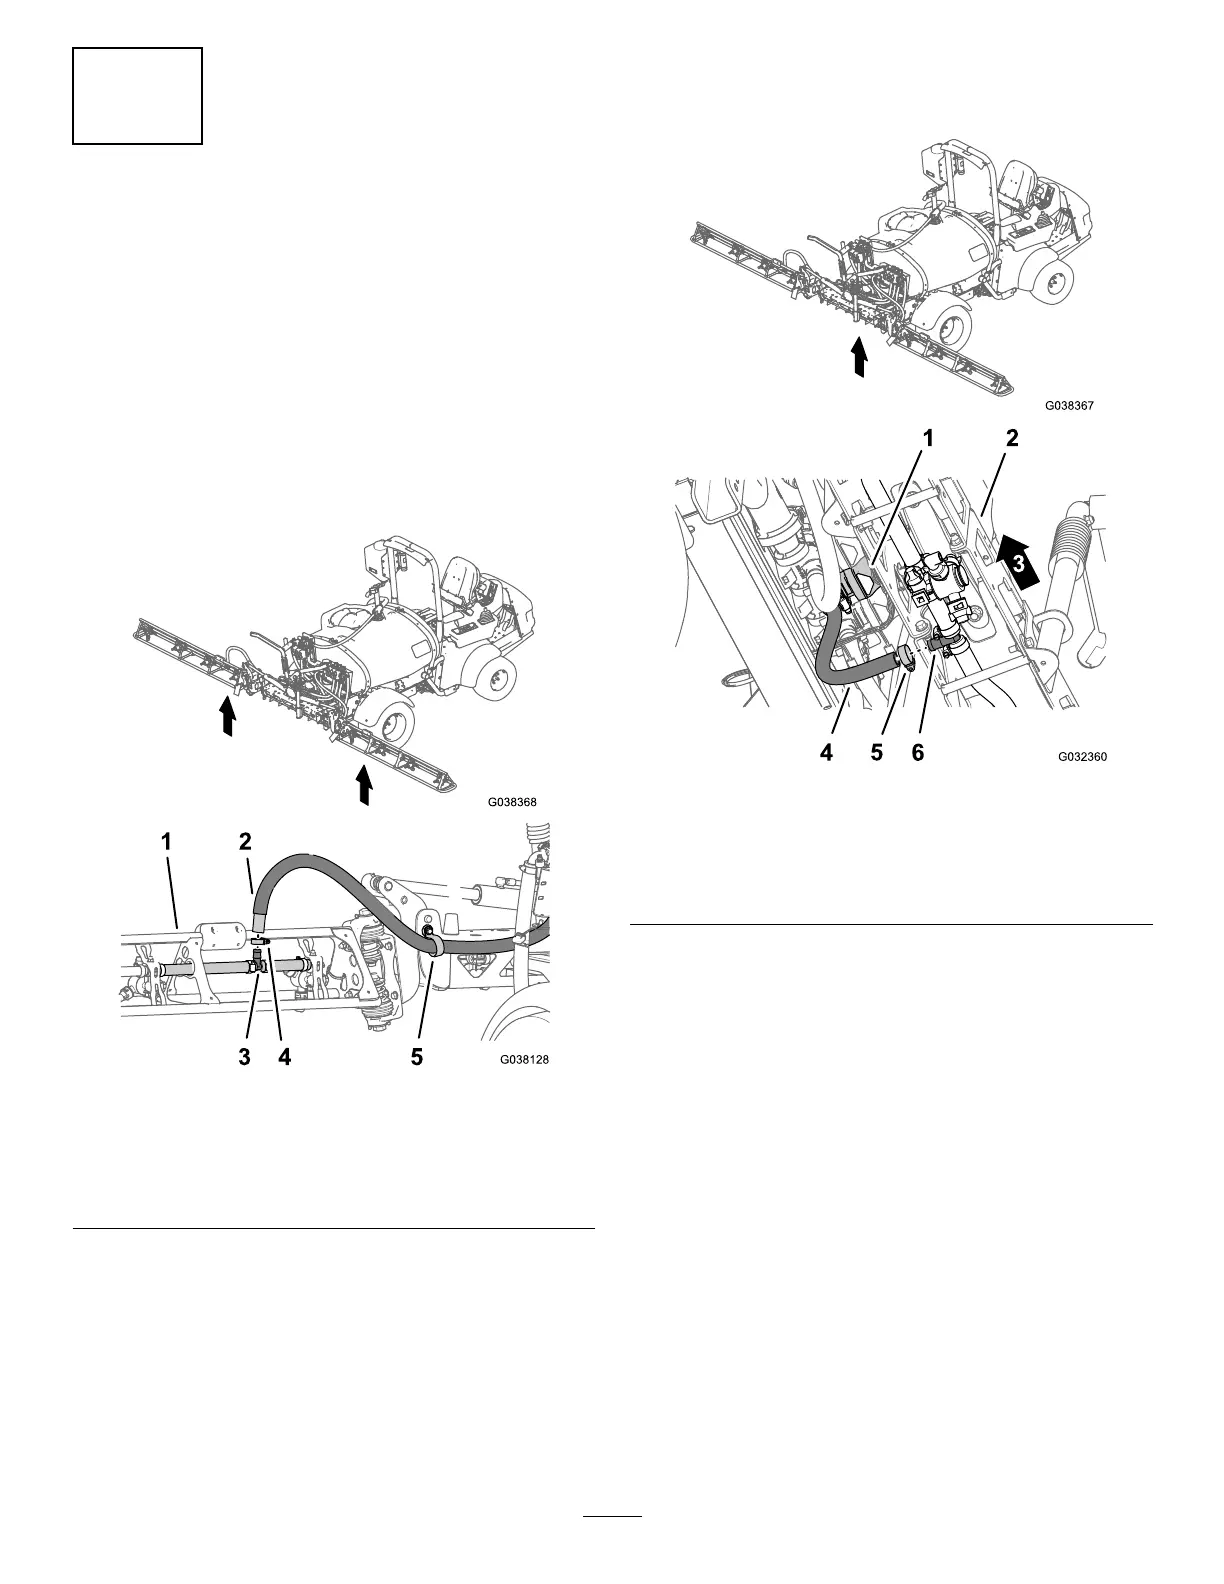
1.Attheouter-boomsection,removethehoseclamp
thatsecuresthesupplyhosefortheboomsectionto
thebarbedT-tting(Figure14).
Note:Retainthehoseclampforinstallationin
InstallingtheSupplyHosestotheBoomSections
(page39)
Figure14
1.Outerboomsection
4.Hoseclamp
2.Supplyhose(outer-boom
section)
5.R-clamp
3.BarbedT-tting
2.RemovethehosefromtheT-tting(Figure14).
3.RemovethefreeendofthehosefromtheR-clamp
(Figure14).
4.Repeatsteps1through3forthesupplyhoseatthe
otherouter-boomsection.
5.Underthecenter-boomsection,removethehose
clampthatsecuresthesupplyhosefortheboom
sectiontothebarbedT-tting(Figure15).
Note:Retainthehoseclampforinstallationin
InstallingtheSupplyHosestotheBoomSections
(page39).
Figure15
1.Centerboom-sectionvalve4.Supplyhose(center-boom
section)
2.Center-boomsection
5.Hoseclamp
3.Leftsideofthemachine6.BarbedT-tting
11
 Loading...


