MYRIDE®Installation(continued)
g348060
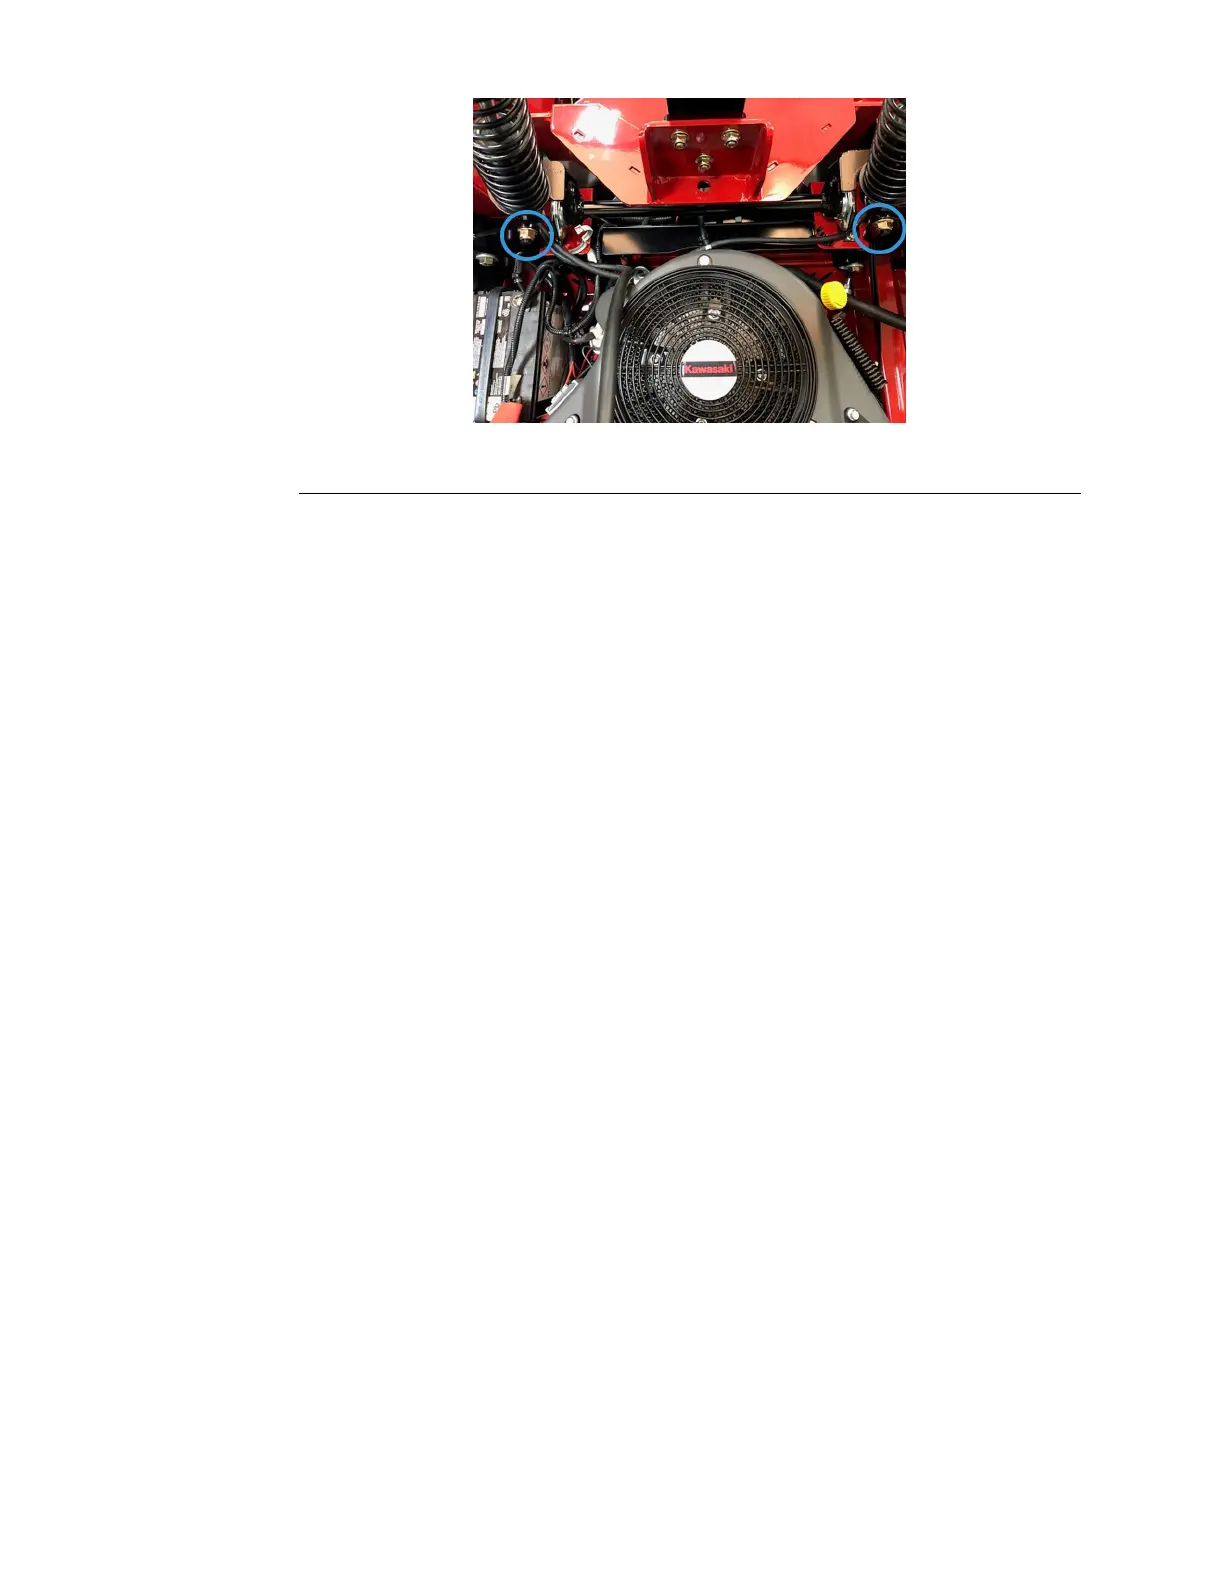
Figure46
8.Withassistance,tiptheseatforwardandconnecttheseatswitch.
9.Installthe4(5/16inch)locknutsandcarriageboltssecuringtherearseat
pantotheMYRIDEplatform.
10.Connectthebatterybyinstallingthepositivecablerst,thenthenegative
cabletothebattery.
FuelTankReplacement
FuelTankRemoval
1.ParkthemachineonalevelsurfaceanddisengagethePTO.Stopthe
engine,waitforallmovingpartstostopandremovethekey.Engagethe
parkingbrake.
2.Disconnectthebatterybyremovingthenegativecablerst,thenthepositive
cablefromthebattery.
3.Shutoffthefuelvalve.
4.RemovetheRHconsole.RightConsoleReplacement(page5–11)
5.RemovetheLHconsole.LeftConsoleReplacement(page5–13)
6.Removetheseatassembly.SeatReplacement(page5–17)MYRIDE®
Replacement(page5–20)
7.Removethe2(5/16inch)nylocknutsandcarriageboltssecuringtherear
tankretainerplatetothechassis.Removethereartankretainerplatefrom
thechassis.
8.Removetheretainerssecuringthewiringharnessandtheventlinetothe
reartankretainerplate.
9.Removethespringclampandremovethefuellinefromthefueltanktting.
10.Removethefueltankventlinefromthefueltank.Plugthefuelline,fuel
outlet,andventtting.
11.Removethereartankretainerplatefromthechassis.
12.Openthe4plasticclampssecuringtheventline.
13.Removetheventlinefromtheairlter.
14.Removethefueltankawayfromthemachine.
FuelTankInstallation
1.Installthefueltankontothemachine.
Chassis:ServiceandRepairs
Page5–24
4000SeriesZMASTER®ServiceManual
3442-427RevA
 Loading...