EasyManuals Logo

Toro EVOLUTION Series Manual

Toro EVOLUTION Series
16 pages
To Next Page IconTo Next Page
To Previous Page IconTo Previous Page
Page #9 background imageLoading...
Page #9 background image
9
Menu Navigation
Use or to navigate the menu commands.
To change a value, press or to move to the desired
eld, then press and to adjust the value.
Remember to press to input the desired value.
Getting to the Sensors Menu
1. Press ADVANCED then .
2. Press to SENSORS. Press .
e Sensors screen appears.
3. To add a sensor to a schedule:
Press or to select the desired Schedule (A, B, or C).
Press or to make the sensor active for the
selected schedule.
: sensor is active.
-: sensor is inactive.
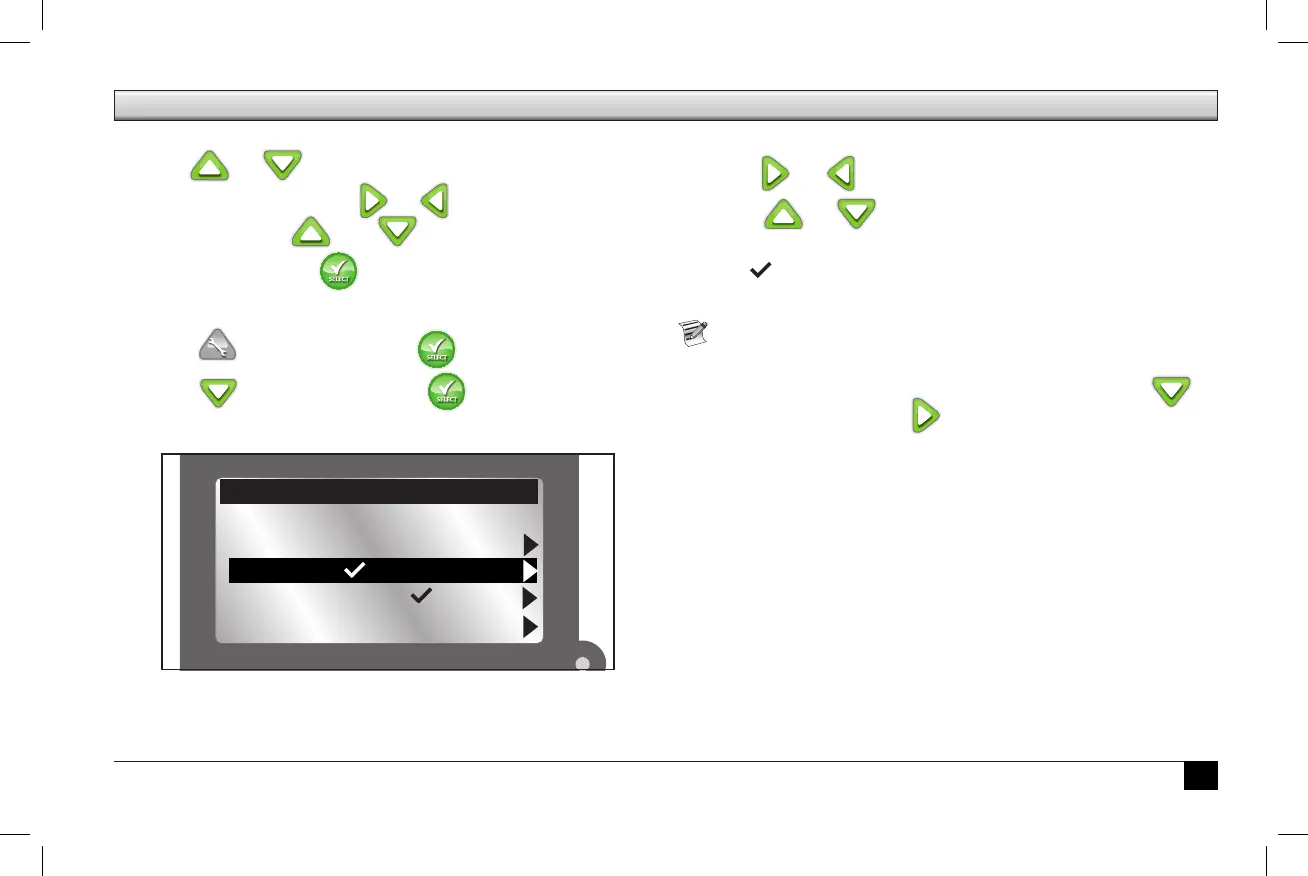
In the screen above, a weather sensor is assigned to schedule
A and a soil sensor to schedule B.
4. To access the settings for the Weather Sensor, press to
WEATHER then press four times.
e Weather Sensor menu appears.
WEATHER - -
A B C
RAIN
SOIL 1 - -
SOIL 2
SENSORS
Basic Operation

Other manuals for Toro EVOLUTION Series

Questions and Answers:

Question and Answer IconNeed help?

Do you have a question about the Toro EVOLUTION Series and is the answer not in the manual?

Toro EVOLUTION Series Specifications

General IconGeneral
Weather Sensor CompatibilityYes
Output Voltage24 VAC
DisplayLCD
Wi-Fi ConnectivityYes (with optional Wi-Fi module)
MountingIndoor/Outdoor
Maximum Load Current0.5 amps per station
Operating Temperature-40°C to 60°C
Enclosure RatingNEMA 3R
WeightVaries by model
Zones4 to 16 (in modules of 4)

Related product manuals