Greensmaster Flex 1800/1820/2100/2120Page 6 − 4Chassis and Controls
Service and Repairs
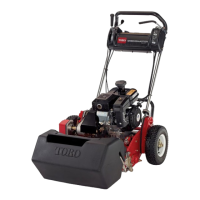
Handle Assembly
Figure 1
1. Brake lever
2. Brake cable
3. Throttle cable
4. Handle
5. Traction clutch cable
6. Reel clutch cable
7. Traction and reel drive lever
8. Throttle assembly
9. Console cover
10. Washer head screw (4 used)
FRONT
RIGHT
2
3
6
1
5
7
4
8
9
10
Handle Removal (Fig. 1)
1. Park machine on a level surface. Make sure engine
is OFF. Remove spark plug wire from the engine spark
plug.
2. Remove console cover from handle assembly.
3. Disconnect reel clutch, traction clutch and brake
cables from transmission (see Cable Replacement in
this section).
4. Disconnect throttle cable from engine (see Throttle
Cable Replacement in this section).
5. Disconnect wire harness connections from electrical
components on handle. Position wire harness away
from handle.
6. Note height adjustment of handle for assembly pur-
poses.
7. Support handle assembly to prevent it from moving.
NOTE: The offset handle clamps on Flex 2100/2120
machines are mounted on the outside of the side plates
(Fig. 2). On Flex 1800/1820 machines, the offset handle
clamps are mounted on the inside of the side plates (Fig.
3).
 Loading...