7-9Power Max Service Manual
AUGER GEARBOX
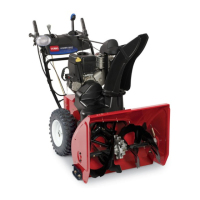
5. To assemble the worm shaft, start with the end
opposite the worm. Install a snap ring (sharp edge
towards the rear of the gearbox), thrust washer,
thrust bearing, thrust washer, bushing and seal.
There is also a bushing on the worm end of the seal
(Fig. 095).
Fig 095 DSC-0028
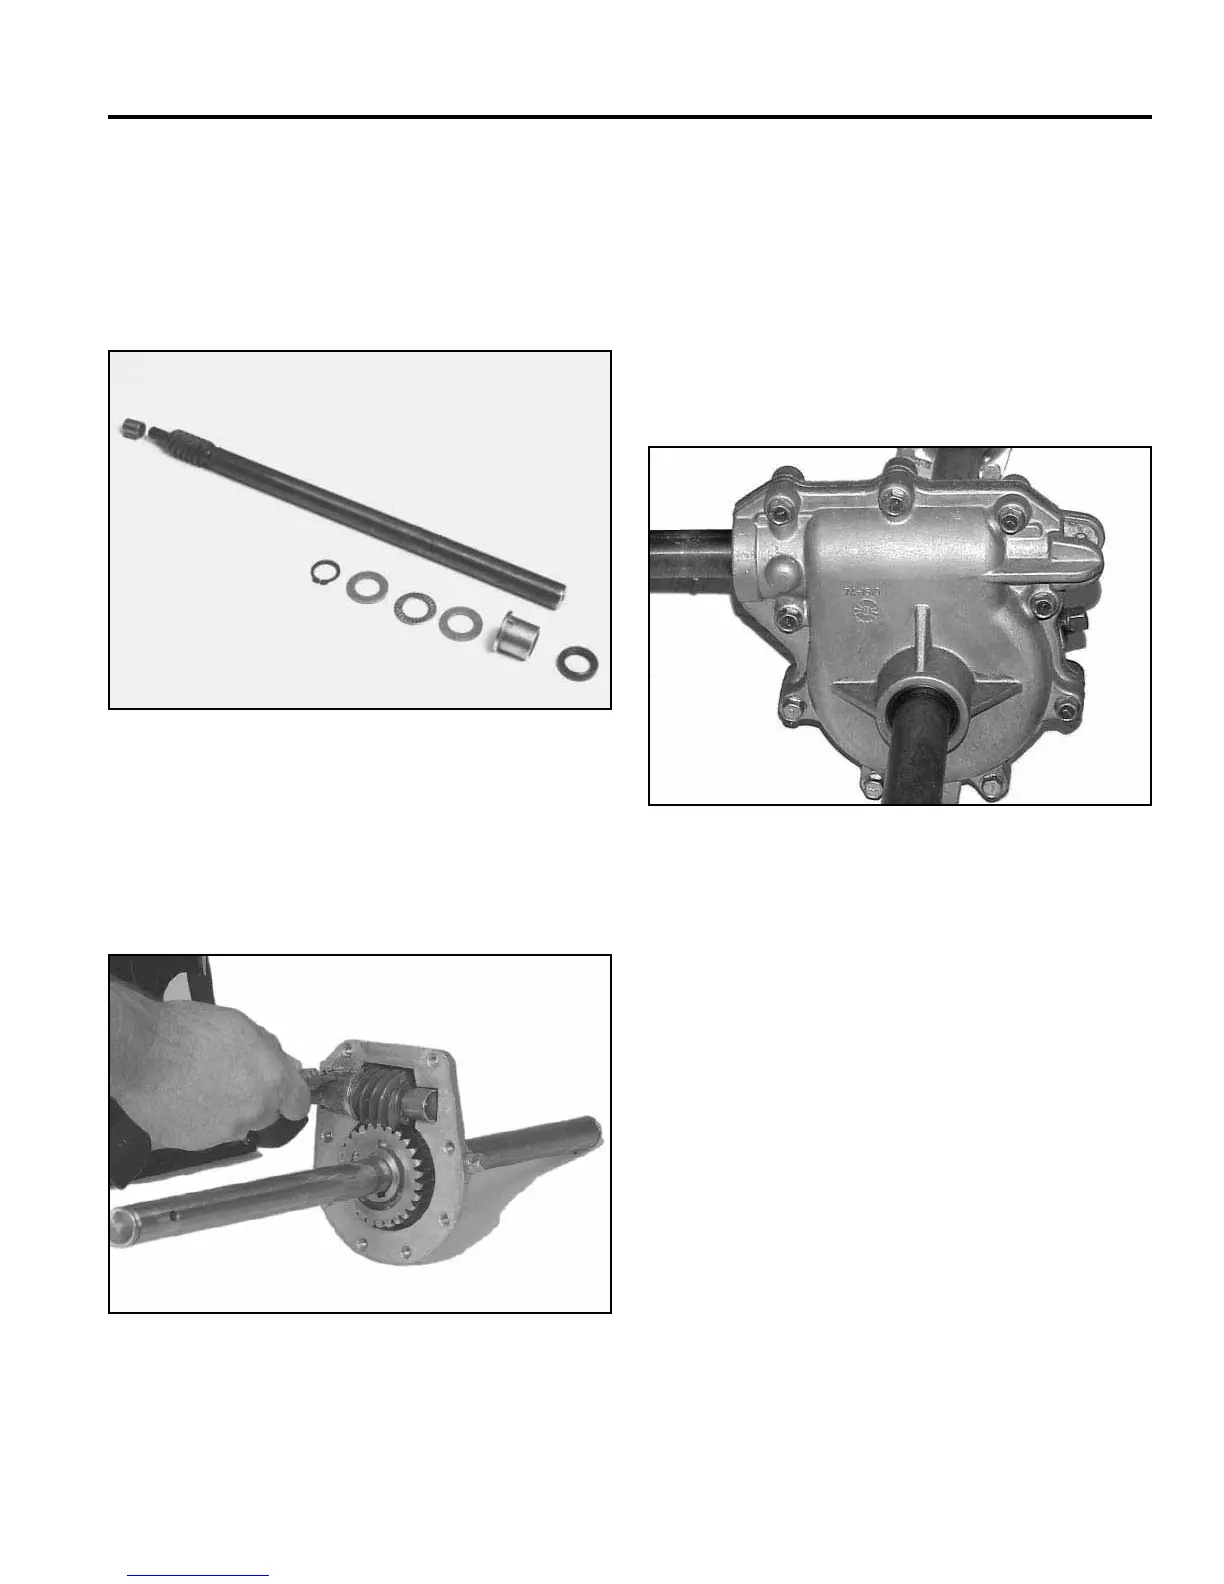
6. Apply a VERY light coat of Loctite Blue # 242 or
equivalent to the outer diameter of the bearing. The
Loctite should not squeeze out when everything is
tightened or you used too much (Fig. 096).
Fig 096 DSC-0059
9. Lightly oil a seal protector and slide new seals down
the auger shaft. The lip of the seal should face
towards the inside. Seat the seals so the outer edge
is just fl ush with the outside of the gearcase.
Fig 097 MVC-844XA
7. Clean the case halves by scraping; then apply a
liquid gasket remover. To ensure a good seal case
halves must be clean and dry. Apply a thin coat of
Hylomar (Toro PN 505-129) to both halves. Allow
it to cure until it is dull and tacky, at least one hour.
Then assemble.
8. Apply a light coat of oil or anti-seize to the gear case
screws. Tighten them in an X pattern to 120 in-lbs.
(15kg/m) (Fig. 097).
1
2
3
4
5
6
7
8
9