g341668
Figure5
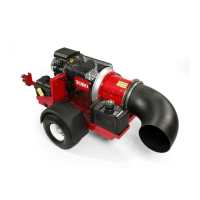
1.Bolt3.Hitchtube
2.Hitchclevis4.Locknut
4.Raiseorlowerthehitchclevistoalignitlevel
withthehitchofthetowvehicle.
Important:Ensurethatthedebrisblower
frameisparallelwiththeground.
5.Assemblethehitchclevistothehitchtubewith
the2boltsand2locknuts(Figure5).
6.Torquethelocknutsandboltsto203N⋅m(150
ft-lb).
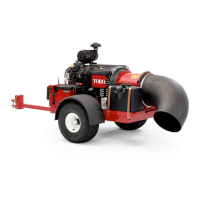
7.Connecttheblowerhitchclevistothetowvehicle
hitchwiththehitchpinandlynchpin(Figure6).
Important:Iftheblowercontactsthetow
vehiclewhenturning,extendthehitchtube
awayfromthedebrisblowerbyassembling
thehitchtubetotheframebracketsusing
thefurthermostmountingholes;referto2
MountingtheHitchtotheDebrisBlower
(page9).
g008175
Figure6
1.Hitchpin3.Lynchpin
2.Towvehiclehitch
4
InstallingtheBatteriesinto
theHandheldRemote
Partsneededforthisprocedure:
1Handheldremote
4AAAbatteries
Procedure
1.Removethe6screwssecuringthecoverhalves
ofthehandheldremotetogether,andremove
thebackcover(Figure7).
Note:Ifpossible,leavetherubbersealand
steelgasketinthechannelwhenremovingthe
cover.
g341770
Figure7
1.Screw
5.AAAbatteries
2.Backcover6.Lanyardpin
3.Seal
7.Lanyardring
4.Steelgasket
8.Frontcover
2.ObservingbatterypolarityasshowninFigure8,
insertthenewbatteriesintotheterminalcradles.
Note:T oavoiddamagingtheterminalcradles
wheninstallingbatteries,observeproperpolarity
markings(Figure8)thatareembossedontothe
10