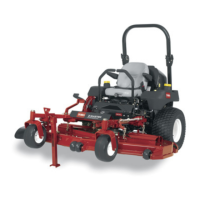
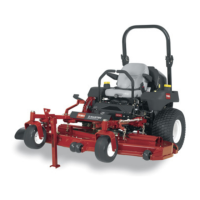
Setting the Parking Brake
1. Move the motion control levers (Figure 16) out
to the neutral lock position.
2. Pull up and back on the paring brake lever to
set the paring brake (Figure 11). The paring
brake lever should stay firmly in the engaged
)osition.
Parking brake may not hold machine
parked on a slope and could cause
personal injury or property damage.
Do not park on slopes unless wheels are
chocked or blocked
Releasing the Parking Brake
Push forward and down on the paring brake
lever to release the paring brake (Figure 11). The
paring brake is disengaged and the lever will rest
against the brake stop.
9
1. Parking brake-ON
2. Parking brake-OFF
G000964
Figure 1 1
3. Brake Stop
Starting and Stopping the
Engine
Starting the Engine in Normal
Weather
1. Raise the ROPS up and lock into place, sit on
the seat and fasten the seat belt.
2. Move the motion controls to the neutral locked
position.
,
,
,
,
,
,
,
2
Set the paring brake; refer to Setting the
Paring Brake.
Move the PTO (power take oft) switch to the
off position (Figure 12).
Move the throttle lever to the middle position
(Figure 14).
Turn the ignition key clockwise to the run
position (Figure 13).
Push the glow plug switch for 10 seconds. The
light will turn on.
Release the switch after 10 seconds. The light
will turn off.
4
10.
1 G000961
Figure 12
1. Hour meter 5. Engine Temperature light
2. Ignition switch 6. Throttle control
3. Glow plug switch 7. PTO Switch
4. Glow plug light
Turn the key to the start position and the glow
plug indicator light will come back on. When
the engine starts, release the key (Figure 13).
Important: Use starting cycles of no
more than 30 seconds per minute to avoid
overheating the starter motor.
If the engine does not start immediately, move
the throttle control to fast and turn the key to
the start position.
7
19

 Loading...