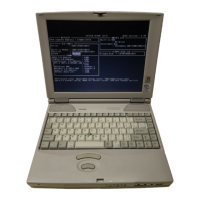
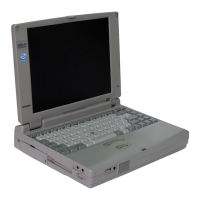
430 Series
4.8 Keyboard
Removing the Keyboard
To remove the keyboard, follow the steps below and refer to Figures 4-18 to 4-20.
1. Turn off the power to the computer. Disconnect the AC power cord and all
external cables connected to the computer.
2. Remove the battery pack, optional PC card, optional memory module, FDD or
CD-ROM drive and HDD as described in Sections 4.2 through 4.7.
3. Release 14 latches on the base cover and remove it. Begin along the front side.
Figure 4-18 Removing the keyboard base
4. Lift out the keyboard and set it on the wrist rest.
5. Remove tape from the keyboard connector cover.
6. Remove two M2.5x6 screws securing the keyboard connector cover and
remove it.
NOTE: Some units may have a keyboard connector cover that slides over the
keyboard cable. If so, do the following:
1. Remove one M2.5x6 screw and slide the cover along the keyboard
cable enough to access the keyboard connector.
2. Remove four M2.5x6 screws holding the metal cover and lift it out.
3. Continue with Step 8.
 Loading...