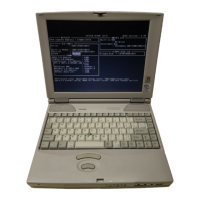
430 Series
Installing the Sound Board and Membrane Switch
To install the sound board and membrane switch, follow the steps below and refer to Figures
4-33 back to 4-31.
1. Align holes in the membrane switch with corresponding holes on the sound
board. Connect the cable to PJ10, and secure it with tape.
2. Attach the audio jack cover.
3. Connect the sound power cable to PJ18 on the system board (under the
power supply cover).
4. Seat the sound board. Make sure the volume control and headphone jack
fit through corresponding holes in the computer. Also, make sure pins fit
through corresponding holes in the membrane switch.
NOTE: Route three cables: sound board power cable, CD-ROM sound cable
and speaker cable on top of the sound board.
5. Align the flexible cable connector with PJ7 on the system board and press
evenly to make the connection.
6. Replace the HDD metal cover.
7. Connect three cables: sound board power cable to PJ9, CD-ROM sound cable
to PJ11, and speaker cable to PJ6.
8. Secure the cables with tape.
9. Seat the sound board cover, HDD metal cover, and Selectable Bay ground
plate.
10. Secure the sound board, sound board cover, HDD metal cover, and Selectable Bay
ground plate with five M2.5x6 screws (one w/washer) and one M2.5x4 screw.
NOTE: Be sure to secure the M2.5x4 screw to the correct hole.
11. Install the top cover with display assembly, RTC battery, sub-battery, VGA board,
keyboard, HDD, FDD or CD-ROM drive, optional memory module, optional PC
card, and battery pack as described in Sections 4.10 back through 4.2.
 Loading...