2 GA-1211/GA-1310 SPECIFIC FUNCTIONS
22 Operations from the Control Panel
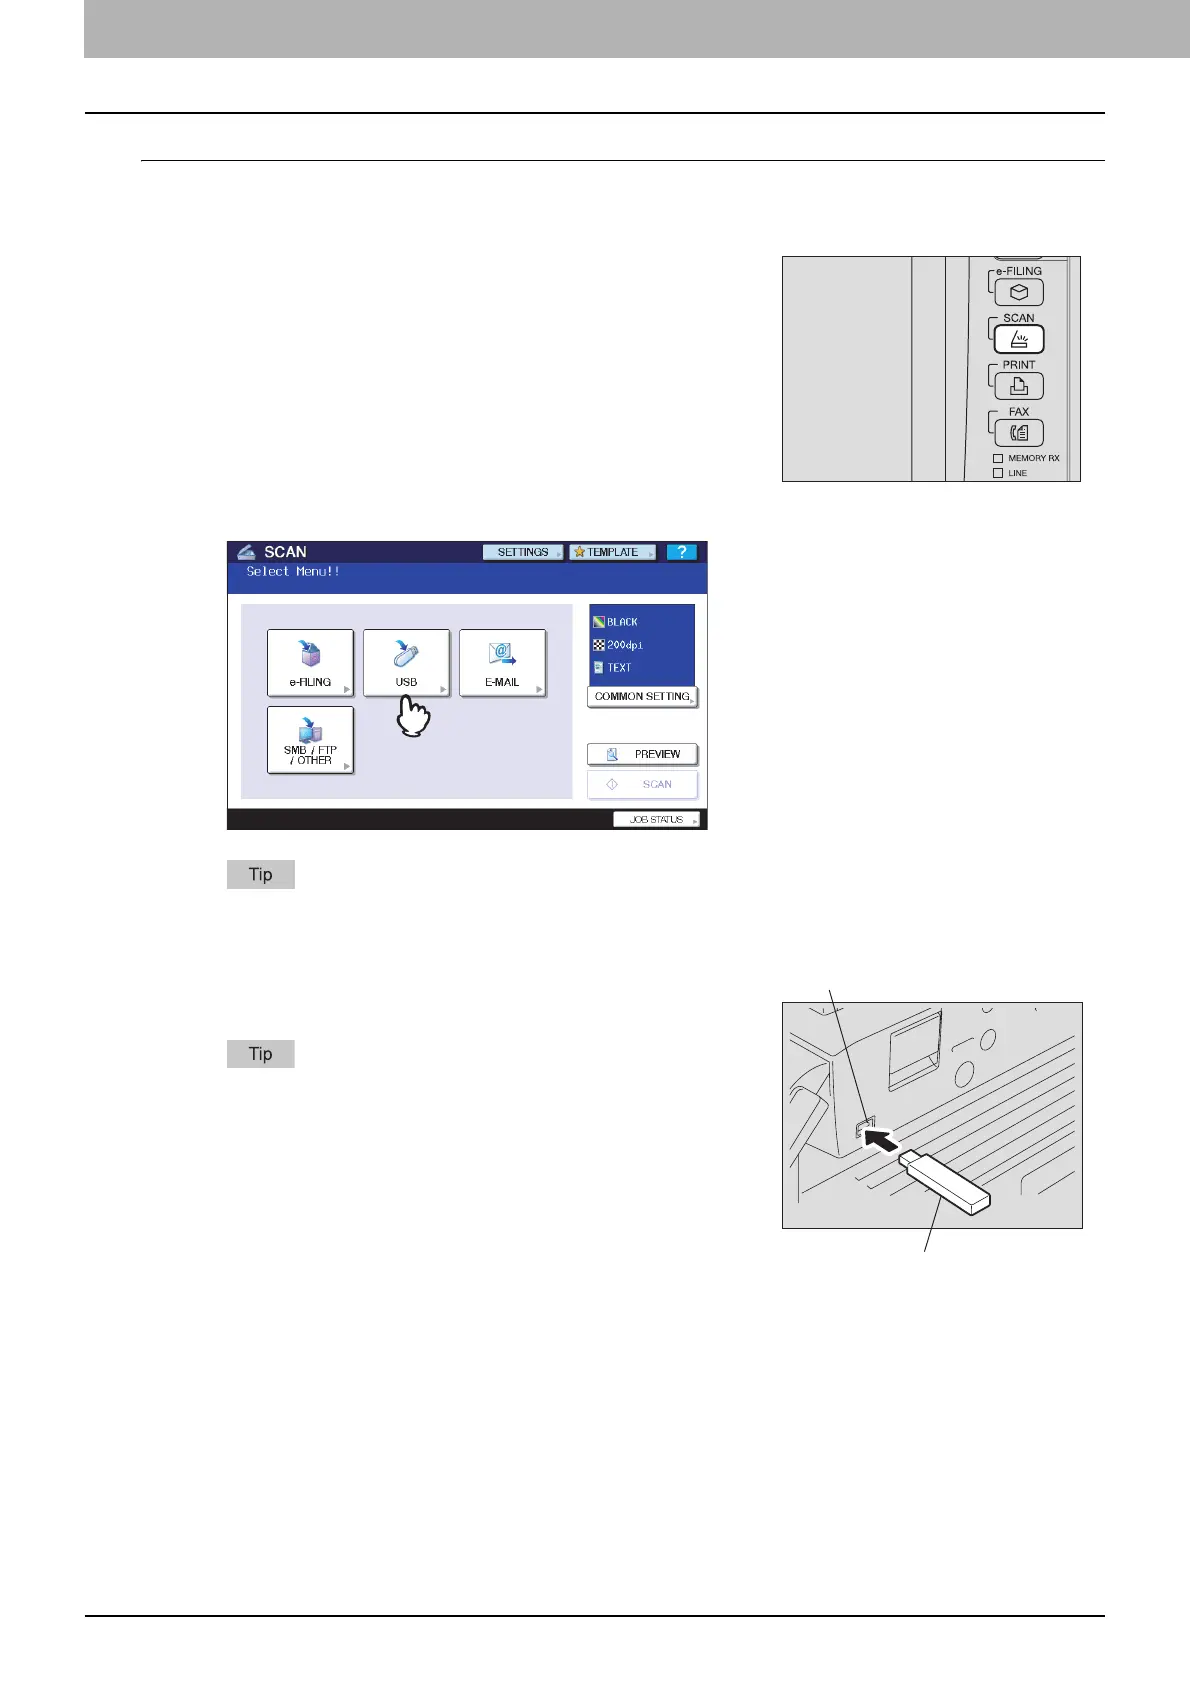
Scanning to USB
1
Place the original(s).
For help, refer to the Copying Guide.
3
Press [USB].
If you want to preview your scans later, press [PREVIEW] here and then select the scan function. For
instructions on how to preview your scans, refer to the Scanning Guide.
2
On the control panel, press the [SCAN] button to
enter the SCAN menu.
4
To store the scan in the USB storage device, connect
the device to the equipment and wait a few seconds.
Connect the USB storage device to the USB port.
To find out the location of the USB port on the equipment, refer to
the Quick Start Guide.
USB Port
USB Storage Device
 Loading...