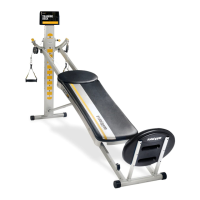
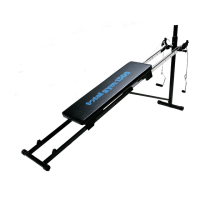
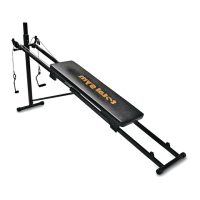
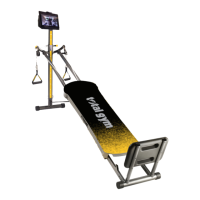
TOTAL GYM
®
XLS, XL, 3000 AND 2000 OWNER’S MANUAL | SET UP
5 To order optional accessories, please go to TotalGymDirect.com
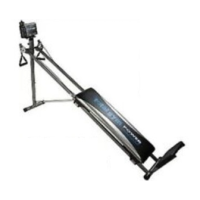
Set Up
FULLY ASSEMBLED! NO TOOLS REQUIRED!
Set up your Total Gym
®
in 5 easy steps.
F
U
L
L
Y
M
B
L
E
D
O
T
O
O
L
E
Q
U
I
R
E
D
KEEP HAIR, FINGERS, LOOSE CLOTHING, CHILDREN AND PETS AWAY FROM HINGES AND OTHER MOVING
PARTS TO AVOID SERIOUS INJURY. ALSO, BE SURE TO HAVE THE HEIGHT ADJUSTMENT LEVER PIN AND
SAFETY HITCH PIN LOCKED IN PLACE BEFORE GETTING ON YOUR TOTAL GYM TO AVOID SEVERE INJURY.
WARNING
!
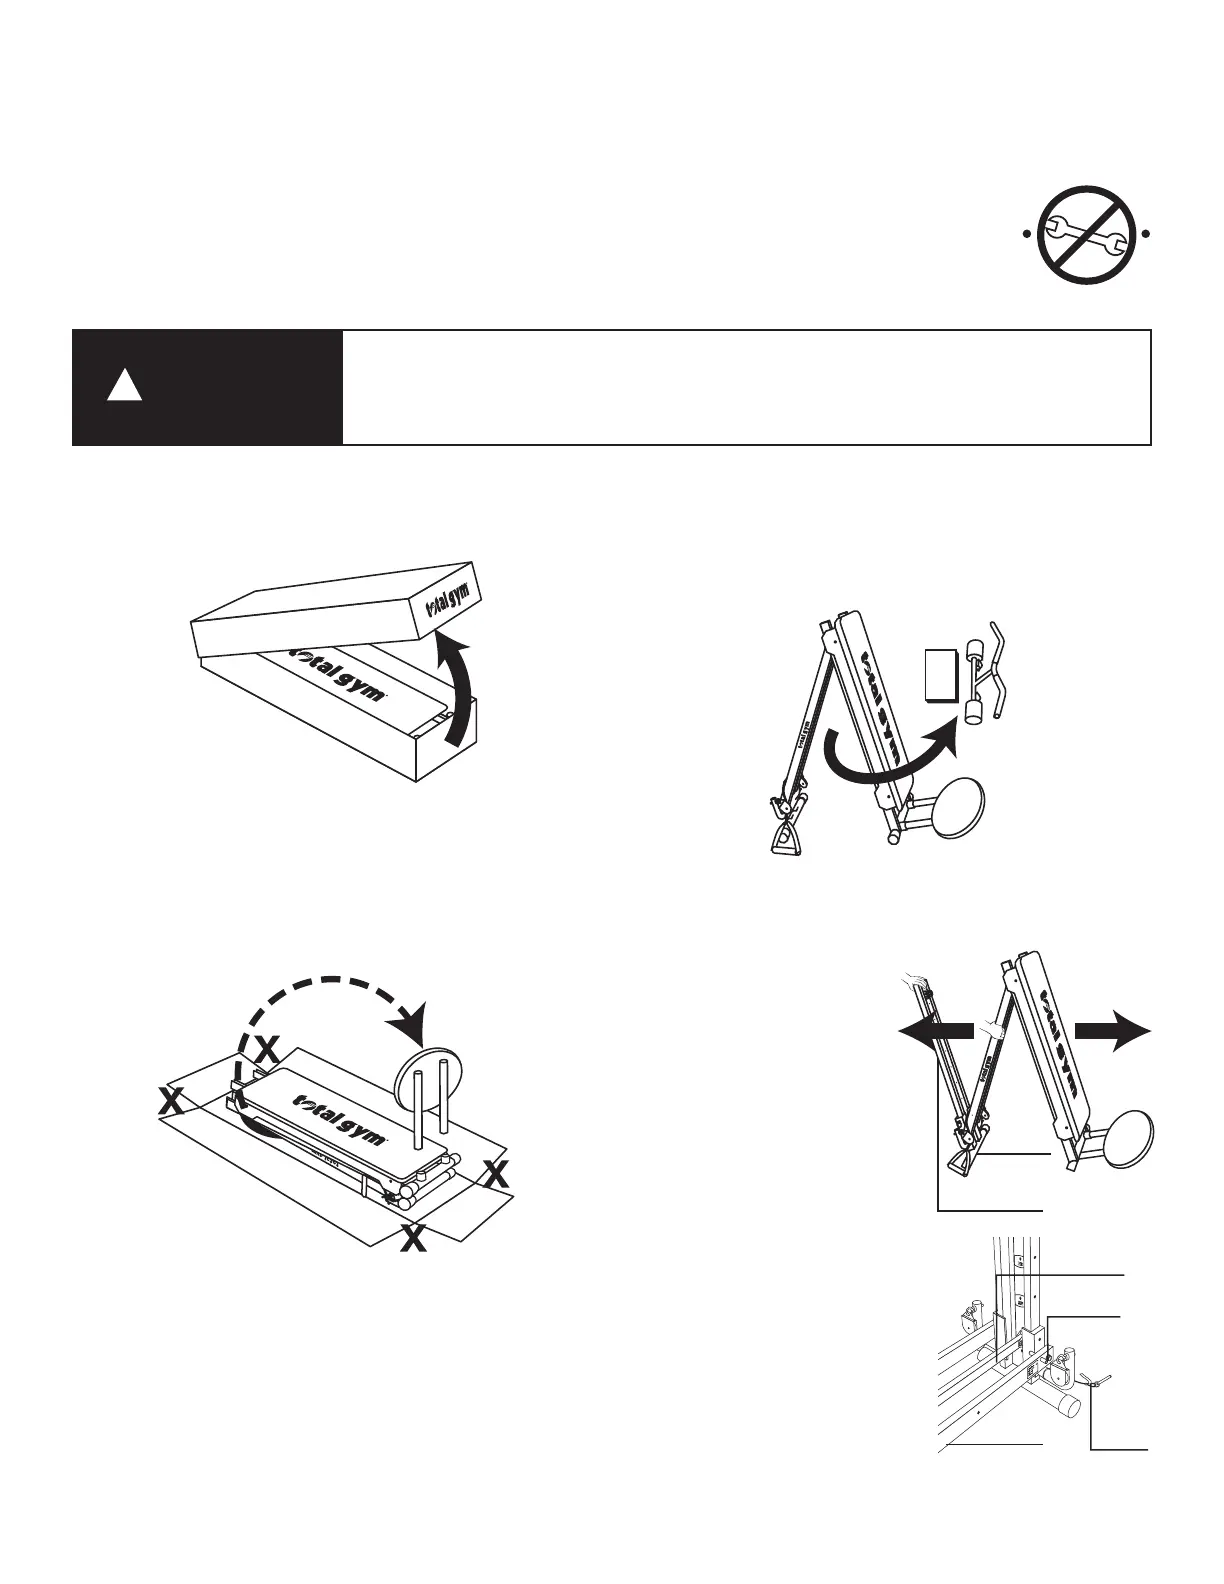
STEP 1.
Lay shipping box at and open carton top.
STEP 2.
Remove corner tape from the carton bottom (as indicated by the
X’s). Remove all packaging materials, including cardboard inserts,
from your Total Gym
®
. Remove the squat stand (optional) from under
the gym (as shown to the right) and install on opposite end into
receptacles.
STEP 3.
Lift gym up from opposite end of squat stand. Make sure that it
rests solidly on the squat stand. Remove the two accessories from
under the bench.
STEP 4.
Extend Total Gym
®
out in the following manner:
4A. Place one hand on the edge
of the frame. With your
other hand, take hold of the
support column and begin to
pull it out until the frame is
lying at on the oor.
Be sure to support the frame
in the center to avoid having
the product drop suddenly
onto the oor.
4B. The spring-loaded pin on the
right rail will automatically
engage during set-up. This
pin prevents the support
column from collapsing when
the height adjustment pin
is locked into the bottom
storage hole.
Support Column
Back
Crossbar
Center Rail
Right Rail
Spring-
Loaded Pin
Hitch
Pin and
Lanyard