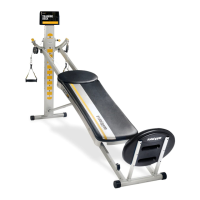
TOTAL GYM
®
XLS, XL, 3000 AND 2000 OWNER’S MANUAL | OPTIONAL ACCESSORIES
To order optional accessories, please go to TotalGymDirect.com 8
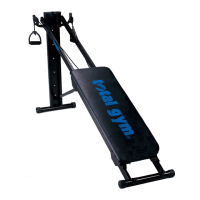
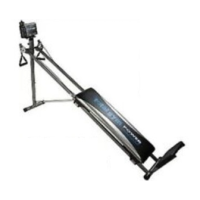
WEIGHT BAR (OPTIONAL)
Slide through here
Weight Bar
1. Slide weight bar through the hole near the bottom of the Total
Gym glideboard rails.
2. Add free weights equally and evenly to both sides of the weight
bar when stacking weights. Weight clips must be installed
on each side to prevent the weights from slipping off the bar.
Weights and clips not included.
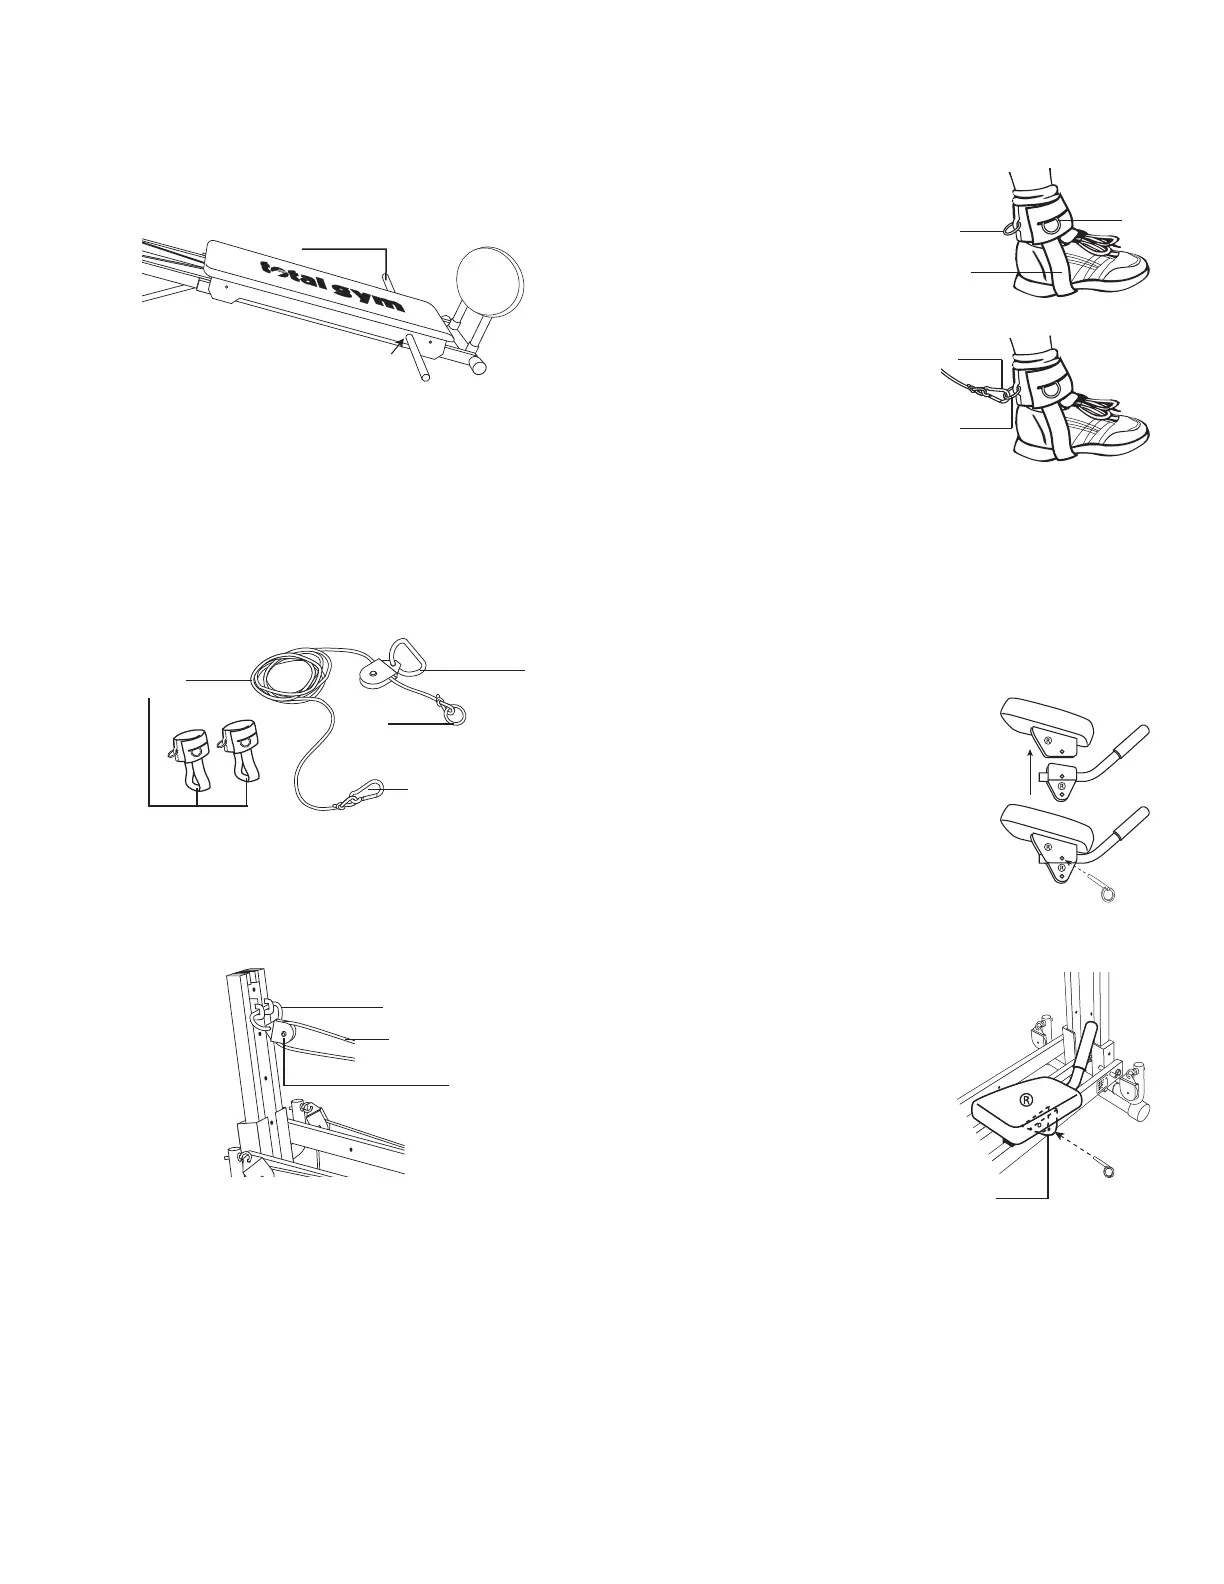
LEG PULL (OPTIONAL)
Clip
O-ring
Pulley/D-Ring
Assembly
Foot Harness (2)
Rope
1. Detach the pulley mechanism from the hook on the underside
of the glideboard.
2. Connect the D-ring/pulley combination of your leg pull
accessory to the leg pull bracket on the support column.
Leg Pull Bracket
D-ring / pulley combination
Rope
3. Next, connect the O-ring (the one that is connected to the rope)
to the hook on the underside of the glideboard.
4. Attach the foot harness to one of
your feet by placing your foot in
the harness so the sewn-in-ring
is on the bottom of your foot. Pull
tightly on the belt so the harness is
secure.
5. Position yourself on the glideboard
correctly for the specic exercise
you want to perform. See Total
Gym: Start It Up! video on
tv.TotalGymDirect.com for tips
on how to utilize the Leg Pull
accessory.
Connect the clip on the end of the rope to an O-ring on the
harness attached to your foot. Depending on the exercise you
are performing, connect the clip to the proper O-ring.
You are now ready to exercise using the leg pull accessory.
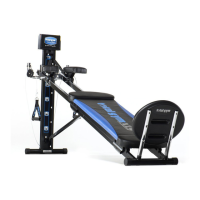
ABCRUNCH (OPTIONAL)
ASSEMBLY
1. Match AbCrunch Handle labeled ® to the
Elbow Pad labeled ®.
2. Insert Handle into Elbow Pad bracket and
attach by inserting short hitch pin.
3. Repeat for left side.
INSTALLATION – HOW TO INSTALL THE ABCRUNCH
1. Locate the holes at the top of the
right and left rails on the support
column end of the unit.
2. Install the AbCrunch arm labeled
® onto the right side rail with the
handle facing the support column.
3. Insert the short hitch pin through
the holes on the attachment bracket
and through the hole on the right rail as indicated by arrows in
image.
4. Repeat for left AbCrunch arm.
You are now ready to perform all of the AbCrunch exercises.
O-ring
O-ring
Stirrup
Clip
O-ring
Bracket
REMOVE ALL ACCESSORIES WHEN YOU ARE NOT EXERCISING WITH THEM.