80
Chapter 15
Specify Your Network Settings
Transmit Power: Select Low, Middle, or High to specify the data transmit power. The
default and recommended setting is High.
• To change the security option:
1. Go to Advanced > Wireless > Wireless Settings page.
2. Select the wireless network 2.4GHz or 5GHz.
3. Select an option from the Security drop-down list. The router provides four options,
None, WPA/WPA2 Personal (Recommended), WPA/WPA2 Enterprise, WEP. WPA2
uses the newest standard and the security level is the highest. We recommend you
don’t change the default settings unless necessary.
15. 3. 2. Use WPS for Wireless Connection
You can use WPS (Wi-Fi Protected Setup) to add a new wireless device to your existing
network quickly and easily.
Method 1: Use the WPS button
Use this method if your client device has a WPS button.
1. Press the WPS button the modem router for 1 second.
2. Press the WPS button of the client device directly.
3. The WPS LED flashes for about 2 minutes during the WPS process.
4. When the WPS LED is on, the client device has successfully connected to the
modem router.
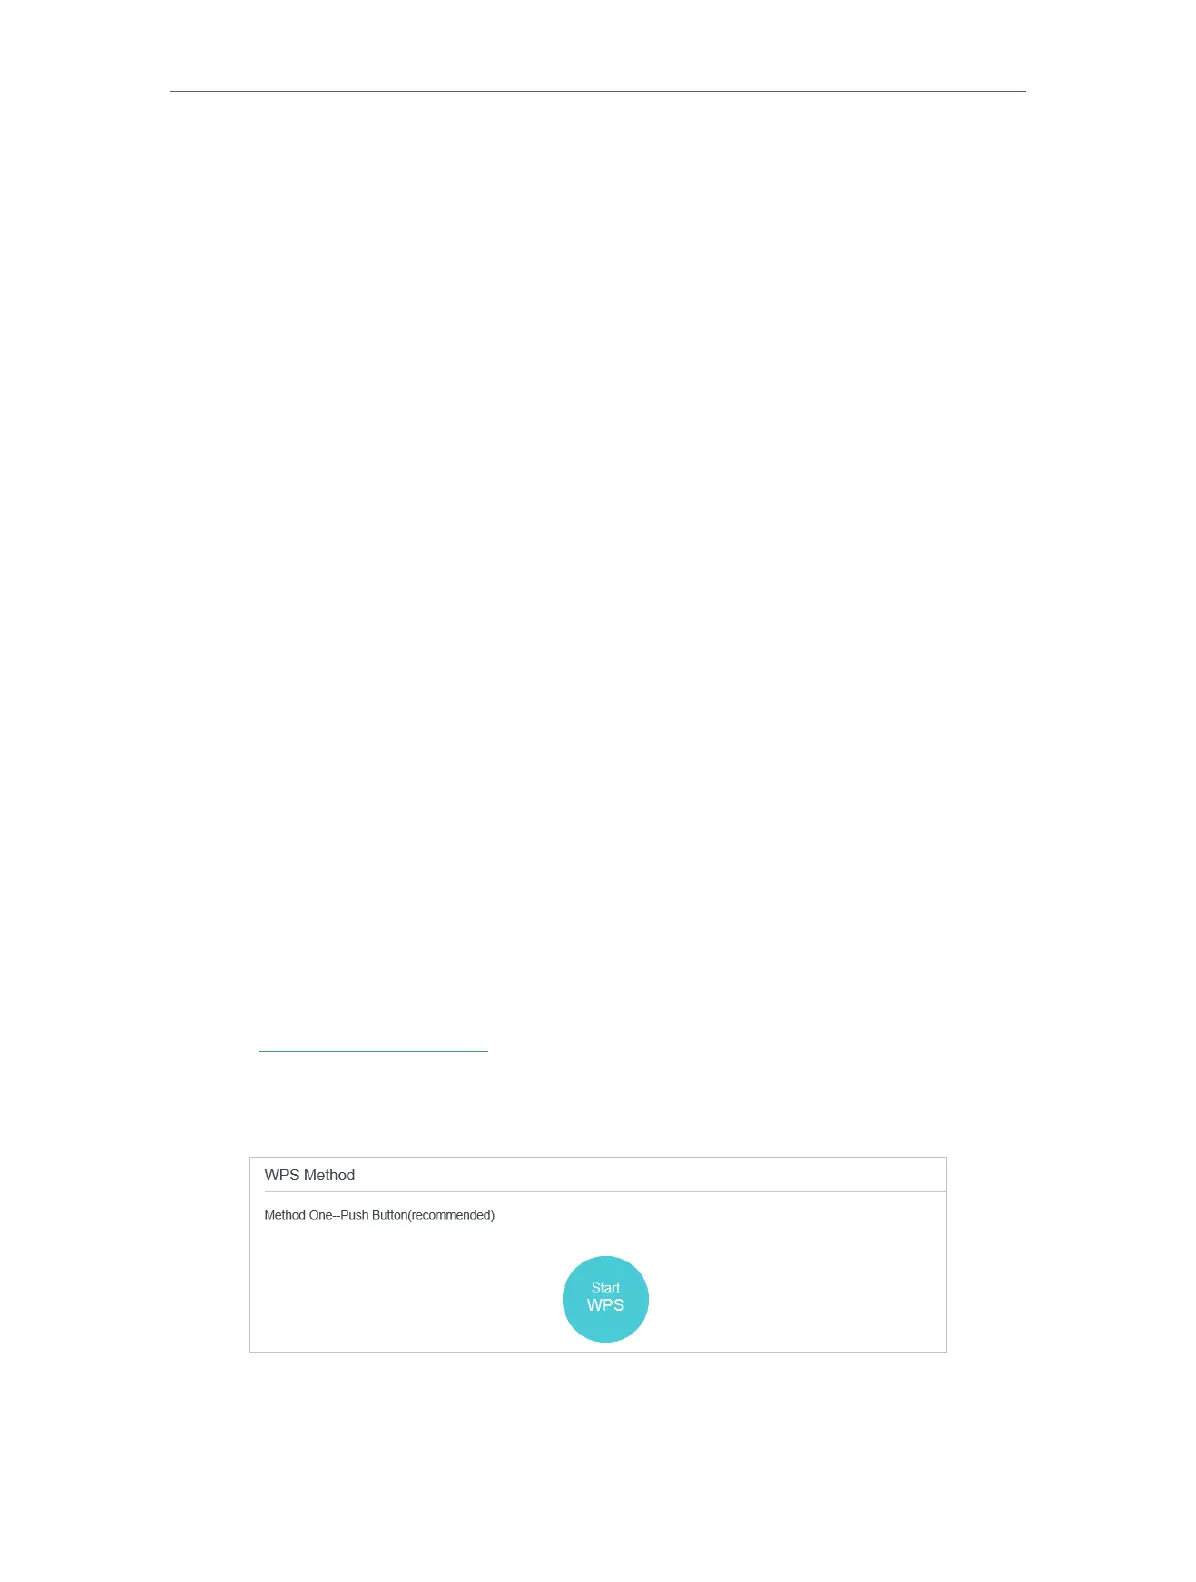
Method 2: Use the WPS button on the web management page
Use this method if your client device has a WPS button.
1. Visit http://tplinkmodem.net, and log in with your TP-Link ID and the password you
set for the router.
2. Go to Advanced > Wireless > WPS page.
3. Click Start WPS on the page.
4. Press the WPS button of the client device directly.