2.3 Product installation
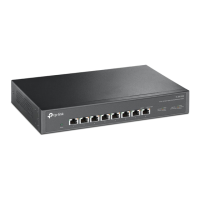
SFP+: Green=10Gbps, Yellow=1/2.5Gbps, Blink=Activity
Port1~5: Green=2.5Gbps, Yellow=10/100/1000Mbps, Blink=Activity
SFP+
Managed
4
6
1
3
Power
2.5G
Link/Act
5
Switch
2
Link/Act
ÿ Desktop installation
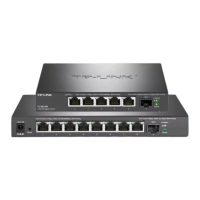
TL-SE2106
Product installation 09
Cloud Management Switch Installation Manual
ÿ The switch can work normally only with the correct power supply. Please confirm the power supply voltage and switch
ÿ Before cleaning the switch, unplug the power plug of the switch and do not wipe it with wet fabric.
ÿ During use, please keep the bottom of the switch facing downwards to avoid potential safety hazards.
ÿ Before powering on the switch, please confirm that it will not overload the power circuit to avoid affecting the switching
ÿ To avoid the risk of electric shock, do not open the cover when the switch is in operation, even if
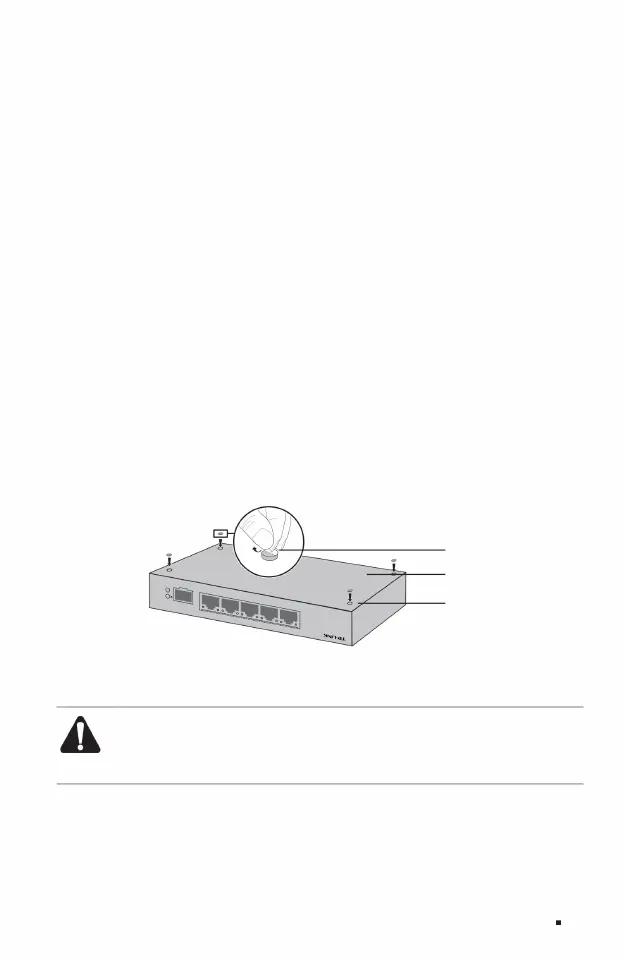
Figure 2-1 Desktop installation diagram
Wipe, do not use liquid to clean;
Notice:
The machine may not work properly or even cause unnecessary damage;
Leave a 5-10cm gap around the switch case to ensure heat dissipation and air circulation.
Suffer.
Avoid placing other heavy objects on the surface.
Do not open it by yourself if it is not powered;
The voltage marked on the machine matches;
Glue the four pads into the circular grooves located at the four corners of the bottom of the case, as shown in Figure 2-1.
After attaching the foot pads, turn the switch over and place it smoothly on the table.
foot pads
Back of switch
round groove
Machine Translated by Google