55
Network Configuration
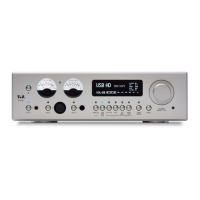
The SDV 3100 HV can be operated in wired LAN networks (Ethernet LAN or
Powerline LAN) or in wireless networks (WLAN).
If you wish to use your SDV 3100 HV in your home network, you must first
enter the necessary network settings on the SDV 3100 HV. This includes
entering the network parameters such as the IP address etc. both for wired
and wireless operation. If you wish to use a wireless connection, a number of
additional settings for the WLAN network also have to be entered.
Please refer to the Chapter 'Glossary / Additional Information' and 'Network
Terms' for additional explanations of terminology relating to network
technology.
In the following sections we assume that a working home network (cable
network of WLAN network) with router and (DSL) Internet access is present.
If you are unclear about some aspect of installing, setting up and configuring
your network, please address your queries to your network administrator or a
network specialist.
Compatible hardware and
UPnP servers
The marketplace offers a vast number of routers, NAS devices and USB hard
discs made by a very wide range of manufacturers. equipment is generally
compatible with other makes of machine which bear the UPnP label.
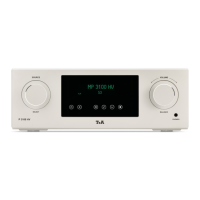
All network settings are entered in the Network Configuration menu. This
menu will vary slightly in appearance depending on the type of your network,
i.e. whether you have a wired (LAN) or wireless (WLAN) network.
In the network configuration menu under the item 'Interface', first the desired
connection type must be set.
Opening the network
settings menu
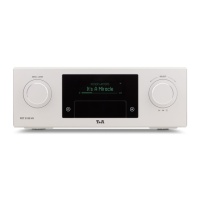
Open the System Configuration menu by pressing the button on the
remote control handset or the button on the front panel of the
SDV 3100 HV.
Use the / buttons to select the “Network” menu item, then
confirm by pressing the button.
Operating the menu,
changing and storing
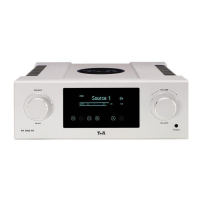
IP addresses
Use the / buttons in the menu to select the network parameter
to be changed, and activate the entry with the button.
You can now change the setting using the following buttons, depending on the
type of setting:
/ button for simple selection (ON / OFF)
Numeric buttons to for entering IP addresses
Alpha-numeric input for entering text
When the setting process is complete, or when you have entered the
complete address, press the button to confirm your action.