Hygiene Equipment
Designed for People
7
Installation instructions
The TR 900 bathtub is delivered fully assembled, ready to be connected to water and power supply at the
customer’s premises and should be installed according to local guidelines and regulations.
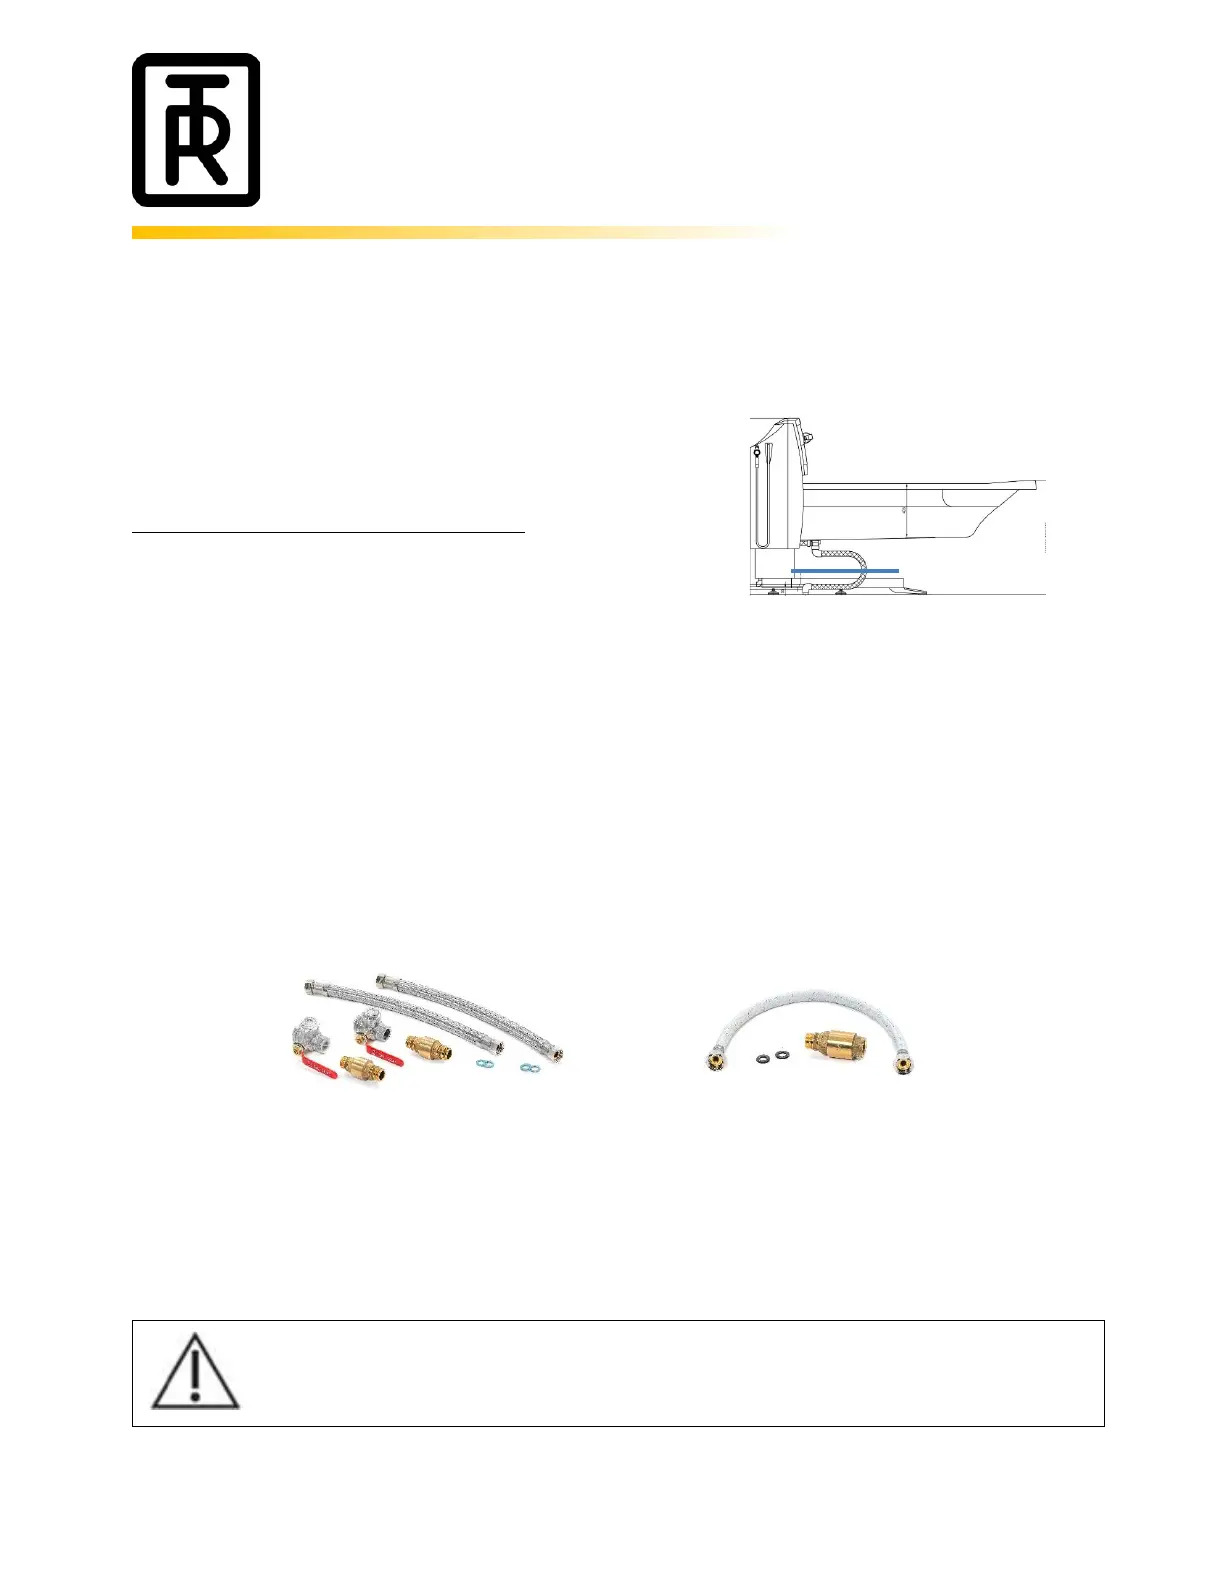
When the bathtub is in place adjust the adjustable feet to get the
bathtub chassis in level (Blue line).
The tub must be cleaned before the first use!
Bathroom layout
Recommended room size is 2400mm x 3000mm, or larger.
Plumbing
TR900 is delivered with an installation kit containing 2pcs 500mm connecting hoses R20, 2pcs ball valves
R20, and 2pcs check valves. DO NOT bend the connecting hoses.
If your TR900 is equipped with a cleaning unit, the installation kit contains 1pcs 500mm connecting hose R15
and 1pcs check valve. DO NOT bend the connecting hose.
Installation of the bathtub shall be performed by certified plumber according to national/local regulations.
To eliminate pipe debris, it is essential that supply pipes are thoroughly flushed before the bathtub is being
connected. The drainage hose shall be connected to floor- or wall drainage. To level the bathtub, adjust the
adjustable feet.
Autofill
Set the shower flowrate by adjusting the ball valve inside the panel. The ball valve is located on the pipes of
the shower unit inside the panel.
The bathtub may only be used after it has been successfully and correctly installed.