49
NOTE: The bulb portion of the headlight is fragile. HANDLE
WITH CARE. When replacing the headlight bulb, do not touch
the glass portion of the bulb. If the glass is touched, it must
be cleaned with a dry cloth before installing. Skin oil residue
on the bulb will shorten the life of the bulb.
To replace the headlight bulb, use the
following procedure:
1. Remove the rubber boot from the
back of the headlight housing;
then rotate the socket counter-
clockwise. Remove the bulb.
2. Install the new bulb into the hous-
ing; then secure the socket by turn-
ing clockwise.
To replace the taillight/ brake light bulb, use the following procedure:
1. Remove the rubber boot and turn the socket counterclockwise.
Account for the O-ring.
2. Push the bulb in and turn it counterclockwise.
3. Install the new bulb by turning it clockwise while pushing in.
4. Install the socket by turning it clockwise into the housing. Install
the rubber boot.
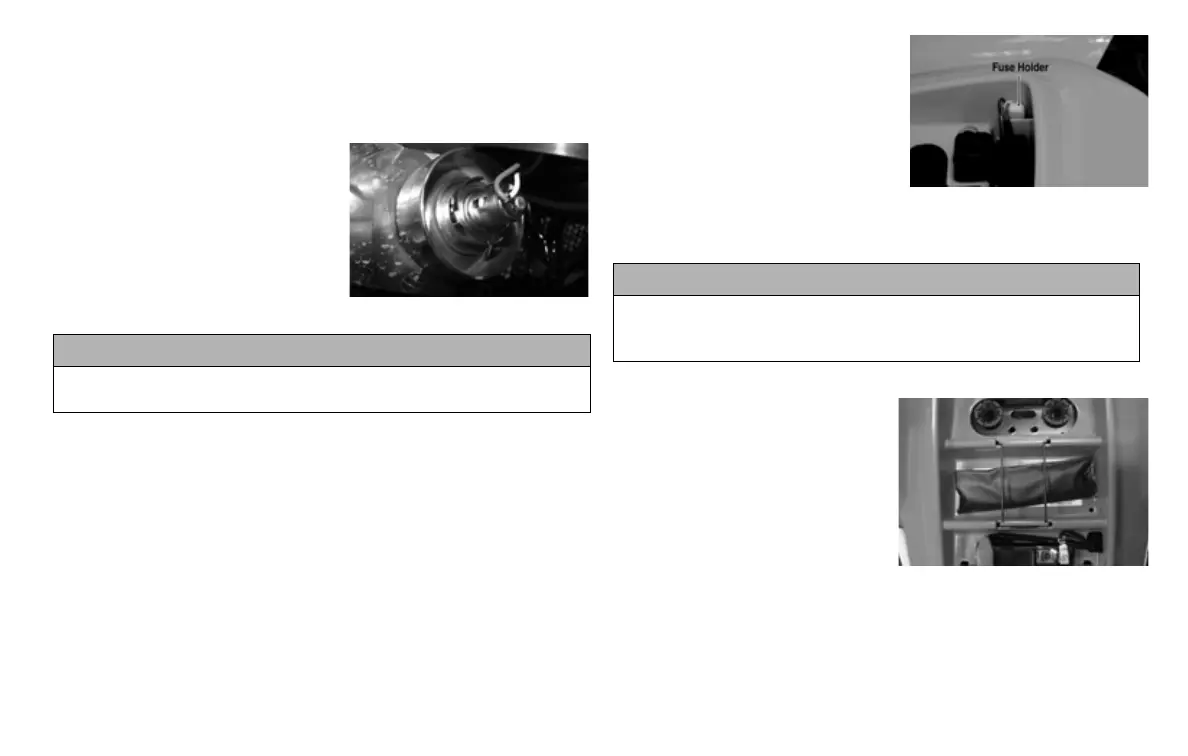
Fuse
The main (7 amp) fuse is located in a
fuse holder near the battery under the
seat.
NOTE: To replace the fuse, open
the holder and remove the fuse;
then install the new fuse. A spare
fuse is located within the holder.
If there is any type of electrical system failure, always check the fuse
first.
Storage Compartment/Tools
A basic tool kit is provided with the
ATV. It is located under the seat.
Maintain the tool kit with the ATV at
all times.
CAUTION
When replacing the headlight bulb, be careful not to touch the
glass portion of the bulb. Grasp the new bulb with a clean cloth.
CAUTION
Always replace a blown fuse with a fuse of the same type and
rating. If the new fuse blows after a short period of use, consult
an authorized dealer immediately.