12
Setup for rst use
3. Unboxing
Unpack your Tractus3D printer carefully and set up the hardware according to the instructions on the quick start
manual supplied with the 3D printer.
Make sure when you install the printer on the location, you will use the swivel feet to adjust the 3D
printer to be level as much as possible in all directions.
Don’t forget to remove all yellow clips and zip-ties before turning on the 3D printer!
4. Setup for rst use
You need to set up the printer for the first use, after installing. This chapter will explain how to set up network
settings, load materials, update the firmware, install Simplify3D and prepare the build plate.
Turn on the printer with the power switch at the front, to perform the setup steps.
4.1 Set up network
After turning on the printer you need to configure the printer to be used in your network. We prefer to have static
IP address for the printer or a DHCP reservation made by the network administrator.
Preparation needed for network settings if you want to use static IP:
A free IP address
Subnet mask
Gateway IP address
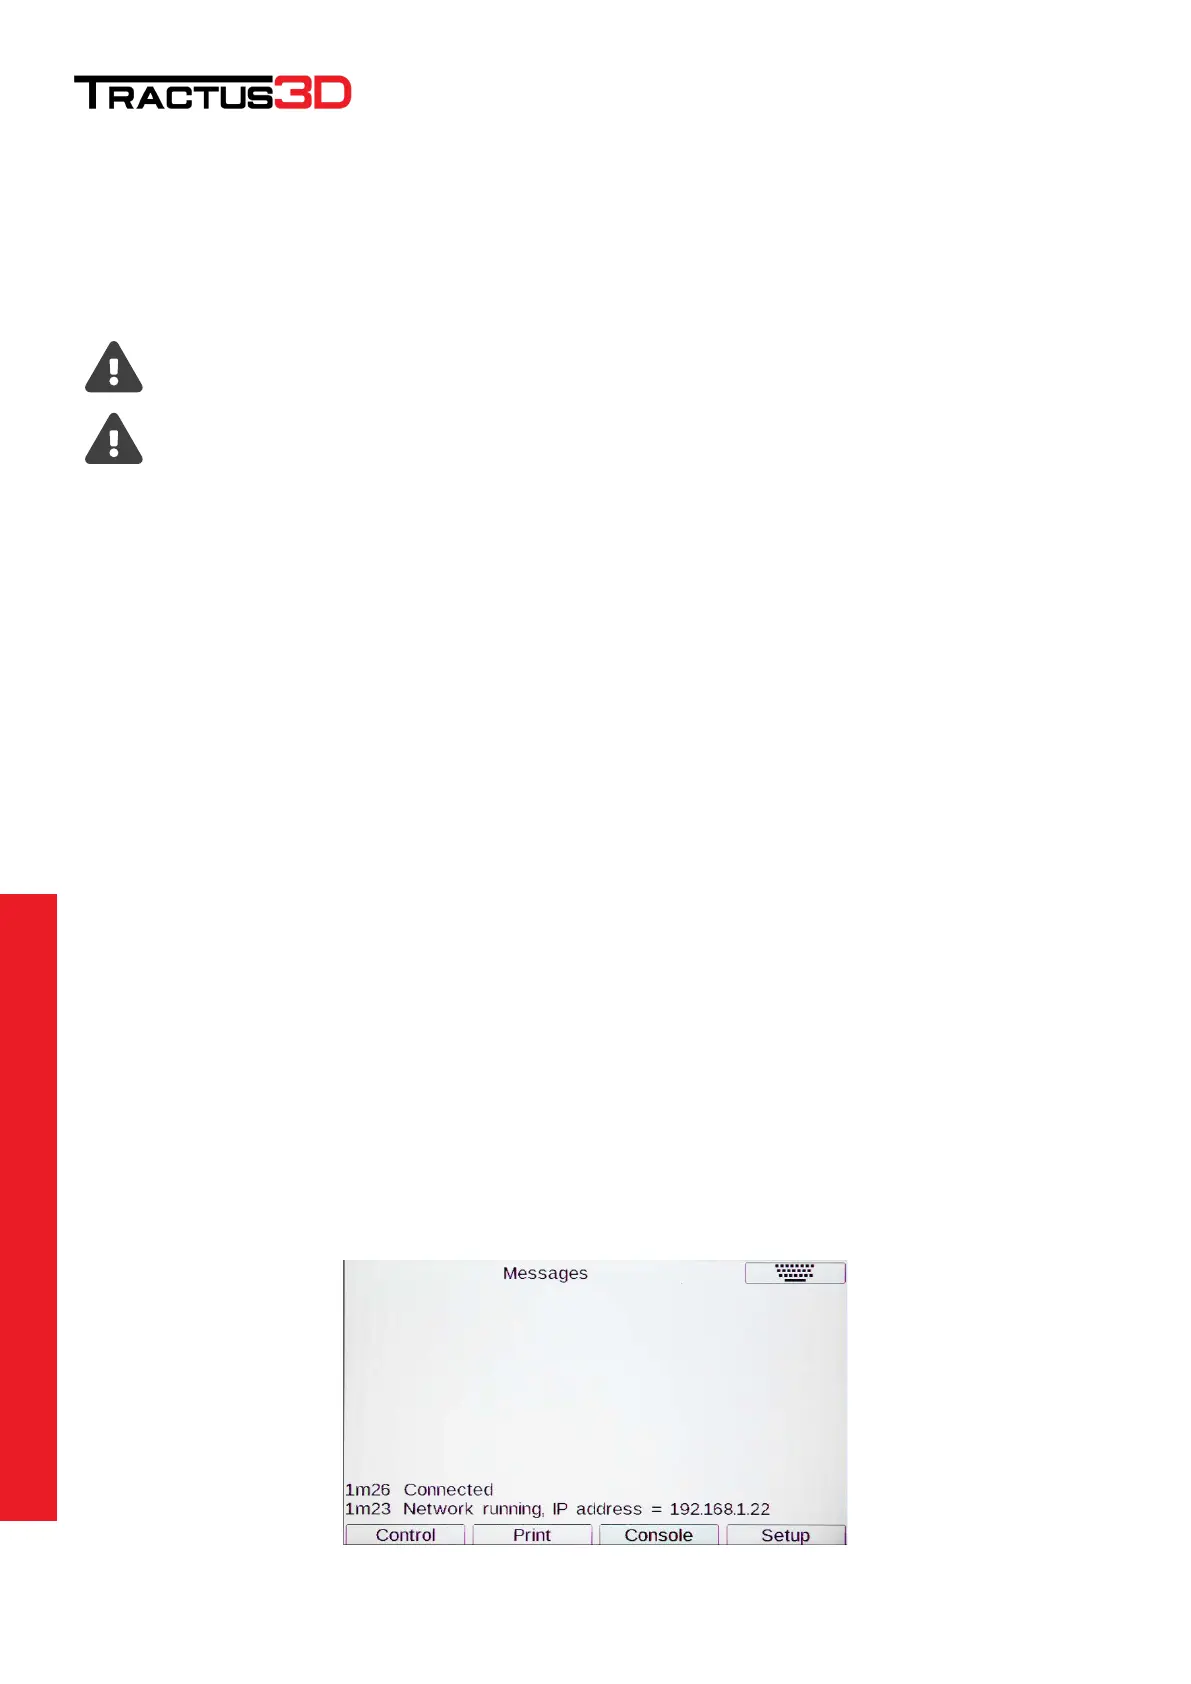
When you turn on the printer for the first time the IP address will be assigned by your DHCP server in the
network. To view the IP address, go to the console tab on the LCD screen.
 Loading...