6
Note: If the unit must be transported in a horizontal
position, it must be laid on its back (marked “REAR”
on carton).
Note: To reassemble cabinet, follow the steps in
reverse order. Ensure electrical connections are
secure and the plug clips are engaged.
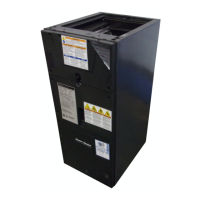
STEP 1 - Remove all four front panels. See Section
2.2.
4.1 Disassemble cabinet for installation in tight areas or as needed.
Section 4. Optional Cabinet Disassembly
STEP 2 - Disconnect the high and low voltage
connectors on the blower. There is a seal plate that
slides over the control panel lip. This panel will be
loose once the blower is removed.