58
18-GJ89D1-1F-EN
System Start Up
1. Make sure all panels are securely in place and that all wiring has been properly dressed and secured.
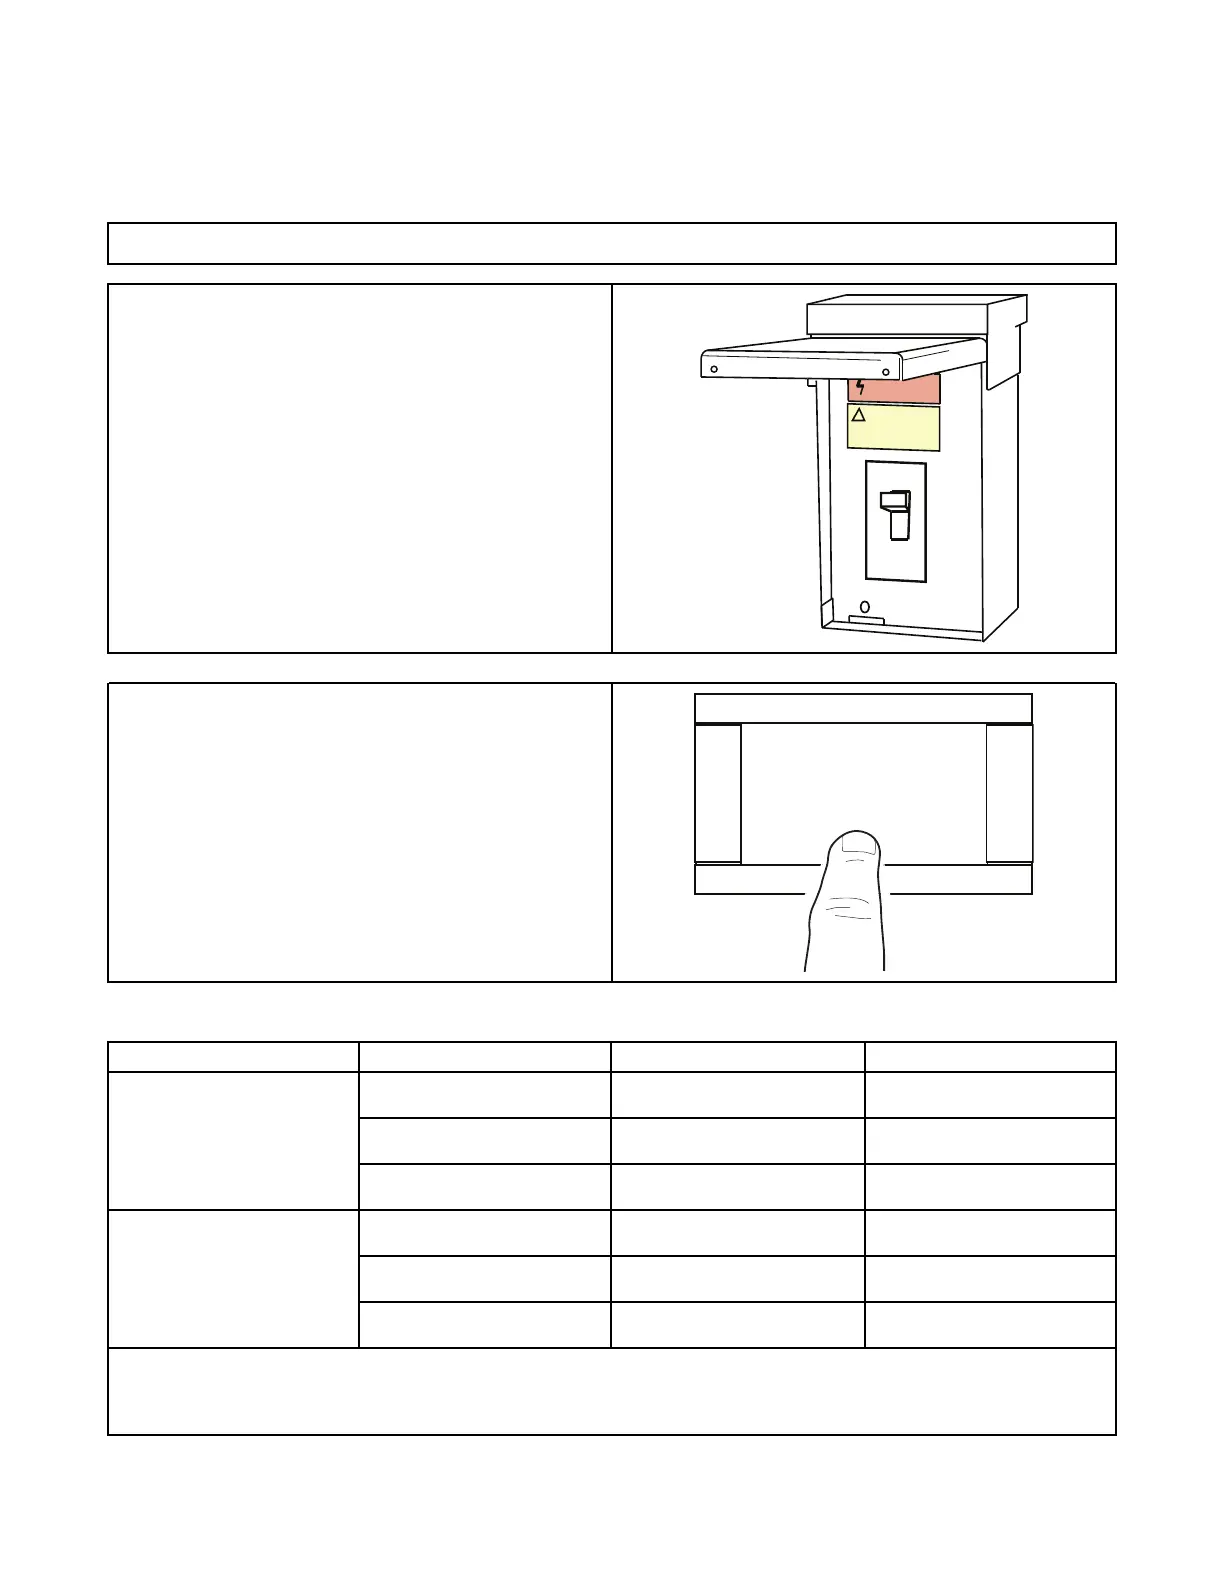
2. Turn on electrical power disconnect(s) to apply power to the
indoor and outdoor units.
3. Set the system thermostat to ON.
System Charge Adjustments
System Matched with:
Indoor Unit Model No. Outdoor Unit Model No.
Subcooling
Single Compressor
2–Stage HP
TAMXB0B30V31DB
4A6H6024E/G, 4TWX6024E/G
4A6H7024, 4TWX8024
9°
TAMXB0C36V31DB
4A6H6036E/G, 4TWX6036E/G
4A6H7036, 4TWX8036
10°
TAMXB0C48V41DB
4A6H6048E/G, 4TWX6048E/G
4A6H7048, 4TWX8048
8°
Single Compressor
2–Stage AC
TAMXB0B30V31DB
4A7A6024E/G, 4TTX6024E/G
4A7A7024, 4TTX8024
8°
TAMXB0C36V31DB
4A7A6036E/G, 4TTX6036E/G
4A7A7036, 4TTX8036
8°
TAMXB0C48V41DB
4A7A6048E/G, 4TTX6048E/G
4A7A7048, 4TTX8048
8°
Notes:
1. Variable Speed outdoor units must be charged per the outdoor unit instructions.
2. All other matches must be charged per the nameplate charging instructions.