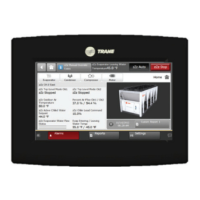
Chapter 2 Operator display
10 CNT-SVX05B-EN
To install the stand-alone operator display:
1. Unsnap the gray plastic backing from the operator display.
2. Carefully disconnect the operator-display cable from the connector
inside the operator display.
3. Use the plastic backing as a template to mark the position of the four
mounting holes on the mounting surface (see Figure 6 on page 10).
Figure 6. Stand-alone operator-display mounting holes
4. Set the plastic backing aside and drill holes for #8 (4 mm) screws or
#8 wall anchors.
5. Secure the plastic backing to the wall with #8 (4 mm) mounting
screws (not supplied).
6. Connect the operator-display cable to the operator display, then snap
the operator display to the plastic backing.
The operator-display cable is keyed to the connector. If you have diffi-
culty connecting it, make sure the key is lined up with the slot.
7. Run the operator-display cable to the Tracer AH541, affixing it to the
wall with wiring staples or wire mold. Do not run operator-display
cable in the same wire bundle with high-voltage power wires. Run-
ning input/output wires with 24 Vac power wires is acceptable.
8. Feed the cable into the Tracer AH541 enclosure.
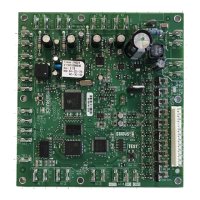
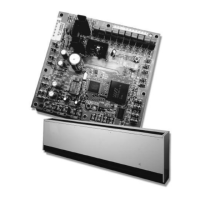
9. Attach the operator-display cable to the operator-display connector on
the circuit board (see Figure 7 on page 11).
The operator display receives power from the Tracer AH541 and
turns on automatically when it is connected to the controller.
Mounting hole
(four locations)

 Loading...