- 36 -
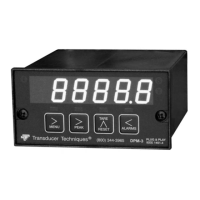
19. INSTRUMENT SETUP & DATA DISPLAY VIA PC
DPM-3 Instrument Setup software is a PC program which is much easier to learn than front
panel programming. It is of benefit whether or not the meter is connected to a PC. With the
meter connected to a PC, it allows uploading, editing and downloading of setup data,
execution of commands under computer control, and the listing, plotting and graphing of
data. With the meter unconnected to a PC, it provides quick selection of jumper locations
and a printable display of menu selections for front panel setup.
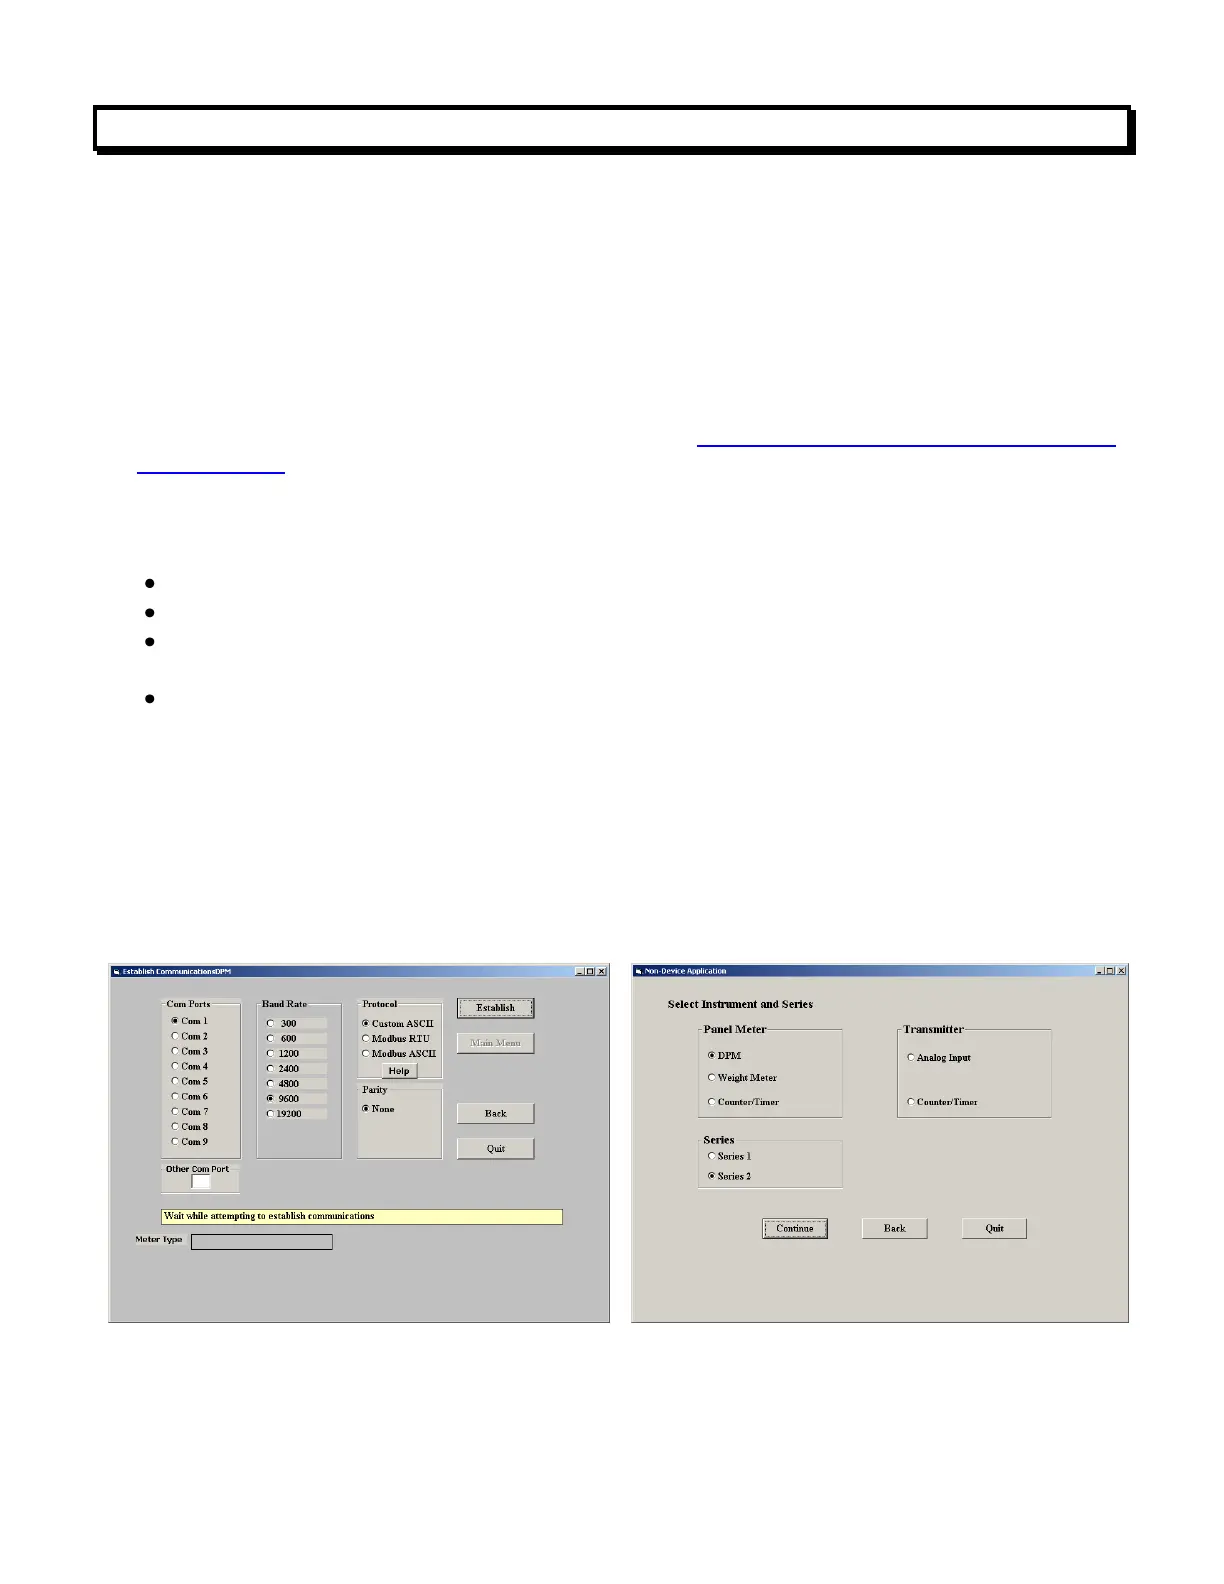
SOFTWARE INSTALLATION
Download DPM-3 Instrument Setup software from www.transducertechniques.com/online-
manuals.aspx onto your PC. Double-click on the downloaded file to unzip it into a special
directory, such as c:\Program Files\DPM-3\IS. Within that directory, double-click on
setup.exe, which will install the software on your PC. Prerequisites for connected use are
the following:
DPM-3 meter with a DPM-3-OPT-T (RS232 option) or DPM-3-OPT-U (USB option).
PC-compatible computer with an available RS232 or USB port.
RJ11-to-DB9 RS232 cable (P/N DPM-3-RJ11AD9) or commercial USB cable to connect
the meter to the PC.
DPM-3 Instrument Setup software.
ESTABLISHING COMMUNICATIONS
Connect the meter to the PC. Apply power, and keep the meter in RUN Mode. To start the
software from Windows, click on Start > Programs > DPM-3 Digital Panel Meter > DPM-3
Instrument Setup. Select the proper COM port and baud rate. Click on RS232 > Establish.
The program will temporarily set the selected COM port to the required baud rate, parity,
data bits and stop bit. Once communications have been established, click on Main Menu.