Switch Installation
Rack Mount Hardware Installation
The switch can be mounted in an EIA standard-size, 19-inch rack, which can be placed in
a wiring closet with other equipment. Attach the mounting brackets at the switch’s
front panel (one on each side), and secure them with the provided screws.
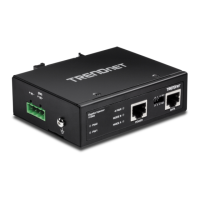
Note: The switch model may be different than the one shown in the example
illustrations.
Then, use screws provided with the equipment rack to mount each switch in the rack.
DIN-Rail Installation
The site where the switch will be installed may greatly affect its performance. When
installing, consider the following pointers:
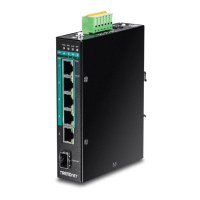
Note: The switch model may be different than the one shown in the example
illustrations.
• Install the switch in the appropriate location. Please refer to the technical
specifications at the end of this manual for the acceptable operating temperature
and humidity ranges.
• Install the Switch in a site free from strong electromagnetic field generators (such
as motors), vibration, dust, and direct exposure to sunlight.
• Install the switch in a location that is not affected by strong electromagnetic field
generators (such as motors), vibration, dust, and direct sunlight.
• Leave at least 10cm of space at the front and rear of the switch for ventilation.
Fasten the DIN-Rail bracket to the rear of the switch using the included
fasteners/screws.
Note: The DIN-Rail bracket may already be installed to your switch when received.
The movable clip at the top of the DIN-Rail bracket should be on top.

 Loading...