13
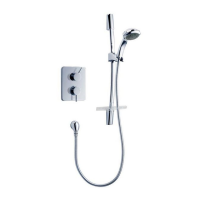
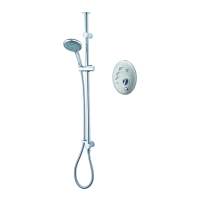
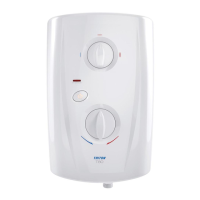
Dual control built-in thermostatic mixer shower
MAKING GOOD
Make good the wall and complete the
tiling.
If the tiles are accurately cut, then the
coverplate will seal around the hole in the tiles,
and the valve unit will be able to be removed
from the wall without the need to break any
tiles.
Make sure the grout lines around the valve are
ush with the tiles in order to provide a smooth
sealing surface for the coverplate.
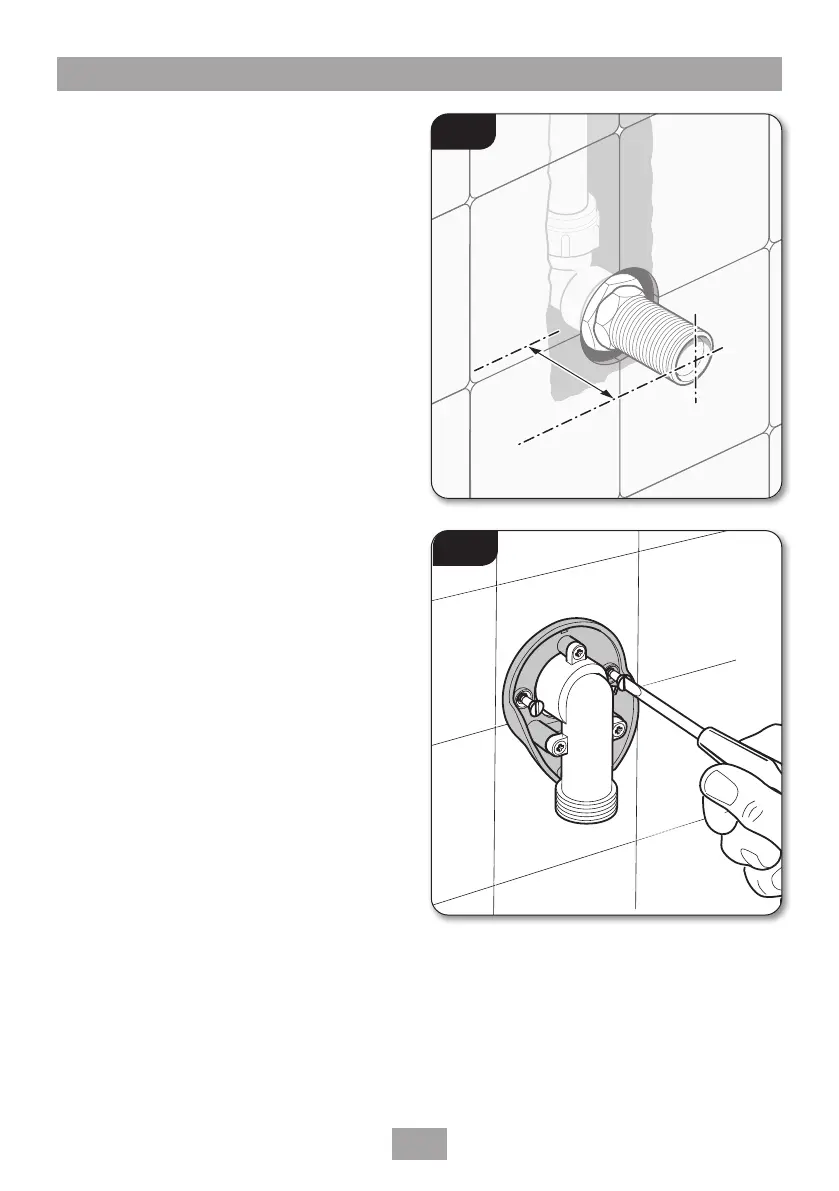
BULKHEAD ASSEMBLY
Screw the bulkhead elbow to the bulkhead body
with the three screws supplied.
Screw the completed assembly onto the
threaded connector temporarily to mark the
position of the two xing holes for securing the
bulkhead to the wall.
NOTE: If screw thread protrudes too far out
of the wall, it can be cut to the correct length
using a hacksaw.
Unscrew and remove the bulkhead assembly.
Check the location of the pipe in the wall before
drilling.
Drill and plug the wall. An appropriate drill bit
should be used. If the wall is brick, plasterboard or
a soft building block, appropriate wall plugs and
screws should be tted.
If tting to a hollow wall structure, it may be
preferable to secure the bulkhead by applying a
bead of silicon seal to the back of the bulkhead.
Apply PTFE tape to the threaded connector.
Screw the bulkhead assembly onto the threaded
connector until tight to the wall and the two
xing holes are aligned. Secure to the wall with
the two screws supplied (g.14).
Finish by clipping the cover onto the bulkhead,
making sure the protruding legs locate in the
bulkhead body.
Fig.14
Fig.13
8mm - 13mm