GDM-HST02
TEC_TM_158 | REV. B | EN 12/4/2023 Page 19 of 48
truemfg.com
Installation & Setup (cont.)
Proper leveling of your TRUE appliance is critical to operating
success (for non-mobile appliances). Leveling impacts effective
condensate removal and door operation.
See "Leveling Screw, Leg or Castor Installation" (pg. 17) for level
adjustment and shimming information.
Procedure
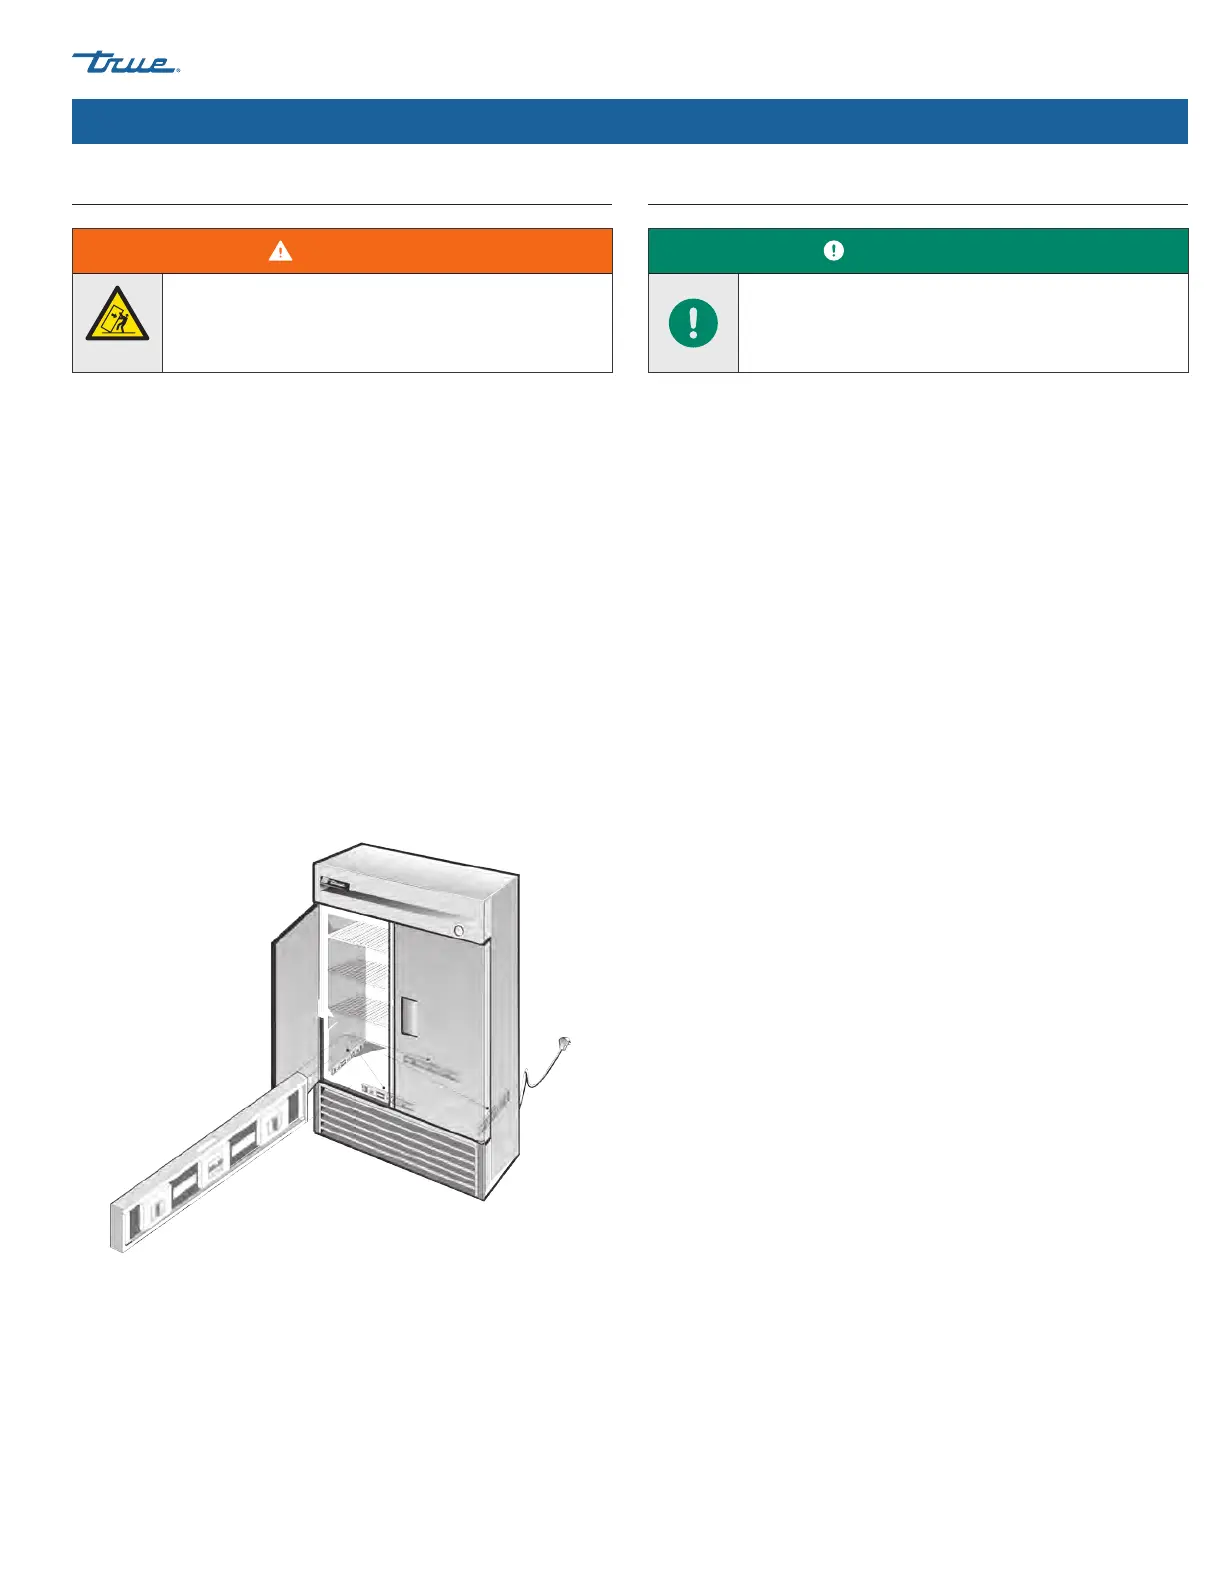
Position the appliance in its final installation location. Then, level
the appliance front-to-back and side-to-side. See fig. 1.
1. Position the level on the inside floor of the appliance near the
doors (level parallel to appliance front). Level the appliance.
2. Position the level at the inside rear of the appliance (level
parallel to appliance back). Level the appliance.
3. Position the level on the left and right inside floor (level parallel
to appliance sides). Level the appliance.
Level the Appliance Seal the Appliance to the Floor
The following procedure describes sealing a non-mobile appliance
to the floor for NSF standards. This may not be required for your
application.
Procedure
1. Position the appliance in its final installation location. Be sure
to leave adequate clearance between the back and sides per
"Clearances" (pg. 12) to ensure proper ventilation.
2. Level the appliance front-to-back and side-to-side. See
“Level the Appliance” (pg. 19).
3. Draw an outline of the appliance base on the floor.
4. Raise and block the front side of the appliance.
5. Apply a bead of NSF-approved sealant (see list below) to the
floor, 1/2" (13 mm) inside the front part of the outline drawn in
step 3. The bead of sealant must be heavy enough to seal the
entire appliance surface when the appliance is lowered on top
of the sealant.
6. Raise and block the rear of the appliance.
7. Apply sealant to the floor on the other three sides, as outlined
in step 5.
8. Examine the appliance to ensure that it is sealed to the floor
around the entire perimeter.
NSF-Approved Sealants
• 3M #ECU800 Caulk
• 3M #ECU2185 Caulk
• 3M #ECU1055 Bead
• 3M #ECU1202 Bead
• Armstrong Cork – Rubber Caulk
• Products Research Co. #5000 Rubber Caulk
• G.E. Silicone Sealer
• Dow Corning Silicone Sealer
USER ACTION!
Asphalt floors are susceptible to chemicals. TRUE
recommends installing a layer of tape between the
asphalt and the sealant to protect the floor.
WARNING!
Tipping hazard! ALWAYS verify center leveling screws
fully contact the floor after leveling the appliance.
Fig. 1. Measure the level along the perimeter of the interior floor.
 Loading...