9
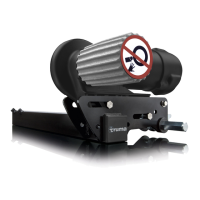
10. Eriba Troll Mounting Set
The Eriba Troll Mounting Set allows the Mover® to be
mounted behind the axis on an Eriba Troll caravan/trailer.
part no. 60031-03000
Fig. 16
11. Short mounting system
Replacement for standard mounting system if this cannot be
used due to lack of space and to compensate for the height
(30 or 60 mm) of substructures such as tanks.
part no. 60031-20000
Fig. 17
12. Mud guard set (no illustration)
Replacement for standard mud guards, if these cannot be
adapted to the Mover®.
part no. 60031-08200
Detailed installation instructions are provided with the
relevant mounting set.
The Caravan Mover® is not approved for installation
on caravans / trailers with any other chassis!
Any drilling (exception: when using low chassis kit*) or weld-
ing to the chassis is not allowed. Under no circumstances
remove any suspension components from the chassis.
* In the case of the AL-KO Vario III / AV Chassis, never drill
into the vehicle frame even if the flat frame kit is used.
Choice of location
The Caravan Mover® should preferably be installed in front of
the axle, but can also be installed behind the axle under spe-
cial circumstances (e.g. due to lack of space). Only the bolts
that are provided must be used to secure the Mover® (or the
add-on parts provided as special accessories).
Mud guards
Proceed in accordance with these instructions only if a splash
guard is fitted. When a manoeuvring assistant is fitted behind
the axle, the existing mud guards must be moved / adapted if
necessary (max. distance between tyre / mud guard 300 mm).
The mud guards are installed behind the axle. No
mudguards are required in front of the axle.
Original mud guards
Fahrtrichtung
Caravan Mover®
max. 200 mm
max.
300 mm
Figure 18
Adapting the mud guards to the Mover®
1. Remove the existing mud guards.
2. Fit the Mover®.
3. If necessary, make recesses in the mud guard for the
aproncontour.
4. Secure the mud guard 300 mm from the tyre on the under-
side of the caravan.
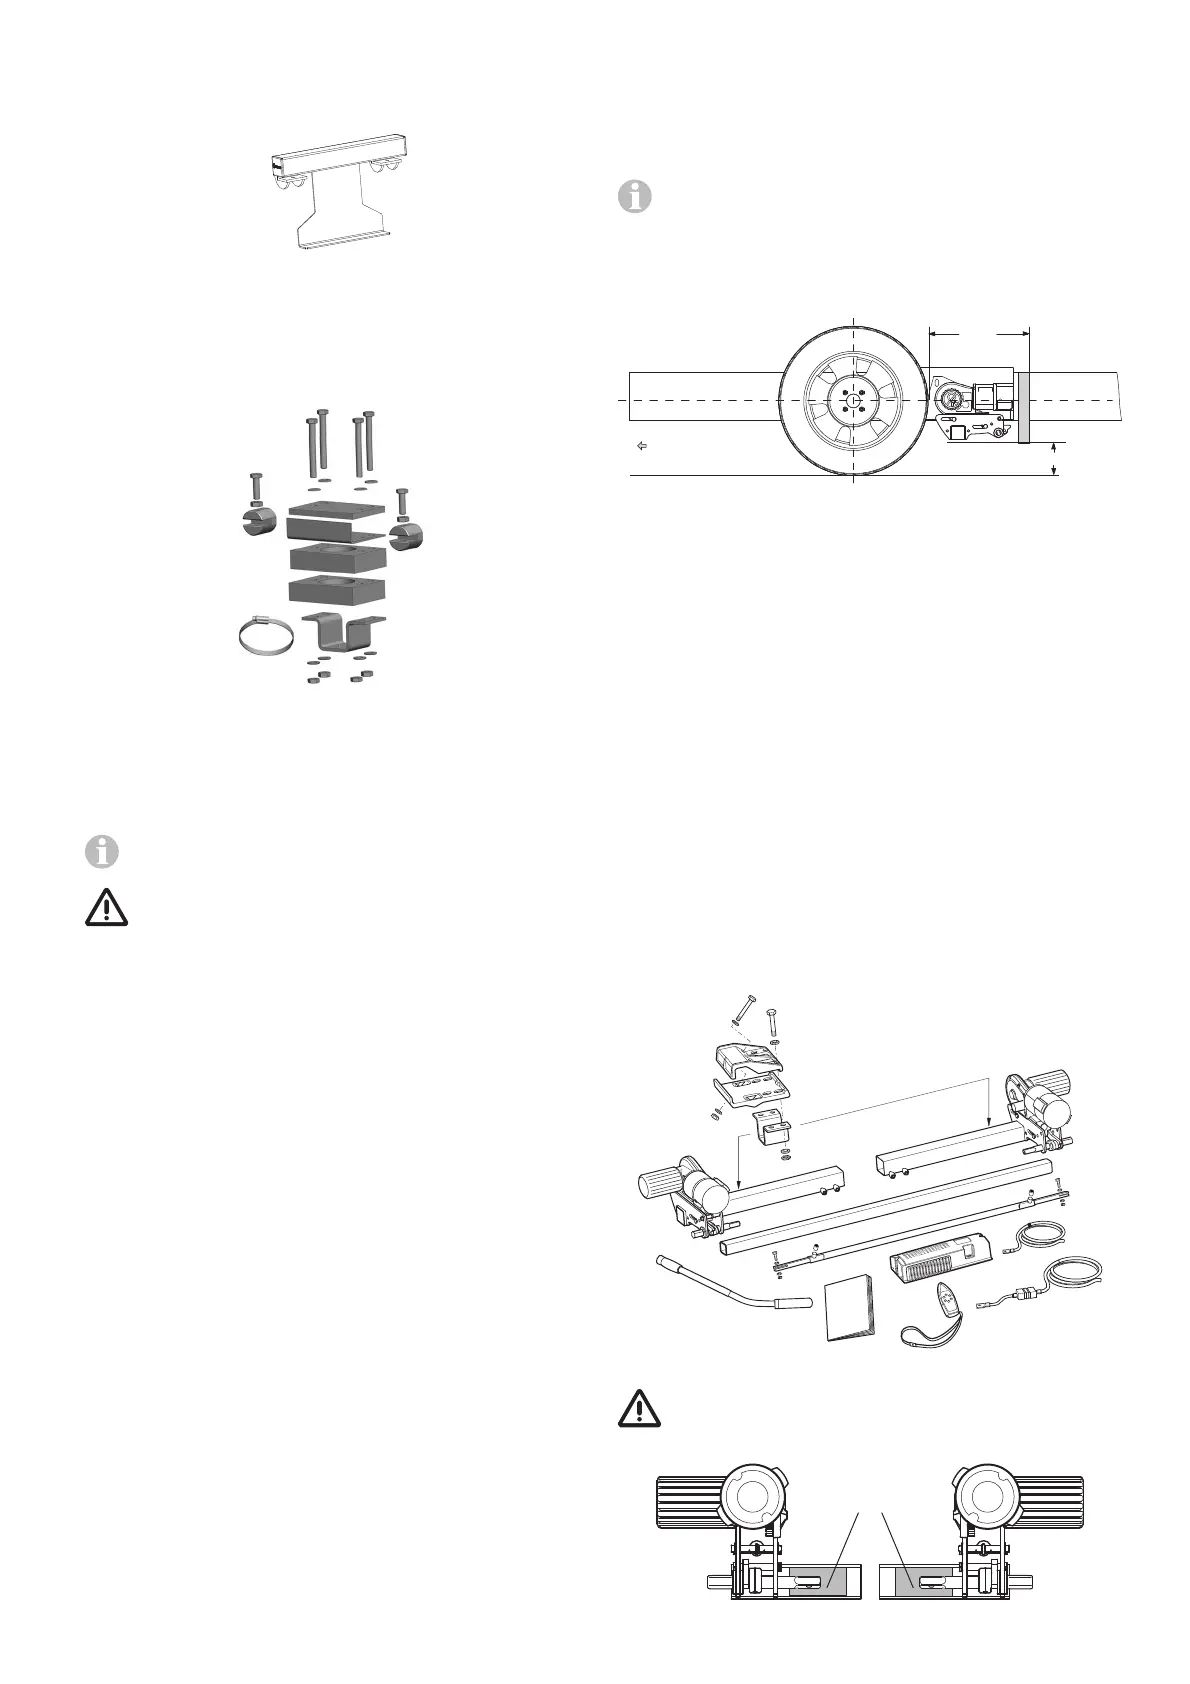
Installation of the drive units
The frame of the vehicle must be kept free of rust and
heavy soiling and without any damages to the suspension
components.
The wheels and tyres that are fitted to the caravan must be
of the same size and model and inflated as per the manufac-
turer’s instructions.
Remove all components from packing and place on the floor.
Fig. 19
The provided factory plates (f) must be attached on the
left and right sides of the cross strut next to the drive
unit retaining plates.
f
Fig. 20