L
Lisa WashingtonSep 3, 2025
What to do if my TSC Printer says 'Carriage Open'?
- GGrant PerezSep 3, 2025
If your TSC Printer displays a 'Carriage Open' message: * Close the print carriages.
What to do if my TSC Printer says 'Carriage Open'?
If your TSC Printer displays a 'Carriage Open' message: * Close the print carriages.
What causes irregular printing on my TSC Printer?
If your TSC Printer is exhibiting irregular printing: * Turn the printer off and on again to skip the dump mode. * Reset the RS-232 setting.
Why is printing missing on the sides of labels from my TSC Printer?
If printing is missing on the left or right side of the label when using your TSC Printer: * Set the correct label size.
Why is there a gray line on the labels from my TSC Printer?
If you notice a gray line on the blank labels printed by your TSC Printer: * Clean the print head. * Clean the platen roller.
What to do if my TSC Printer says 'No Ribbon'?
If your TSC Printer indicates 'No Ribbon': * Supply a new ribbon roll. * Refer to the user’s manual for steps to reinstall the ribbon correctly.
Why is my TSC Printer not printing anything on the label?
If your TSC Printer is not printing on the label, consider these potential causes: * Ensure the label or ribbon is loaded correctly, following the loading instructions. * Verify that the ribbon and media are compatible. * Check the ribbon-inked side is correctly oriented. * Adjust the print density setting.
What to do if my TSC Printer says 'No Paper'?
If your TSC Printer indicates 'No Paper', here's what to check: * Ensure that you have a new label roll. * Refer to the user’s manual for instructions on how to correctly reinstall the label roll. * Calibrate the gap/black mark sensor.
How to improve poor print quality on my TSC Printer?
If you observe poor print quality on your TSC printer, the following steps may help: * Reload the ribbon and media, ensuring they are correctly installed. * Clean the print head and platen roller to remove any dust or adhesive. * Adjust the print density and print speed settings. * Run a printer self-test to check for missing dots in the print head test pattern. * Ensure you are using compatible ribbon and label media. * Adjust the printhead pressure adjustment knob. * Ensure the release lever properly latches the printhead.
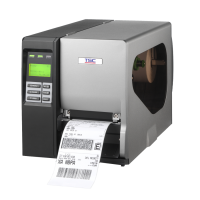
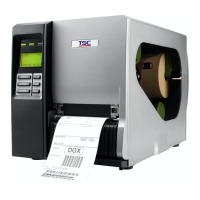
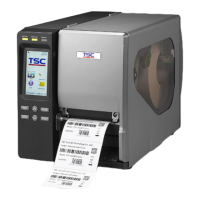
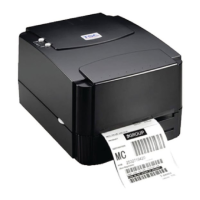
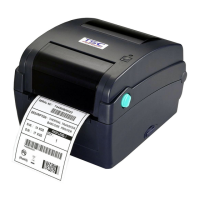
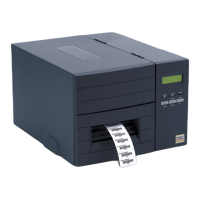
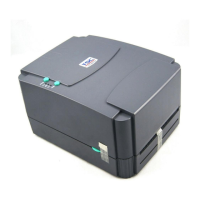
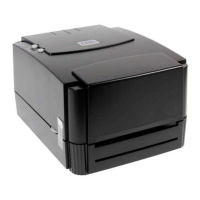
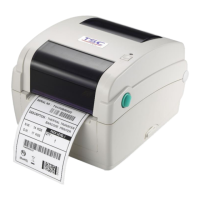
Detailed views of the printer's front, interior, and rear components.
Identifies and describes the external components visible on the printer's front.
Step-by-step guide for physically setting up the printer and connecting it.
Detailed instructions on how to load and remove the printer ribbon.
Step-by-step guide for installing a new ribbon into the printer.
Instructions for safely removing a used ribbon from the printer.
Guides for loading various types of media, including standard, fan-fold, and peel-off.
Step-by-step guide for loading standard media rolls into the printer.
Instructions for loading fan-fold or external media stacks.
Guide for loading media when the peel-off module is installed.
Steps to remove the liner from the internal rewind spindle.
Instructions for loading media in rewind liner with label mode.
Steps to remove labels and supply holders from the internal rewind.
How to adjust print head pressure for optimal print quality using adjustment knobs.
Adjusting the burn line for print quality based on media thickness.
Methods to adjust printer parts to prevent ribbon wrinkles for better print output.
Instructions for configuring the Ethernet interface using the diagnostic tool.
Steps to configure Ethernet via USB connection using the diagnostic tool.
Steps to configure Ethernet via RS-232 connection using the diagnostic tool.
Steps to configure Ethernet via Ethernet connection using the diagnostic tool.
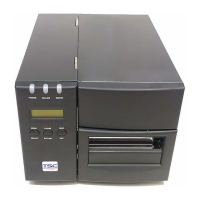
| Model | TTP-2410MT Series |
|---|---|
| Resolution | 203 dpi |
| Ribbon core diameter | 25.4 mm (1 inch) |
| Ribbon length | 300 m |
| Processor | 32-bit RISC |
| Interface | USB, Serial, Parallel, Ethernet |
| Type | Barcode Printer |
| Max. print width | 104 mm |
| Memory | 8 MB Flash |
| Media type | Continuous, die-cut, black mark |
| Media width | 25.4 mm - 114 mm |
| Media core diameter | 25.4 mm (1 inch) |
| Ribbon width | 110 mm |
| Power | 100-240V AC, 50/60 Hz |
| Supported Barcodes | Code 39, Code 128, UPC-A, UPC-E, EAN-13, EAN-8, Interleaved 2 of 5, Codabar, PDF417, Data Matrix, QR Code |
| Operating Temperature | 5°C to 40°C |
| Storage Temperature | -40°C to 60°C |
| Certifications | CE, FCC |