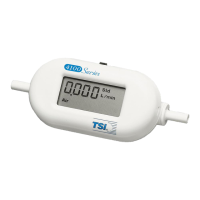
Chapter 3: Getting Started 15
Step-By-Step Example Operation
The quickest way to become acquainted with the operation of the micromanometer is to take a few
Samples while in the pressure mode.
To take Samples proceed as follows:
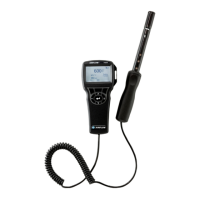
1. Connect the AC adapter to the micromanometer or install batteries in the micromanometer (see
Chapter 2).
2. Turn on the micromanometer by pressing the I/O key. The unit displays INIT (initializing) and runs a
brief diagnostic test.
3. If the display mode is set to SINGLE, the unit will stop and show READY on the display. Pressing
READ will begin a reading, which stops automatically when the reading is done. If the display mode
is set to RUNAVG, the micromanometer will start measuring continuously, and pressing READ will
pause and resume the measurement. (See
Chapter 4 on how to set the display mode to SINGLE or
RUNAVG.)
4. While the unit reads the measurements, it makes a “clicking” sound.
5. When data collection is finished, the display shows the pressure reading. Press the SAVE key to save
the displayed reading to the currently selected Test ID. (If the SAVE key is pressed before the
micromanometer has collected enough data to save, NO.DATA is displayed.)
6. Repeat steps 4-5 to save additional Samples.
Refer to Chapter 4 for detailed “
How To” information on recalling the saved Samples and many other
specific operations.
 Loading...