Tuff Torq K92 Hydrostatic Transaxle
1. Remove plug (B) to drain oil from transaxle. (Fig. 14)
NOTE: If rear PTO is installed, remove necessary rear
PTO components before rear transaxle cover removal.
(See “Rear PTO Removal and Installation” on page 12.)
2. Remove optional rear PTO (A), if installed. (See “Rear
PTO Removal and Installation” on page 12.) (Fig. 14)
3. Remove rear transaxle cover (C). (Fig. 14)
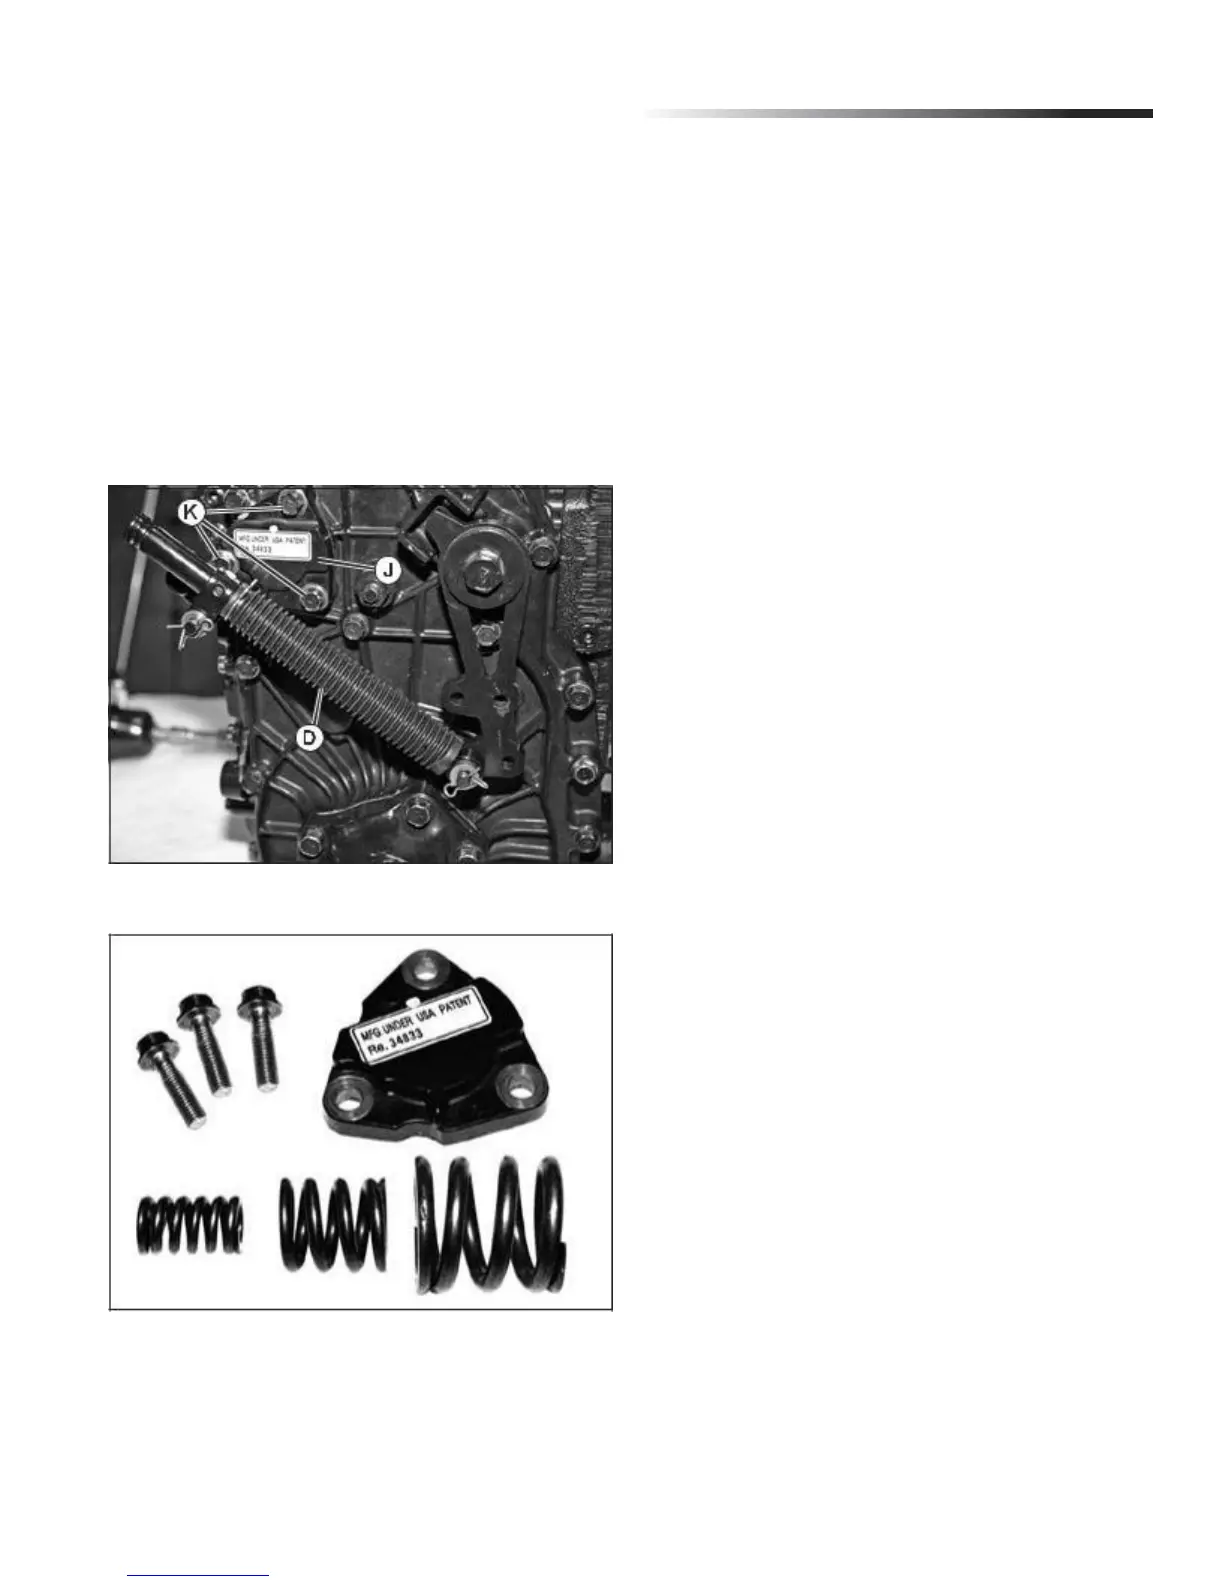
4. Remove control arm damper (D), (Fig. 14-15), to gain
access to (3) cap screws (K), (Fig. 15), holding PTO brake
cover (J), (Fig. 15), to transaxle side cover. (See “Control
Arm and Damper Removal and Installation” on page 1.)
Fig. 15, PTO Brake Cover Removal
Fig. 16, PTO Brake Cover Kit
NOTE: Installation is done in the reverse order of diassembly.
7