8 MAINTENANCE
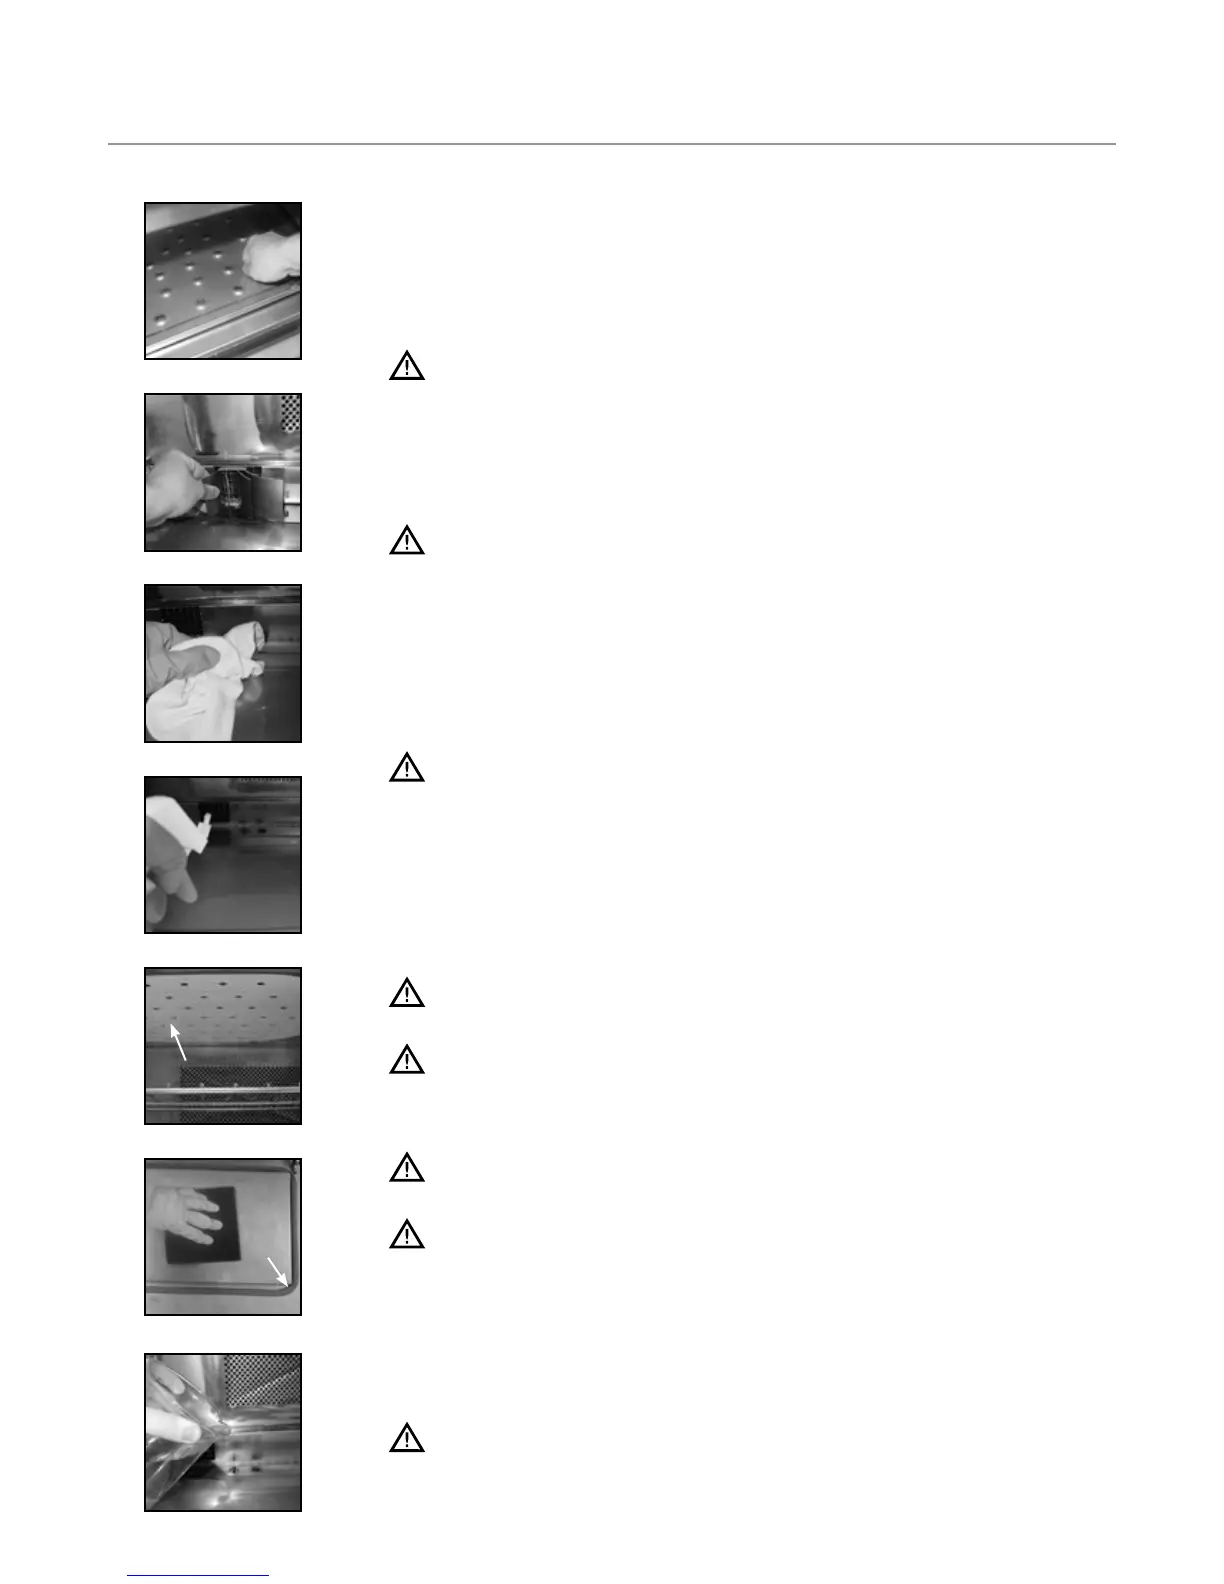
Step 3: Remove and Clean the Lower Jetplate
- Unscrew the two thumb screws on the lower jetplate.
- Lift the lower jetplate by gripping the thumb screws.
- Remove the lower jetplate.
- Wash, rinse, and sanitize the lower jetplate.
CAUTION: DO NOT remove the top ceramic jetplate or glass inserts; breakage
will result in a non-warranty service call.
Step 4: Remove and Clean the Lower Air Diverter
- Remove the lower air diverter.
- Wash, rinse, and sanitize the lower air diverter.
WARNING: DO NOT discard the lower air diverter. The oven will not work
without the lower air diverter installed.
Step 5: Wipe the Oven Interior
- Wipe large particles from the oven interior with a damp towel.
Step 6: Clean the Oven Interior
- Spray oven cleaner onto the top, bottom, and sides of the oven interior.
CAUTION: DO NOT spray oven cleaner into the holes on the back
oven wall. Doing so can damage critical oven components, resulting in a
non-warranty service call.
- Allow Oven Cleaner to penetrate stains for five minutes.
- Clean the oven interior with a nylon scrub pad.
NOTE: The i5 oven top jetplate (Figure Step 6.2) is ceramic. The i3 oven top
jetplate is either ceramic or metal with glass inserts.
CAUTION: DO NOT apply pressure to the ceramic or glass portion of the top
jetplate when wiping; breakage will result in a non-warranty service call.
CAUTION: DO NOT remove the top ceramic jetplate or glass inserts; breakage
will result in a non-warranty service call.
Step 7: Clean and Dry the Oven Door
CAUTION: DO NOT spray oven cleaner directly onto the oven door gasket
(Figure Step 7) or saturate it with water.
CAUTION: DO NOT scrub or attempt to clean the oven door gasket (Figure
Step 7). Doing so may cause the oven door to misalign, resulting in a non-
warranty service call.
- Clean the oven door with oven cleaner and a nylon scrub pad.
- Wipe the oven door with a damp towel.
Step 8: Rinse the Oven Interior
CAUTION: DO NOT use a hose or water jet for cleaning. Doing so can
damage critical oven components, resulting in a non-warranty service call.
- Rinse the oven interior with clean water.
- Dry the oven interior with a clean towel.
Step 3
Step 4
Step 5
Step 6.1
Gasket
Step 7
Step 8
Step 6.2
Top Jetplate

 Loading...