Page 14 of 18
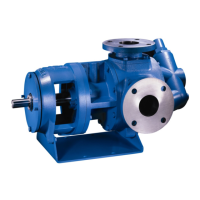
Pump Disassembly
The seal must be removed before the pump can be disassembled. Mark the cover, housing and bracket for proper re-assembly.
Remove the cover screws, cover, housing, idler and rotor from the bracket
Inspection
Check the pump housing, rotor, idler gear, idler pin and cover for wear and chipped or broken teeth. There must not be any deep
scratches or grooves on any of the following.
• The ID surface of the housing and OD of the rotor
• The end face of the rotor and OD of the idler (both faces of the idler)
• The inside surfaces of the cover, including the crescent
• Replace worn parts as needed
• The rotor should be positioned in the housing or bracket and checked for clearance in the bearing
• The shaft must turn freely without any detectable side play
Note: Side play will require replacement of the housing, bracket, rotor, or all three parts.
Pump Assembly
• Clean all parts thoroughly using great care to eliminate all dirt
• Install the rotor in the pump bracket
• Install the housing over the rotor head positioned on the bracket register
• Place the idler gear on the pin in the cover assembly and position in the housing register
• Align the matching marks for proper location
• Install the cover screws. Tighten gradually, alternating from a screw on one side to a screw on the opposite side
• Install the seal, following the instructions for the specic model in question
• Check the end clearance
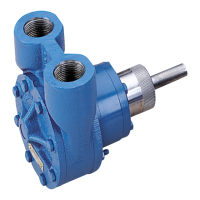
Changing Suction Ports While Maintaining Shaft Rotation
Models 4312-4316
To maintain the same shaft rotation (clockwise or counterclockwise) and yet switch suction and discharge ports please do the following.
• Looking at the pump from the shaft end with the ports up, note the location of the V notch in the bracket
• If it is at the top (12 o’clock) the rotation is clockwise
• If it is at the bottom (6 o’clock) the rotation is counterclockwise
• Remove the cover screws so that the bracket and cover move freely
• Rotate the bracket and cover 180°
• Align the mounting holes and reinstall the cover screws making sure the seal gland is vented to the suction side of the pump
 Loading...