30
12. Install keys (24) into rotor shafts. Tight t required. Coat shafts and key with anti-seize. If new gears
are being installed, disassembly gear shell from hub.
13. Heat the gear hubs to 350° F (177° C) At this temperature they should t easily to the rotor shafts.
NOTE
After heating, handle gear hubs with insulated gloves only.
Secure with lockwashers (36) and locknut (35) immediately after hub is installed. Torque to proper
specication. Do not install gear shell until hub has been allowed to cool.
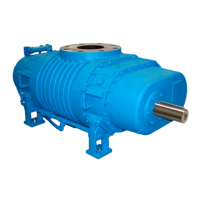
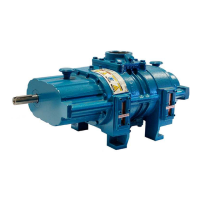
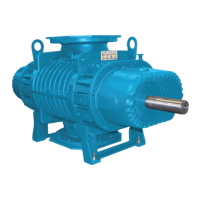
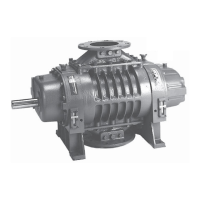
8.2.3 FREE END ASSEMBLY
14. Turn assembly over and support on blocks. Remove the six cap screws and put jack screws in the
holes provided in the ange of the end plate and remove plate. Take out two shims and check free
end clearance between end of the lobes and housing using a at bar and feeler gauges or a depth
micrometer. See page 34 for correct clearances.
Series 19/86: Repeat step 9 to install sleeves.
15. Series 55/82/66/69: Recheck carbon of seal to be sure it is clean.
All series: Reinstall end plate making sure O-ring is still in its groove and secure with all the cap
screws (26).
16. Series 55/82/66/69: Repeat step 9 install sleeve and mating ring assemblies.
17. Install bearing spacers (123) then repeat step 10 to install bearings. Secure with lockwashers and
locknuts (936 & 35). Bend one lockwasher tap into spanner nut slot to lock all nuts).
18. Install oil retainer rings (15) and cap screws (30) (only six required).
19. To install mounting feet (304) or (304 & 408 on 66/69 series) the hollow dowel (306) should be in the
foot. If any of the dowels are in the end plate, remove and transfer to the feet. Grease and install the
O-ring over dowel. Run a bead of silicone sealer 1/4” wide, around the dowel holes on the foot mounting
pad of the end plate. This acts as a backup O-ring to prevent any oil leakage. Secure with cap screw
(307). Reconnect oil pipes then stand unit on its feet.
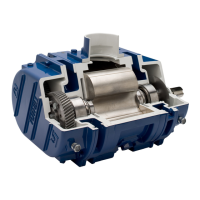
20. The gear hub should now be cool enough to assemble the gear shells. The dowel pins should be in the
hub. Transfer if necessary. Reinstall the timing shim and assemble the shells to their proper hubs (align
hubs and shell match marks). Install drive gear rst (right hand helix) the align the match marks on the
teeth and assemble driven gear (left hand helix).
NOTE
The six cap screws that were in the drive gear are too long without the drive
shaft. Temporarily use the six cap screws from the driven gear. Use three
in each gear (every other hole).