Page 35 of 53 Pages
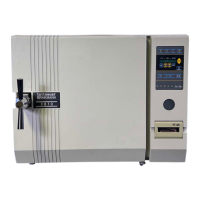
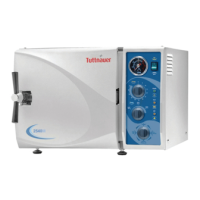
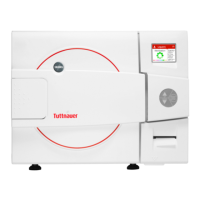
8. OPERATING INSTRUCTIONS
It
is important to clean the hole of the air jet, as described in sec. 9.3
before starting operation of the autoclave, for the first time.
1. Remove water reservoir cover. Pour distilled water into the reservoir,
through the opening on top of the autoclave, until it reaches the base of
the safety valve holder, approximately 0.7 gallons (3 liters).
2. Plug the power cord into the back of the autoclave and into the wall outlet.
3. Turn on the rocker switch mounted on the bottom of the front panel.
4. If a printer is installed then set the clock with the proper date and time.
5. Press the required key to select the required program .The light indicator
of the selected program is illuminated; indicating the program has been
selected. The preset data of the program, sterilization temperature, time
and dry time are displayed.
6. Load the material to be sterilized into the chamber according to
instructions in sec. 7 (Preparation Before Sterilization) and close the door
making sure the ‘Close Door’ indicator is illuminated.
NOTE:
Due to the inherent elasticity of the door gasket, the CLOSE DOOR
indicator light may be illuminated green before a complete seal is
made between the door and the chamber.
Therefore, in order to ensure that the door is fully sealed, when the
green light has been illuminated continue to tighten the door bolt
until “hand tight”. Do not over - tighten the bolt as this may result in
damage to the gasket.
Should the autoclave fail to reach the sterilizing
temperature/pressure, always check first that the door is fully sealed.
If not, then tighten the door bolt further, as described above, until
completely sealed.
7. Press the START key to put the autoclave in operation.
WATER INLET is displayed until the correct volume of water is
automatically introduced.
The autoclave starts performing the sequence of operations. The actual
measured values of pressure and temperature are displayed continuously
(and printed with optional printer).
The indicator lights HEAT, STE, EXH and DRY are turned on and off as
each stage is started and completed.
NOTE:
It is possible to change parameters, only when the autoclave is not in
operation. In order to change the fixed preset parameters, proceed as
follows:
To increase or decrease the sterilization temperature, sterilization
time or dry time, follow instructions from sec. 3.2.2.
Pressing the UP/DN key, advances the setting upward or downward by
one unit. The displays are updated with every change in the preset data.