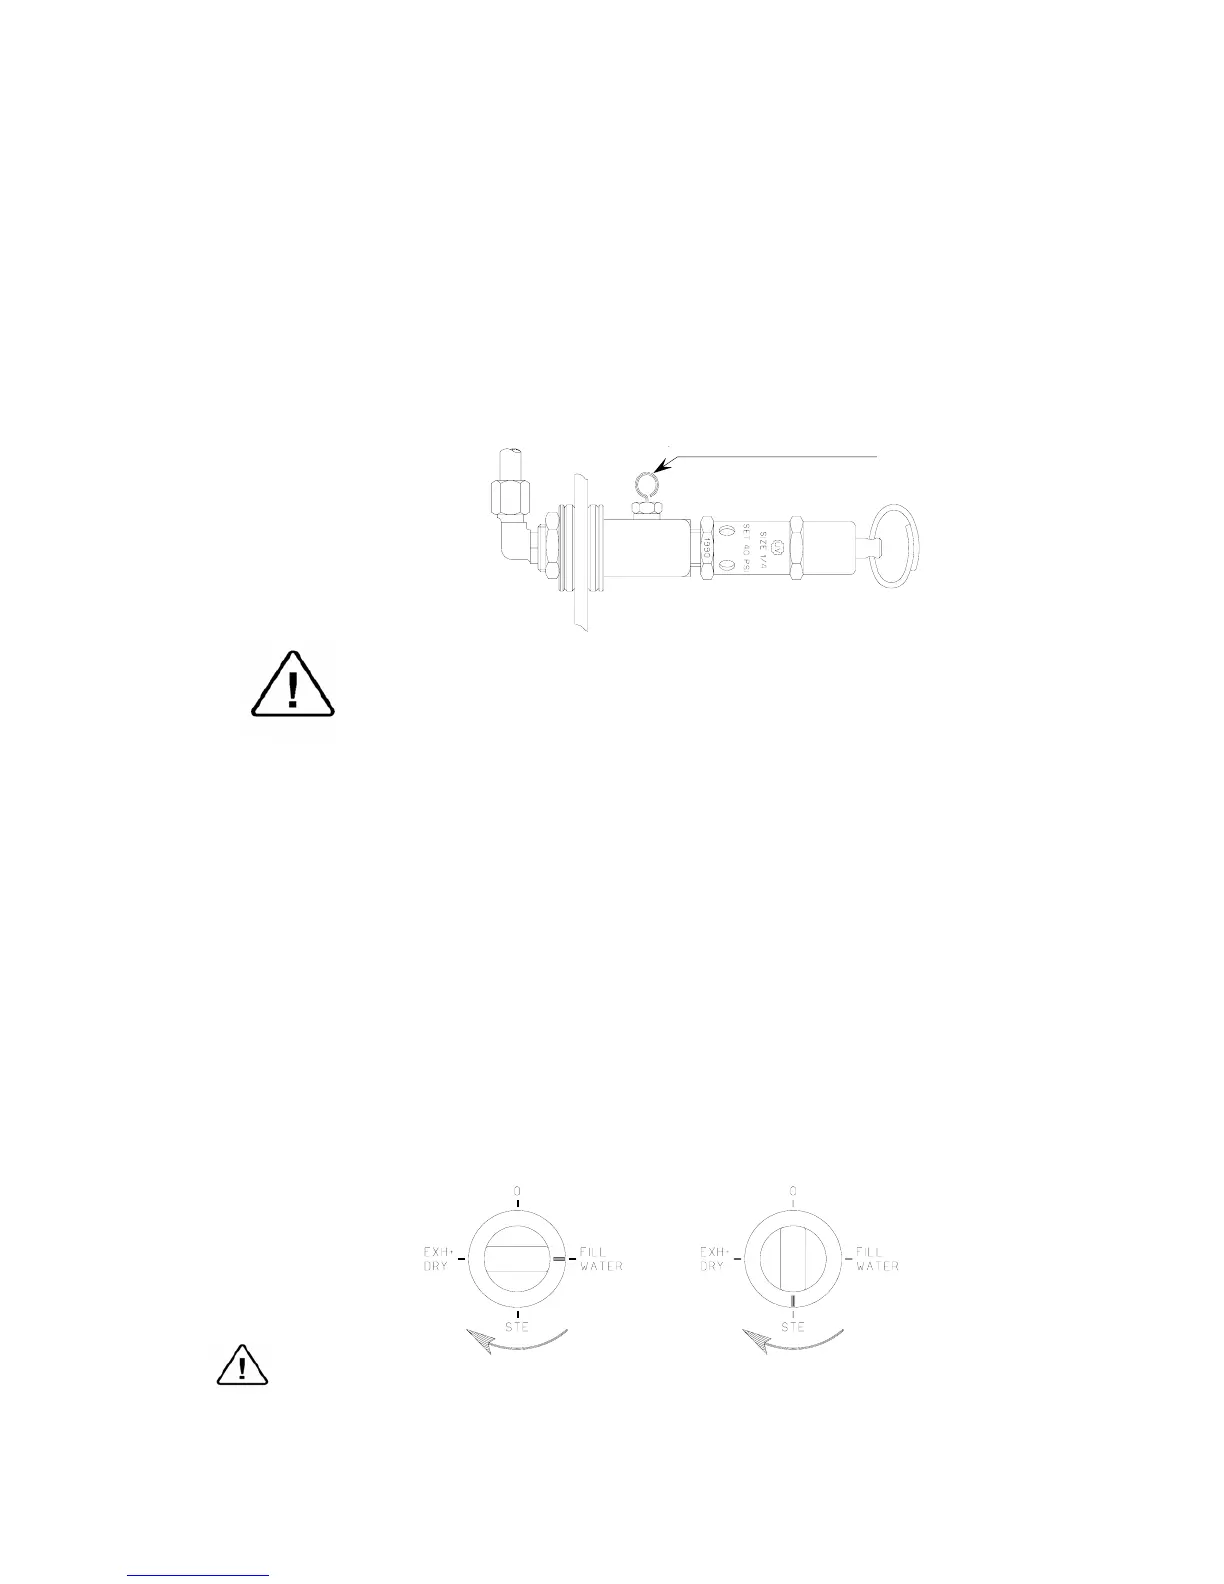
22
7.2.5. USE DISTILLED WATER ONLY. Use water-having
characteristics as per table in sec 5. The impurities in tap
water will create the need for more frequent cleaning and
maintenance, in addition they will accumulate and block the
hole of the Air Jet. This will prevent the temperature in the
chamber from rising properly. This will cause the unit to
abort its cycle, spore tests to fail and indicator strips not
to change color. It is essential from time to time during
heating and sterilization phases that a spray of steam should
escape, from the Air Jet, causing a hissing sound. If no
escaping steam is evident or no hissing sound heard then
follow the instructions in sec 8.3 for cleaning the Air Jet.
Caution:
Daily before operation, check the water level in the reservoir and add
water when required. Once a week or after 20 cycles (the shorter
period) replace the water in the reservoir.
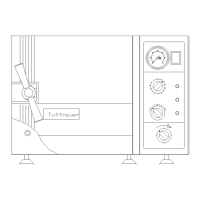
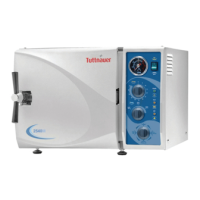
7.3. Move the Start / Stop rocker switch, located on the front panel, to the
START position. The green Power Light will turn on, indicating that
power is ready to be supplied to the Heating Elements.
7.4. Turn the red tracking needle on the pressure gauge, counterclockwise, to
0 psi. This will indicate the highest pressure reached during the cycle.
7.5. Open the front door of the autoclave and set the Multi-purpose valve
knob to the FILL position.
7.5.1. The water will now flow into the chamber.
7.5.2. The water should cover the bottom of the chamber up to the
groove in the front. This amount of water should be in
accordance with the table in sec 4.2
7.5.3. When the water reaches the mark at the front of the autoclave
set the multi-purpose valve knob to the STE. (sterilize)
position.
Note:
When used for the first time, the multi-purpose valve requires slight
effort, but with use it will turn smoothly and easily.
Warning
The Multi-purpose valve knob should be turned in a clock-wise direction only!
7.6. Load the autoclave. See section “Preparation for Sterilization” for
information on proper loading.
EXIT FOR STEAM SPRAY