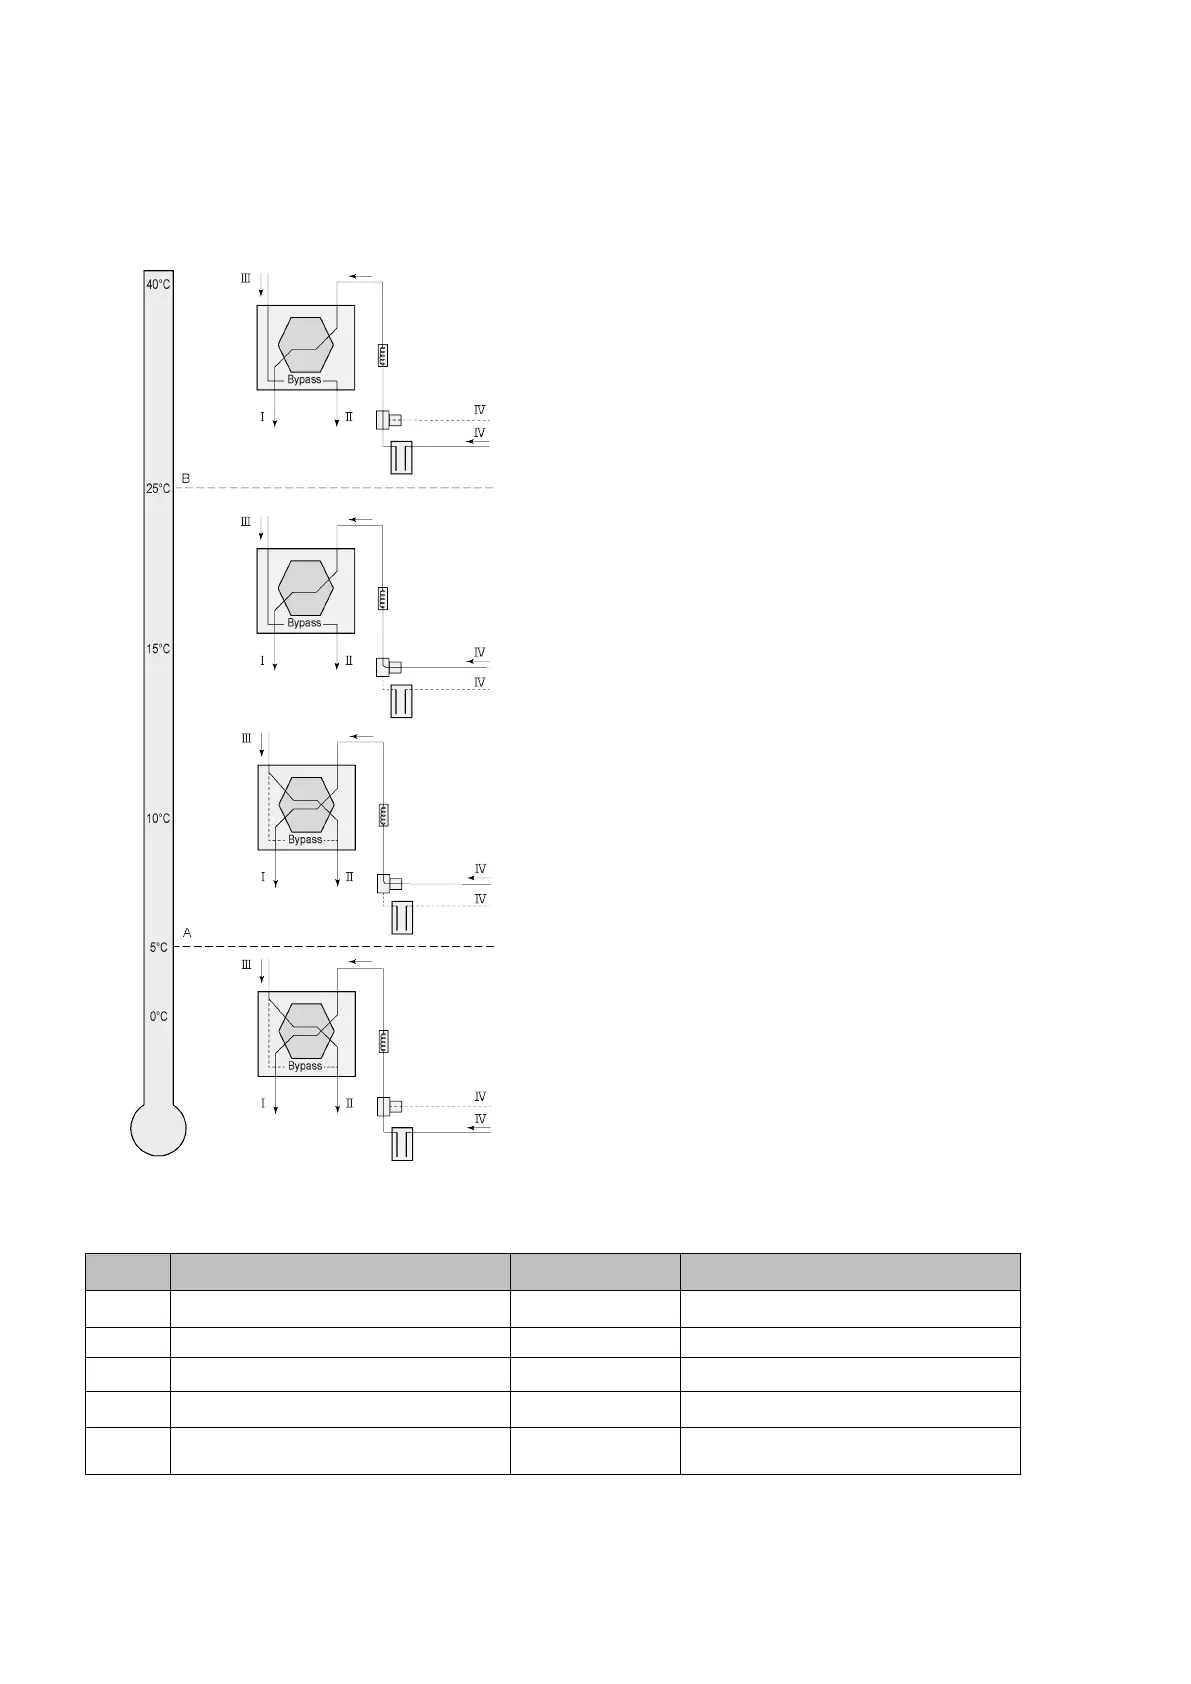
11.8 Connecting Geo-heat exchanger
A geo heat exchanger can be connected to the
appliance with Plus PCB.
Depending on the type of valve the geo heat
exchanger can be connected to different
connection of the Plus PCB:
X10 no. 1 & 2 - Relay output 1 (Factory setting)
X11 no. 1 & 2 - Relay output 2
X14 no. 1 & 2 - Analogue output 1 (0 - 10 V)
X15 no. 1 & 2 - Analogue output 2 (0 - 10 V)
Connect the outdoor temperature sensor to no. 1
and no. 2 of the 2-pole connectorX-16.
A = Min. temperature
B = Max. temperature
I = To dwelling
II = To outside
III = From dwelling
IV = From outside
When using a geo heat exchanger, parameter 11.1 must be changed from “OFF” to “ON”.
Step No. Description Factory setting Range
11.1 Switching on and o O On/ o
11.2 Switch temperature 1 5°C 0.0 °C / 10.0 °C
11.3 Switch temperature 2 25°C 15.0°C / 40.0 °C
11.4 Mode valve 10 volt control Closed Open / Closed
11.5 Valve control Relay output 1
Relay output 1/Relay output 2/
Analogue output 1/Analogue output 2
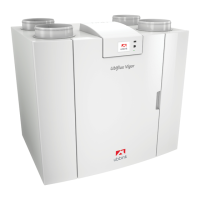
Ubiflux Vigor W325 615743-G